Finishing the model – Carl Goldberg GBGA1072 User Manual
Page 13
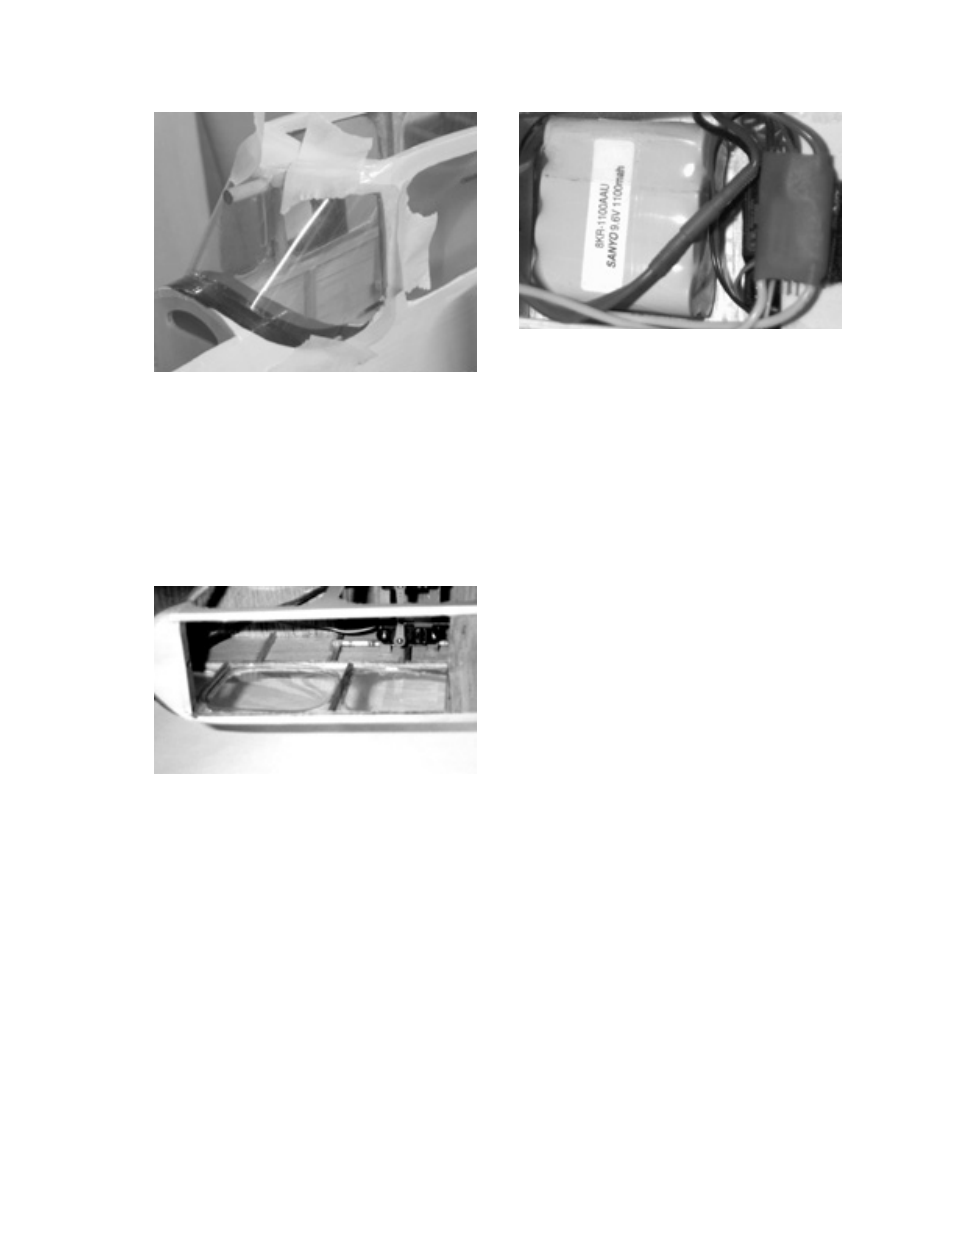
Next install the side windows.
They have been pre-cut but slight
trimming may be necessary. When
you are satisfied with the fit, apply a
thin bead of RC56 Canopy Glue®
around the edge of the window
frames and insert the windows. Tape
in place if necessary and allow the
glue to dry overnight.
Finishing The Model
Now all that’s left is to install
the receiver and battery pack. We
used an eight-cell 1100ma square
pack (Maxx Products #8KR-
1100AAU) wrapped in foam rubber
directly behind the motor, with the
receiver and speed control just to the
rear of the battery.
With All radio gear and battery
pack installed, the model should
balance 2- 3/8” behind the leading
edge of the wing measured at the
fuselage, or just slightly behind the
wing spar.
Follow your radio
manufacturer’s instructions for
setting up your radio. Set the
elevator throw for up/down 3/8” and
the rudder throw left/right ¾” for the
initial flights. You may wish to
adjust the throws further after the
first few flights. Be sure to use a
minimum of 4, preferably 6 #64
rubber bands to secure the wing on
the fuselage.
1/2A Conversion
For those of you who wish to
fly the Lightnin’ Bug with one of the
fine 1/2A glow motors, we have
included a firewall for mounting the
motor. It is a laser cut piece of 1/8”
lite plywood. The vertical center line
and thrust line are marked.
13