Enjoy your westminster – Freerider FR510GDX(Westminster) User Manual
Page 26
26
All wheel bolts
Drive axle securing nuts
Motor mounting bolts
Magnetic motor brake disc and function
Manual brake shoe lining wear
Main control box electrical connections
Main wiring loom for damage
All steering components
Clean chassis and repaint any exposed parts
Lubricate on/off power key barrel with light oil
Replace any damaged axle seals
Cycle test charger for full operation function
Cycle test batteries for operating capacity (This test can be
performed by your Freerider Agent)
Use a general purpose light lubricating oil on moving parts.
All wheel bearings are factory sealed and should not normally
need lubricating.
Your drive axle is factory filled with a special lubricant grease
and will not normally need replacing.
mix other lubricants with this factory fitted
drive axle lubricant. Failure to observe this caution will
invalidate your guarantee.
The steering column locking system works on a 'cam'
principle to lock the column in the desired driving position
(see fig 10,page 8 ).
If you notice the column is not firmly held when the black
cam operating lever is fully down, follow this procedure to
re-adjust the 'cam' tension:
Do not
Please note: These service intervals are a guide, more
frequent use of your Scooter may require adjustment to these
suggested intervals.
LUBRICATION
Caution:
STEERING COLUMN ADJUSTMENT
RECOMMENDED AREAS FOR ADJUSTMENT
LUBRICATION
Caution:
STEERING COLUMN ADJUSTMENT
Do not
Please note: These service intervals are a guide, more
frequent use of your Scooter may require adjustment to these
suggested intervals.
RECOMMENDED AREAS FOR ADJUSTMENT
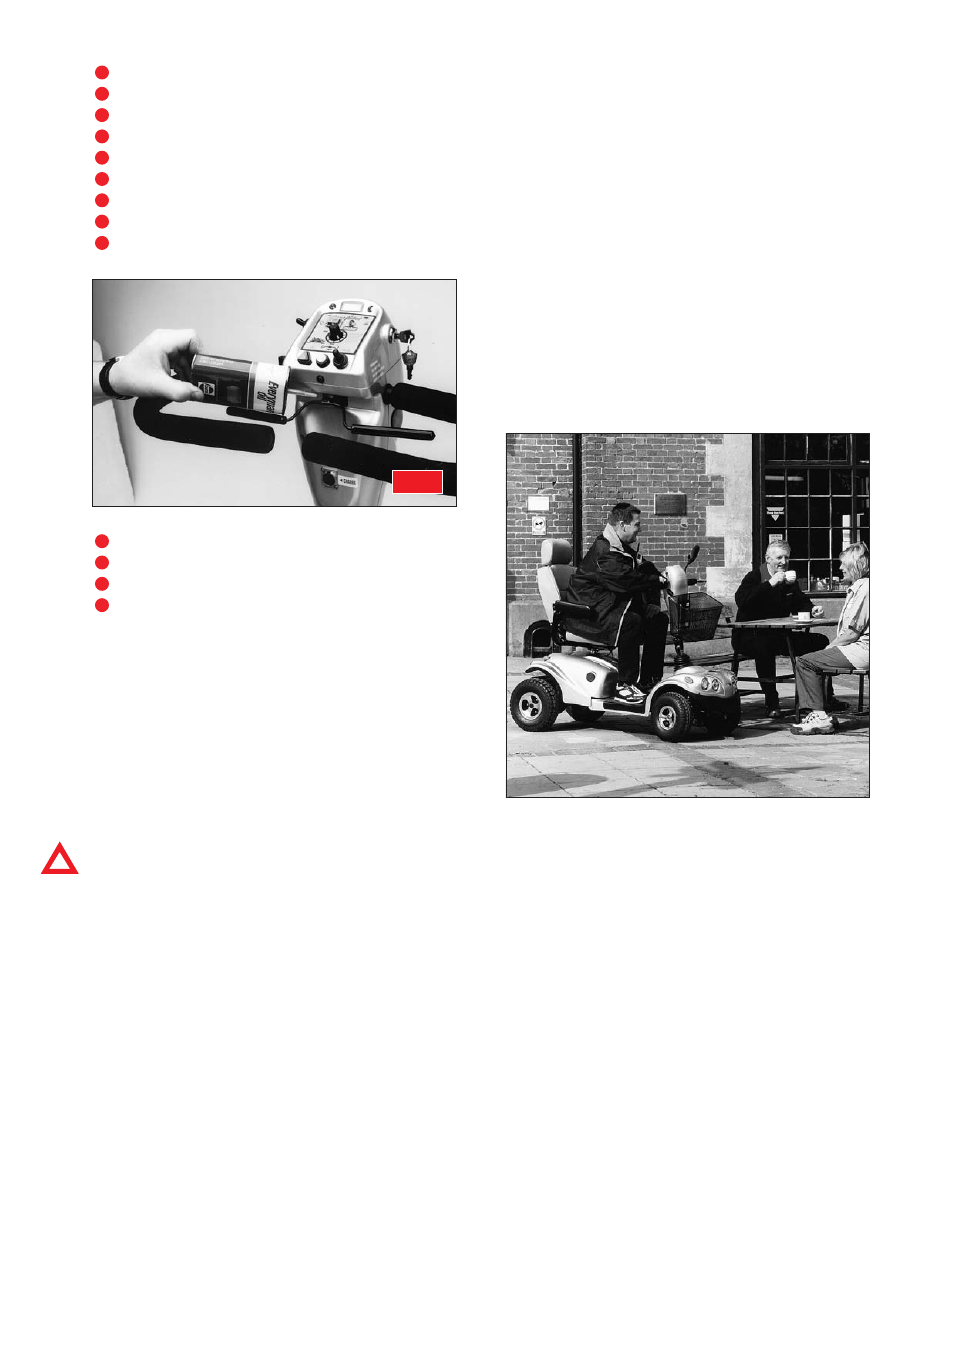
FIG 25
1. Push steering column forward as far as it will go with the
locking lever released, i.e. pushed upwards. Support
steering column.
2. With a 10mm spanner (not supplied) loosen the locking
nut positioned on the opposite side to the black locking
lever .
3. Next to the locking nut is a chrome threaded 'clamping
nut' this has a slightly tapered shape. Turn this clamping
nut clockwise approximately a quarter of a turn.
4. Push the 'black' clamping lever down and test that the tiller
is tightly held in place; adjust 'clamp nut' until correct
tension is achieved on clamp plates.
5. Tighten locknut with 10mm spanner.
Do not drive your Scooter with the steering handlebars
unlocked or poorly adjusted.
Enjoy your Westminster
Do not drive your Scooter with the steering handlebars
unlocked or poorly adjusted.
Enjoy your Westminster