Checkline P2 User Manual
Page 6

ELECTROMATIC Equipment Co., Inc.
-6-
6.0
MOST COMMON REASONS FOR MEASURING ERRORS
Product temperature beyond ambient conditions: The temperature of the
measuring device and of the product should be nearly equal.
Wrong switch position
Uneven pressing
Wrong application on rolls
Press your measuring device lengthwise to the longitudinal axis of the
product roll, otherwise the bearing area of the sensor is too small.
Product pile not thick enough
Electrically conductive material
All metallic objects as well as electrically conductive packaging film or paper
coloured with carbon black influence the measuring result in a negative way
and must no be positioned within a range of 500 mm below the sensor area.
Exceeding of measuring range:
This can occur depending on the type of product and the position of the
selector switch. It is indicated on the display by blinking and means that the
measuring accuracy is less precise.
ELECTROMATIC Equipment Co., Inc.
-11-
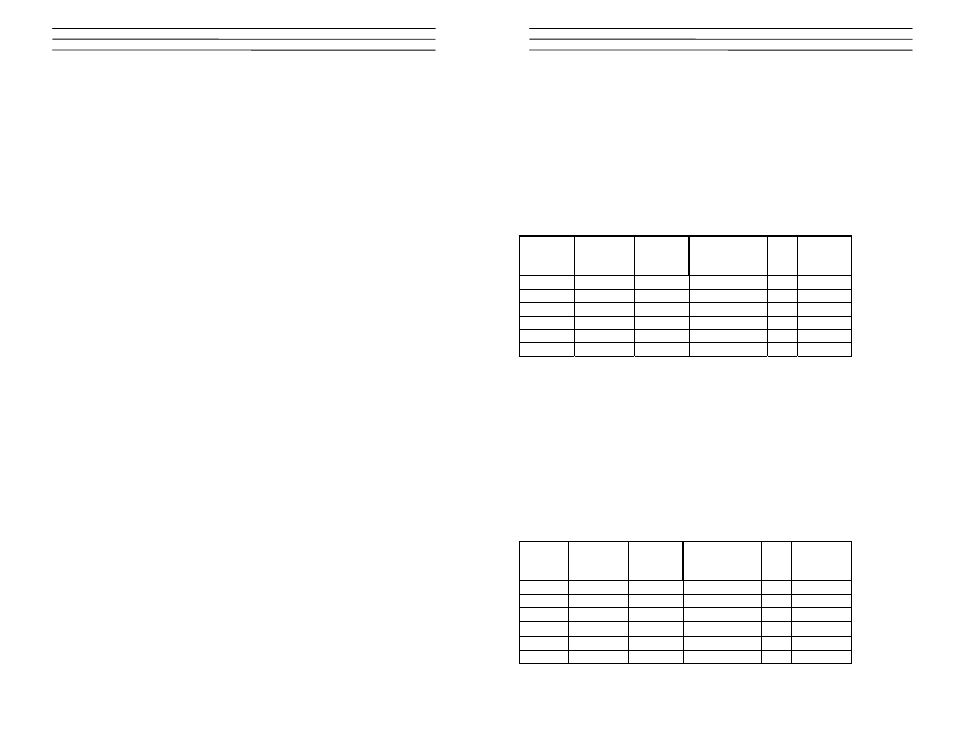
P2 Examination table
Copy this table and fill in the displayed values – without temperature correction –
and the ambient temperature. Enclose a copy of the data if the instrument should
be adjusted again by the factory.
serial number measuring instrument:_____________
serial number proof plate:______________
temperature :______°C
date :_____________
switch-
position
set
measuring
value
displayed
value
P2
temperature-
compensation
value
drift
in
%
readjust
tolerance
S1 6.4
0.6
S2 5.7
0.6
S3 5.1
0.5
S4 4.5
0.5
S5 3.8
0.4
S6 3.1
0.4
P4 Examination table
Copy this table and fill in the displayed values – without temperature correction –
and the ambient temperature. Enclose a copy of the data if the instrument should
be adjusted again by the factory.
serial number measuring instrument:____________
serial number proof plate:_____________
temperature :______°C
date :_____________
switch-
position
set
measuring
value
displayed
value
P4
temperature-
compensation
value
drift
in
%
readjust
tolerance
S1 4,3
0,6
S2 4
0,6
S3 3,7
0,5
S4 3,3
0,5
S5 3
0,4
S6 2,6
0,4
LM5 Examination table
