Checkline TEM-1 User Manual
Page 4
– 4 –
2.0 TEM-1
S
ETUP
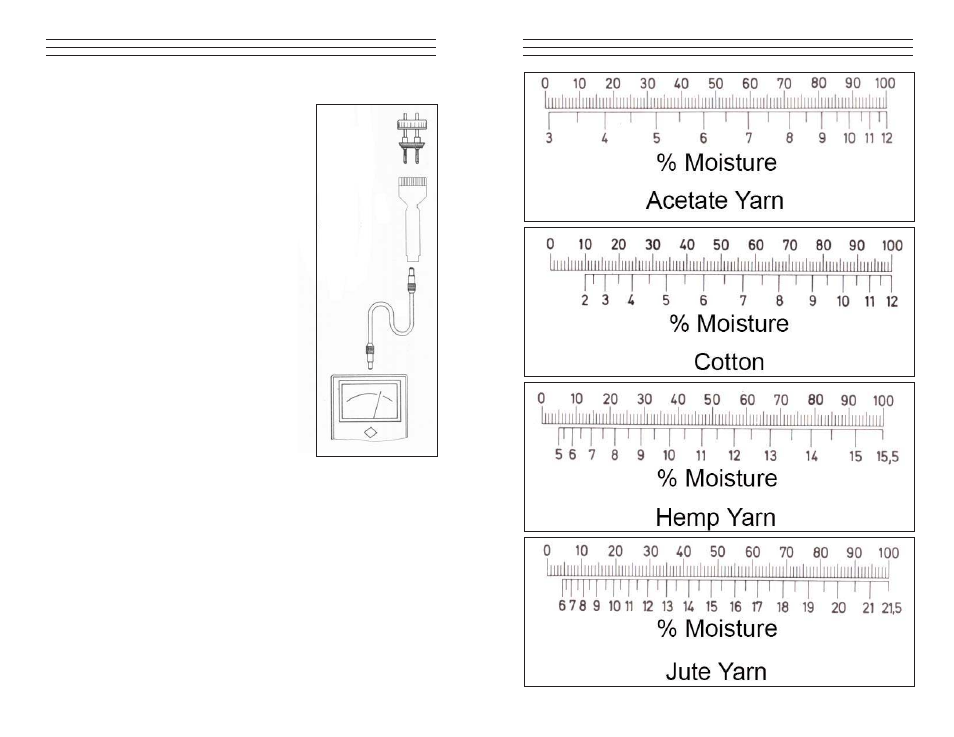
1. Open the carrying case and carefully
remove the TEM-1 moisture meter.
2. Locate the cable receptacle on the top
of the TEM-1 and insert either end of
the connection cable. You will hear a
click when the plug is seated. See A
3. Insert the opposite end of the cable into
the receptacle in the base of the
Electrode Holder. Press until you hear
a click indicating the the plug is seated.
See B.
4. Unscrew and remove the dark grey
retaining ring. See C.
5. Select the proper electrode for your
application. See Section 5.0 for a list
and descriptions of the electrodes
available for the TEM-1.
6. Once the proper electrode has been
selected, insert the two connecting
pins on the bottom of the electrode
into the two receptacles on the top
of the Electrode Holder. See D.
IMPORTANT NOTE: Inserting electrodes
The pins on the electrodes are very sharp. When inserting an electrode,
grasp it by the white plastic base, keeping your hand away from the
ends of the pins and press it into position.
IMPORTANT NOTE: Removing electrodes
The pins on the electrodes are very sharp. To remove the Electrode, first
Unscrew and remove the retaining ring. Grasp the white plastic base of
the electrode and carefully push up while wiggling the electrode from
side to side until it is free. DO NOT place your hand above the pins and
attempt to pull the Electrode out as an injury may result.
7. Replace the grey retaining ring and hand tighten.
8. Perform a Battery Check and described in Section 3.0
A.
B.
C.
D.
– 21 –