Checkline DXN User Manual
Page 5

4
9
3.0
THICKNESS COMPENSATION
The 3-roller system for
tension measurement relies
on the displacement of the
middle roller to give an
indication of line tension.
As the material diameter
or thickness changes, there
will be a change in tension
reading, even though line
tension has not changed. To
offset this effect, high-range
instruments (1000 grams and higher) are usually fur-
nished with a Thickness Compensator, as shown here.
To determine whether the Compensator needs to be
used for a specific application, take readings with and
without the process sample in the Compensator using
a hanging weight approximately equal to the process
operating tension.
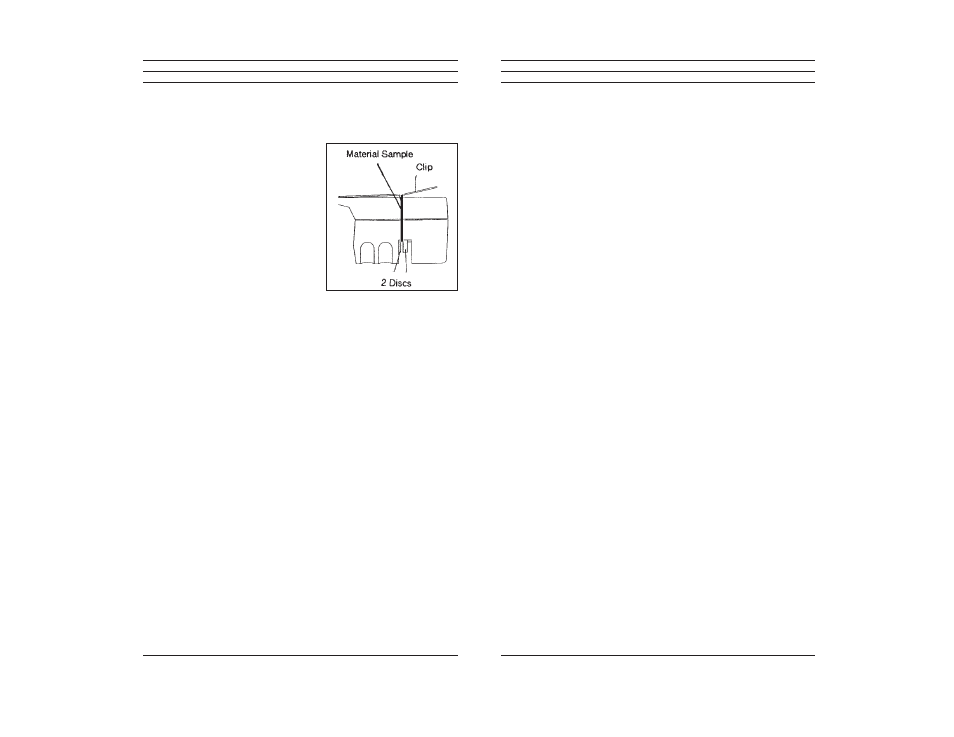
To set up the Thickness Compensator, proceed as
follows:
1. With the Thumb Piece pushed forward and held,
pass a sample of the process material through the
opening at the instrument end, as pictured here,
making sure it lies between the two visible
disc-like anvil surfaces.
2. Allow the Thumb Piece to SLOWLY return to its
original position.
CAUTION: Do not let the Thumb Piece snap
back as this may affect calibration and also
damage the instrument.
3. Secure the process sample ends under the spring
clip provided or with some tape. The instrument
is now ready to use
5.4 Calibration Verification Schedule
Frequency of calibration accuracy verification depends
on many factors. These include frequency and extent
of tension overloads, operating speeds, length of oper-
ating times, environment, care in handling, etc. Such
determination is best made by the user’s Quality
Assurance Department based on the user's experience.
However, a quick calibration check near the anticipat-
ed process tension levels should be done to confirm the
integrity of the instrument, as follows:
1. At the beginning of each work session
2. Every time a unit is dropped
3. Whenever process readings seem to be out of
tolerance for no apparent reason
The quick check can be made with a simple load stand,
as shown in 5.0, using a sample of the process material
and weights that are close to the tensions encountered
in the process. Be sure to move the tension meter up
and down slowly to simulate the motion of the running
process material. This will check the condition of the
guide roller ball bearings and remove any inertia effect
of the movement. Readings that change with this
motion reversal may indicate the possibility of a guide
roller ball bearing problem.
In the case of wire, which might be slightly deformed
by the action of the 3-roller system during static
measurement, always move to a fresh portion of the
wire each time a measurement is made. (In production,
the instrument always “sees” a fresh portion.)
