Rane RPM 26v User Manual
Page 8
Manual-8
Device menu
This menu applies only to the single, selected device you
are editing and contains the following:
Device > Select
Device > Choose DSP Program
Choosing DSP Programs is covered in more detail in the
Choosing DSP Programs
section on page Manual-12. There are
many intuitive DSP Programs available in the RPM 26v. Each
can be thought of as a unique audio system.
Choose DSP
Program brings up a window allowing selection of these
various DSP Programs or systems. The following is just an
overview of the RPM 26v’s DSP Programs.
Each of the DSP Programs (or systems) is fixed. In other
words, the arrangement and type of the various signal
processing functions are not editable.
The RPM 26v’s various DSP Programs provide:
• Display of all important control settings on one screen.
• Many useful signal processing blocks including: trim,
program compression, delay, input summing, I/O routing,
crossover, splitting, parametric EQ, limiting, pink noise
and sine wave generation.
• 16 Memories to store the settings of all signal processing
blocks.
• Independent Input and Output muting, plus a
Mute All button.
•
Show Names check box for displaying the user assignable
Input and Output names.
Device > Load External DSP Program
This menu pick is for future RPM 26v capabilities. We
anticipate new DSP Programs that fulfill currently unrealized
applications. To support this, the Load External DSP Program
menu pick allows downloading a new DSP Program from a
computer to an RPM 26v without the need to replace firm-
ware chips. DSP Program 32 is included with RaneWare
versions 2.08 and above. More programs may be available in
the future, downloadable from the Rane web site.
Device > Backup Memories to File
This menu item allows you to create or select a file in
which all the data in a device’s Memories will be saved. To
save all the data stored in the device to a disk file, select the
Backup Memories to File command from the Device menu.
Type the name you want for the file in the
File name: field or
select one of the files shown in the list box. Then press return
or click
OK.
Note: You do not have to type an extension to the
filename (unless you want to). The program automatically
appends
.RPM as the file extension. Also, the current project
name, site, and system engineer information entered through
the Edit Installation Info dialog box is automatically saved in
each
.RPM file.
Backing up device Memories is highly recommended. Just
like any computer data, the RPM 26v data should be saved to
a file, especially during and after detailing system settings.
Each RW 232 device saves its own settings internally; other
than the password, no settings are stored on the computer.
Having these settings backed up separately in a file provides
extra peace of mind as well as a convenient starting point for
similar or future systems. It is also wise to save a floppy disk
copy of each device’s settings—with the RaneWare Device
Printouts—in a hardcopy file. This provides complete system
documentation as well as a convenient backup of each device
should a replacement device ever be needed.
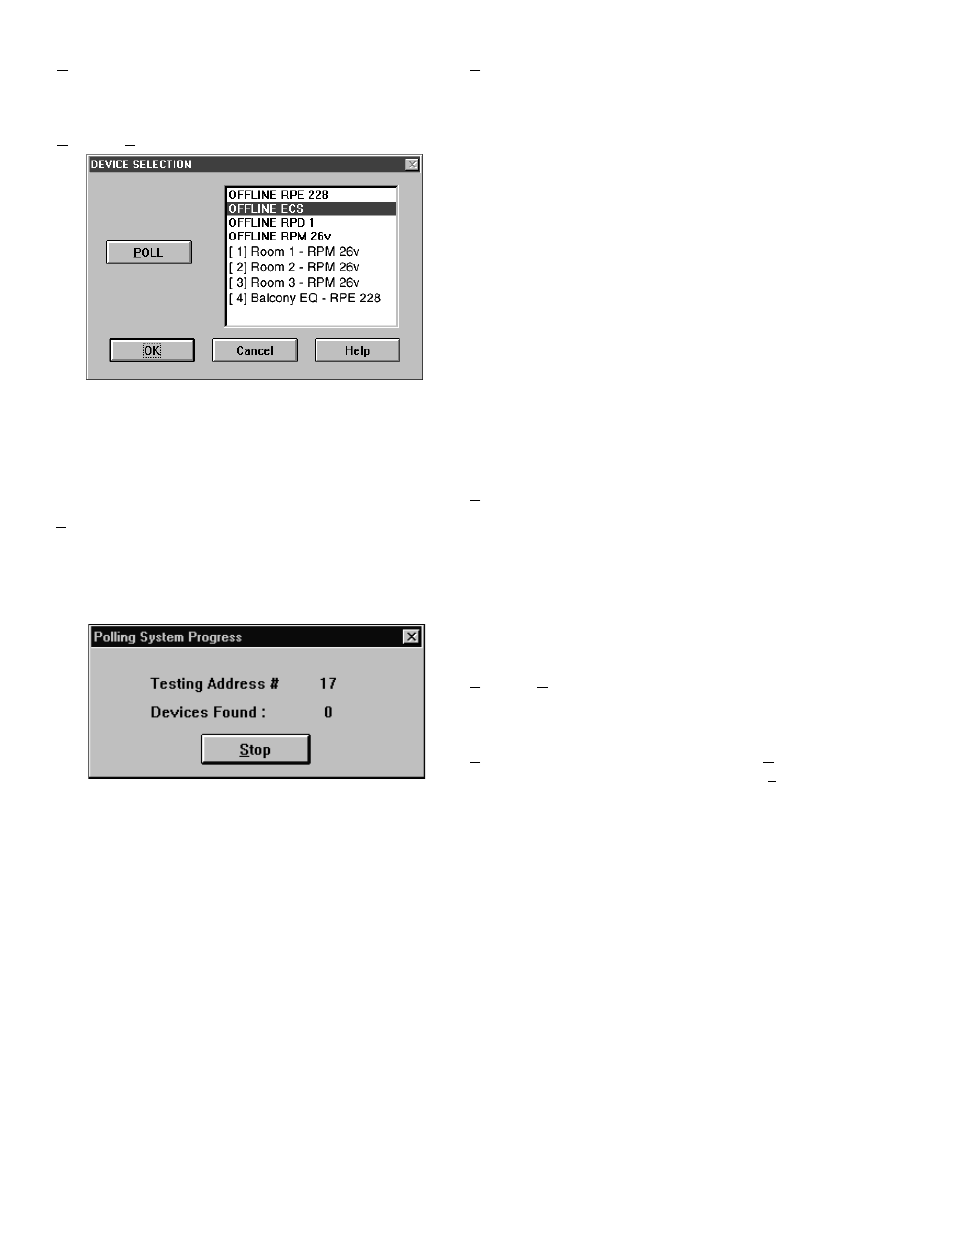
The
DEVICE SELECTION window displays the list of
available RW 232 units, including the
OFFLINE versions of
products. The
OFFLINE versions allow you to operate the
software just as if you had an actual unit hooked up.
If the only devices shown in the Device Selection window
are the
OFFLINE ones, or if the list is inaccurate, click on the
POLL button with the mouse. During polling, the program
looks for connected devices by sequentially stepping through
addresses 1 through 250 (or until you click on the
STOP
button in the Polling message box). When a device is found,
its name is displayed in the
DEVICE SELECTION window.
Note: Since you know what addresses were assigned, you
may stop polling as soon as it has exceeded your last device’s
address. Depending on the number of devices connected,
polling may take a few seconds or up to 3 minutes.
Note: You do not have to poll each time the program is
run, only when RW 232 devices are added, deleted, substi-
tuted, or have had their addresses changed.
Click the device you wish to edit from among those shown
in the window, then click
OK (or just double-click on the
device). The Device Edit window for the device you’ve
selected appears allowing complete control of the device.