Step 4: step 3 – Outdoor Great Room Tuscany II-WB Pergola User Manual
Page 5
5
Step 4:
Step 3:
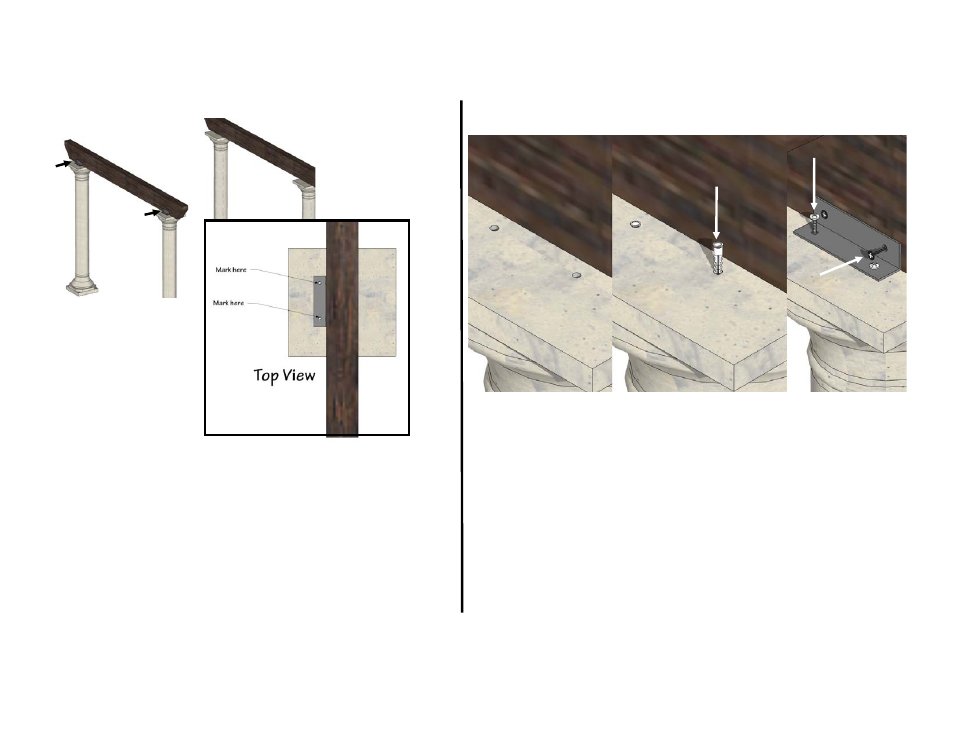
After beams (F) are centered and squared
(Columns should now match up with concrete
footing locations if applicable); set an L-bracket
(E) into place on the outside edge of the pergola
so brackets face away from each other and
mark the hole locations on the top of the column
with a pencil or marker.
Remove brackets and pre-drill holes in the
columns with a 5/16” masonry drill bit. Place a plastic
anchor into each hole, using a hammer or mallet to
gently tap them into place if needed.
Replace all brackets (E) and insert anchor screws (C)
into each hole, securing the brackets to the column,
then use the included wood screws to attach brackets
to the header beams (B) as shown.