Performing a pre-installation check, Locating the system, Power cord location – Wine Guardian Through-the-Wall Cooling System - Manual User Manual
Page 22
22
Where to locate the unit? It can be mounted flush with the racking or flush with
the wall on the wine cellar side.
How to mount the unit? A mounting EasyMount™ kit is supplied.
Locate the electrical power outlet close to the unit, in cellar or out. Do not use
an extension cord!
Factory supplied power cord on condenser side of the unit. It is preferred to be
on the condenser side of the unit, the cord can be moved to accommodate wine
cellar side if need be.
Does the condenser heat exhaust need to be ducted away? An optional kit is
available.
Where to locate the thermostat, if remote interface control is ordered?
Thermostat should be located midpoint on a wall within the wine cellar and
provide sufficient access and exposure to airflow.
How to install the drain line. Run to an open floor drain, container, or
condensate pump.
Are all the parts here to complete the installation? Installation sleeve, gasket,
sealant fasteners
Performing a Pre-installation Check
Check for the properly sized breaker as dictated by the system rating plate data.
Is the cellar built with adequate insulation and vapor barriers?
Locating the System
Wine Guardian systems are typically installed at the user’s eye level for ease of operation. The
Through-the-Wall system discharges warm air from its condenser end so this should be
considered when determining the location for the system. Locating the system adjacent to a
mechanical room or in close proximity to an exterior wall may be required if ducting the warm
condenser air is being considered. The warmer condenser air can be ducted up to15 feet away.
Be sure to install wire nuts onto the black and white wire leads at the condenser end, once the
cord is removed.
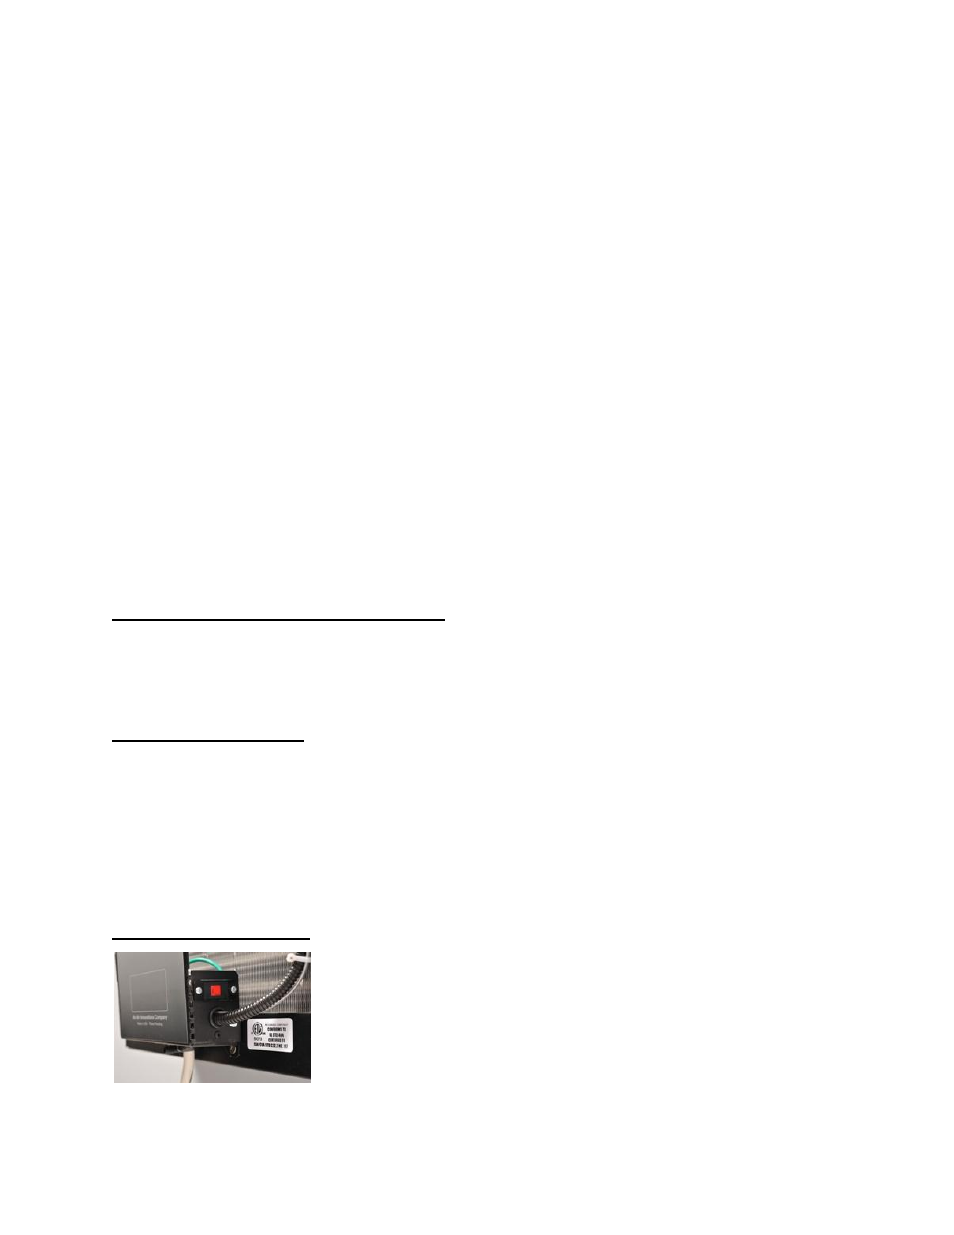
Power Cord Location
As previously noted, the power cord is factory wired on the
condenser side of the system. If you require the cord on the wine
cellar side for plugging into an available outlet, this can be
accomplished by removing the 3-wire leads (ground included) and
moving the cord with connector to the opposite side control bracket
and wire nutting the black and white wires to the factory supplied
leads. The wires must have the terminations cut off and stripped
first. Then screw the ground lead to the hole supplied in the control bracket.
17