Satin stitch foot, Special accessories cut & hem, Roller foot – SINGER SEQS-6000 FUTURA QUARTET Instruction Manual User Manual
Page 55
53
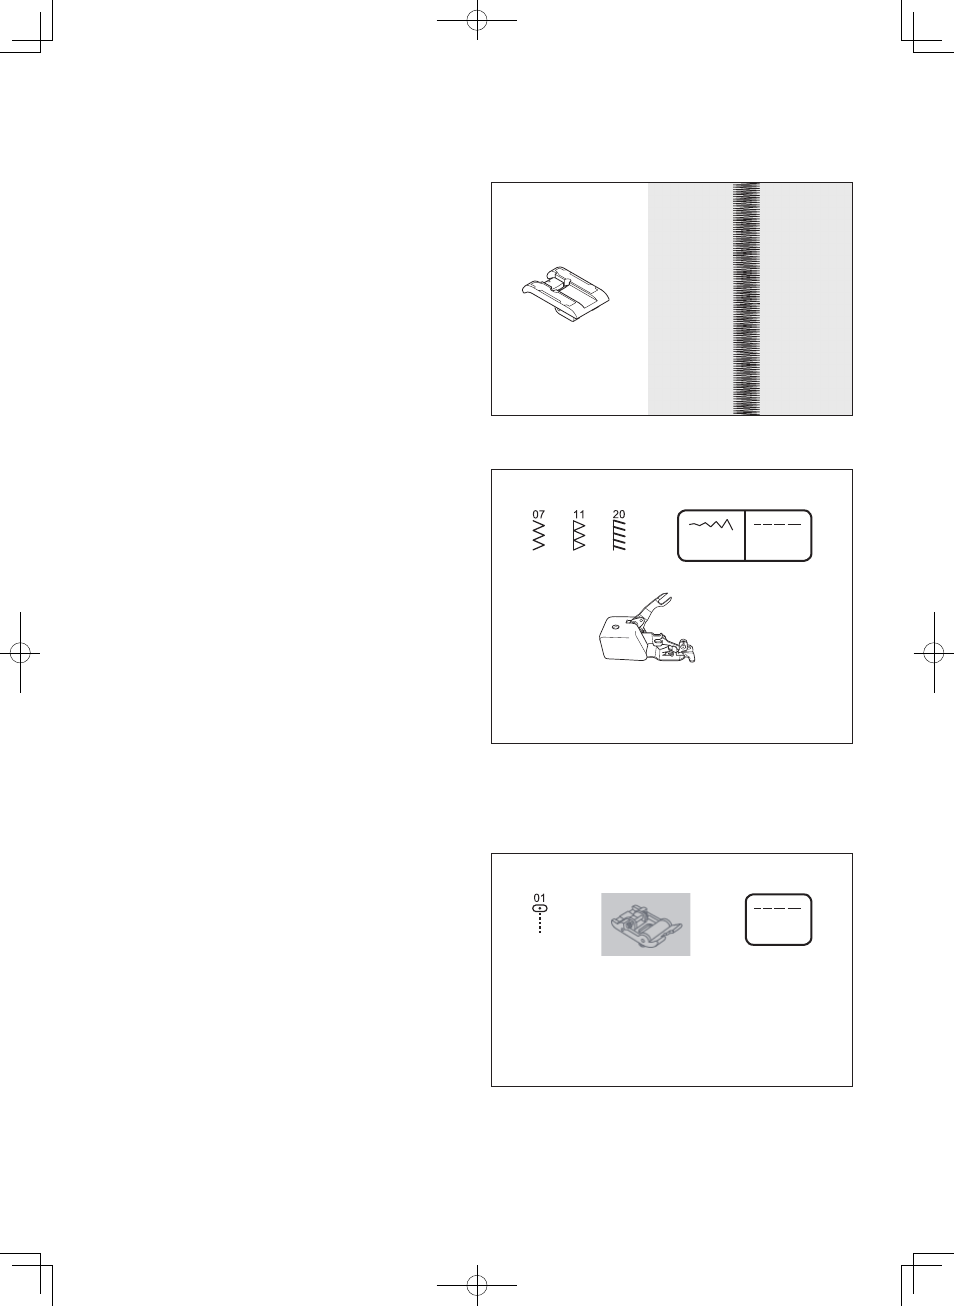
SATIN STITCH FOOT
The satin stitch foot is grooved on the bottom to permit dense
stitching to pass under it easily. It is most useful for sewing
satin stitches. It can also be used as an alternative to the
general purpose foot when sewing stretch stitches.
Closely spaced zig-zag stitches are called satin stitches. This
is an attractive stitch used primarily for appliqueing and bar
tacking. Slightly loosen top thread tension for satin stitching.
Use a backing of stabilizer or interfacing to avoid puckering.
NOTE on starting to sew with satin stitch foot:
Pull both threads to the left of the foot before starting to sew
in order to hold threads with the foot or top thread may be
entangled on the underside of fabric.
SPECIAL ACCESSORIES
CUT & HEM
This foot is used to trim excess material while sewing.
1. Move the plastic sleeve that covers the needle clamp
screw to the right (see item 28 on page 2).
2. Attach the cut & hem, making sure the attachment’s “arm”
fits around the needle bar thumb screw. Tighten the thumb
screw, securing the foot.
3. Slowly turn the handwheel towards you; the needle should
go over the stitch finger on the foot. If the needle is hitting
the metal stitch finger or metal side, then widen or narrow
the stitch width. Never use a straight stitch.
4. Cut a ½” wide by 1”deep notch at the top edge of your
fabric.
5. Place the fabric OVER the first metal platform and then
UNDER the second metal platform. If the foot is not cutting,
it is usually because the material is not placed OVER the
first metal platform.
6. Sew slowly and gently guide the fabric. The cut & hem
works best if no more than ½” is being trimmed.
ROLLER FOOT
This foot includes built-in rollers to help feed difficult-to-sew
fabrics such as leather, suede and vinyl.
1. Manually lead the thread from the needle through the
opening of the foot, and then slip the thread under and
behind the foot.
2. Use double-faced (basting) tape to hold the fabric pieces
together for sewing, which will prevent either layer from
slipping.
3. Place fabric under the presser foot. Lower the presser foot
and sew.
5.0 - 7.0
2.0 - 4.5
3.0 - 4.5
* The cut & hem is an optional accessory.
* The roller foot is an optional accessory.