Multi-hoop – SINGER SEQS-6000 FUTURA QUARTET Instruction Manual User Manual
Page 46
44
Fig. 1
Multi-Hoop
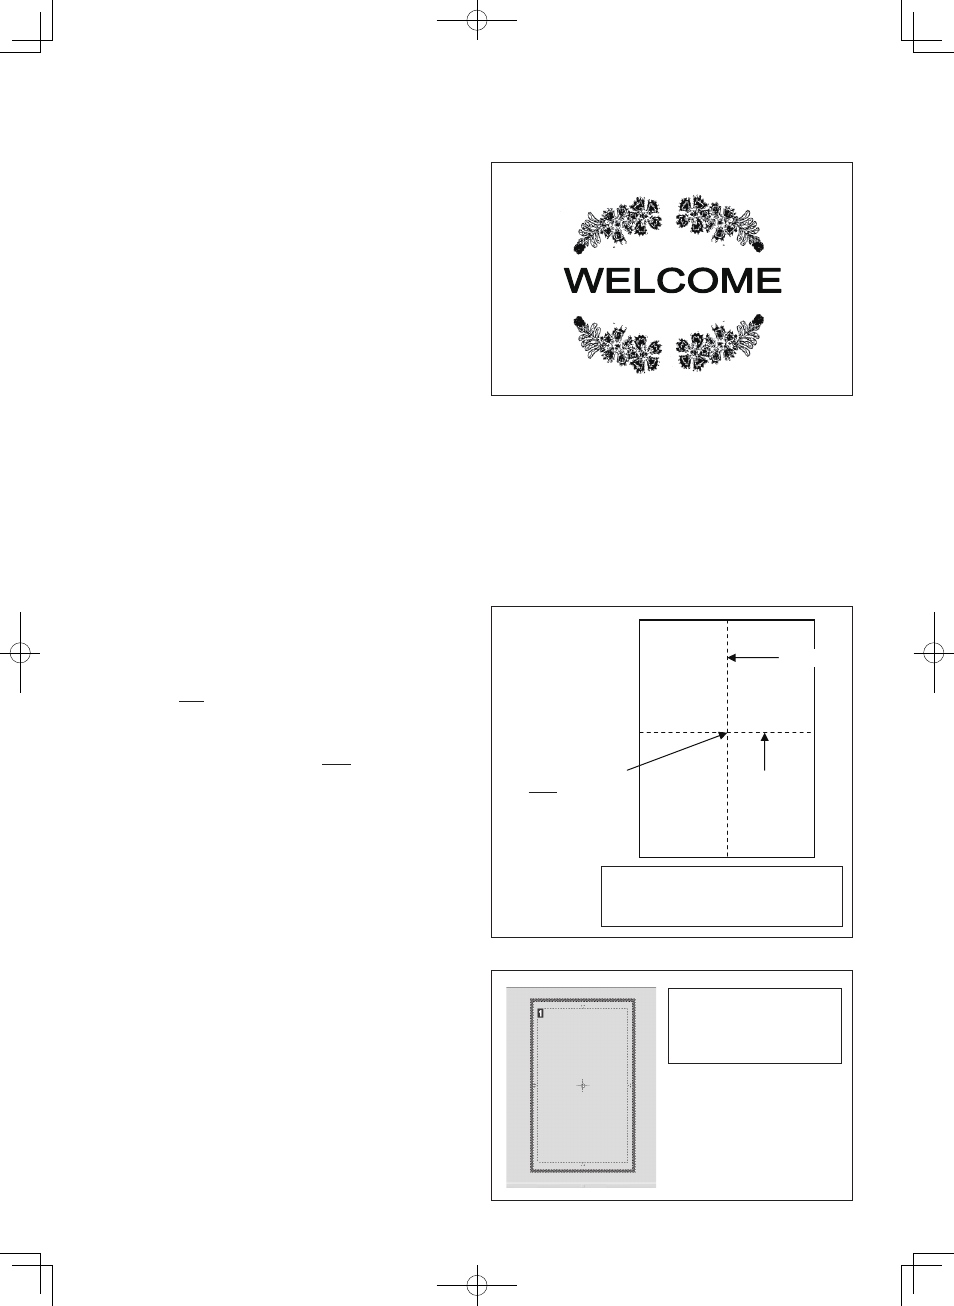
Multi-Hooping is a special feature in the Futura Quartet
tm
software that will allow embroidery data which is larger than a
single embroidery hoop to be sent to the machine to stitch out,
while making it easy to re-hoop the fabric so that each part of the
design lines up exactly. This embroidery data may be a single
design that is too large for the hoop or a combination of smaller
embroidery elements and/or lettering, that when combined
together make a much larger finished design. See Fig. 1.
The Multi-Hoop feature splits the design elements in up to four
different parts; and then sews them precisely, matching one
section to the other. When re-hooping the fabric, the Multi-
hoop feature will compensate for misalignment if the fabric
has been placed slightly askew in the hoop.
When stitching an embroidery design that is too large for the
hoop, it can be difficult to re-hoop the fabric with exact alignment.
Multi-Hoop utilizes a system where three alignment points (A, B,
and C) are input on cross lines that have been marked onto the
fabric. When these points are input, they inform the machine
exactly as to how the fabric is positioned into the hoop and will
therefore sew the design to the alignment of the cross lines. If
the fabric is slightly askew, this system will compensate for it and
sew accordingly. Please note: the Multi-Hoop feature will only
compensate for a slight misalignment in the vertical cross line.
Please try to hoop the fabric as accurately as possible.
Preparing the Fabric
Please note: The fabric must be large enough to
accommodate the amount of hoops that will be required to
stitch out the design.
1. Using a very fine-lined water soluble marker, mark a line
vertically down the center of the fabric.
2. Mark a line horizontally across the center of the fabric.
The vertical and horizontal lines must be at precise right
angles to each other. These lines will now be referred to
as the”cross lines”. These cross lines will be used to set
the fabric into the hoop according to the divided design
layout.
In the Software
1. Select
Tools from the horizontal tool bar, select Hoop
and then select
Multiple.
2. A single hoop appears on the screen marked with
#1 in
the upper left corner.
Cross line
Intersection of cross
lines must be at perfect
90 degree angles.
Fabric
Fig. 2
Please Note: a thin line is very
important to the accuracy of the final
outcome of the embroidery.
P l e a s e n o t e : U p t o
three additional hoops
w i l l a p p e a r a s t h e
design data requires.
Cross line