Basic board functions, Creating a lesson, Writing, drawing, and erasing – QOMO KidzFlow! Quick Guide User Manual
Page 2
© Copyright 2012 QOMO HiteVision, LLC. All Rights Reserved
2
Basic Board Functions
Left Mouse Click: Use your finger, a pen, or the wand and tap the board. Tap twice for a double click.
Right Mouse Click: Use your finger, a pen, or the wand, touch the board and hold it for 3 seconds.
Pen Tray: The pens and eraser can be used instead of your finger to draw or erase on the board. The
pen color is determined by which pen slot is vacant on the pen tray. If all of the pens are removed, it
defaults to black.
Creating a Lesson
The software makes it easy to design eye catching and fun lessons for the kids. The background can be
customized and various forms of media can be added to the lesson.
1. Click on the New Slide
button to add a slide to the
presentation.
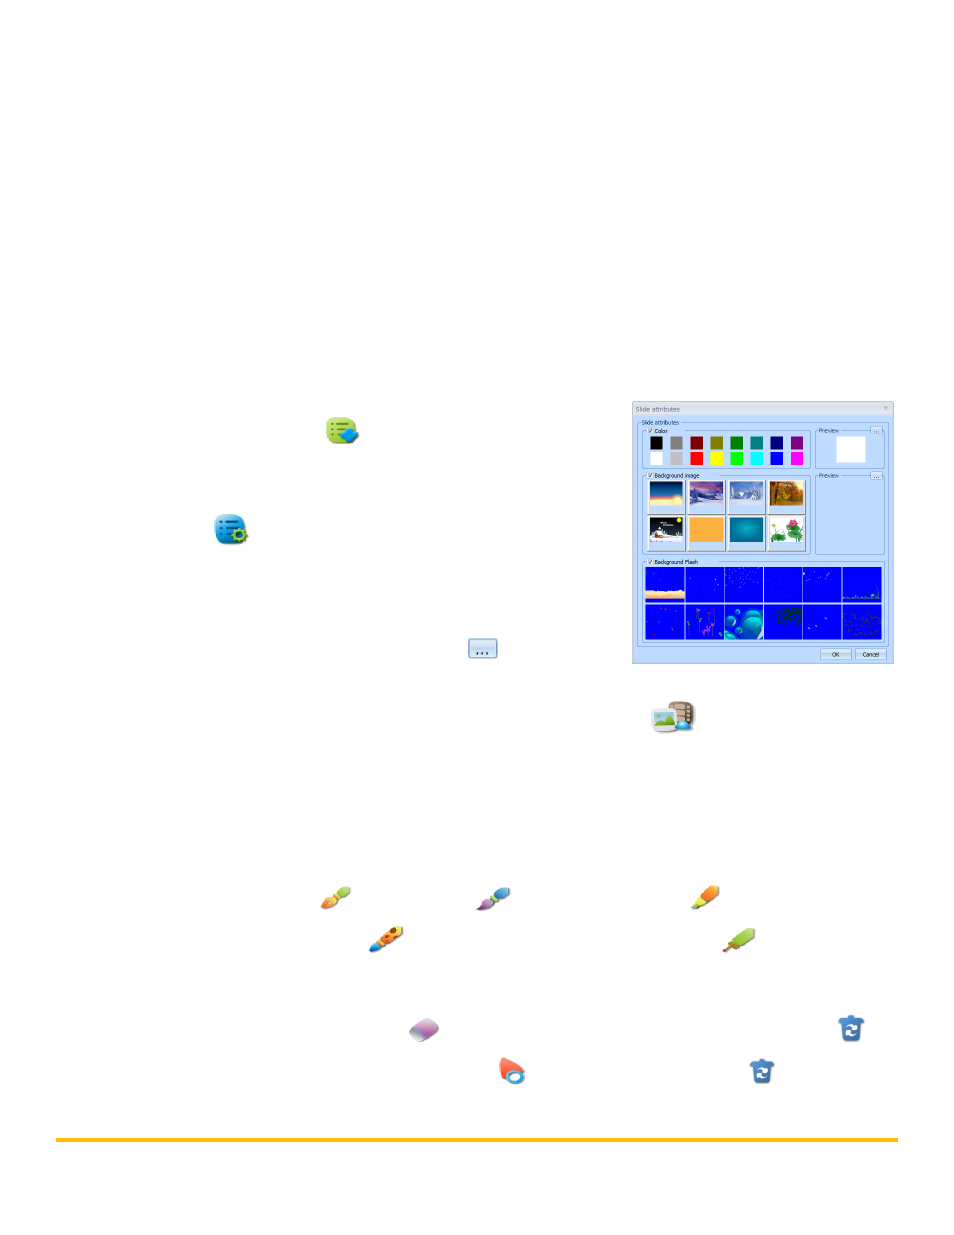
2. To change the background, click on the Background
Settings
button.
a. Select the background color, image, and/or flash
file.
b. To insert an image from your computer or customize
the color, click on the three dots
button in the
preview box.
3. To insert an image, audio, video, or flash file click on the Media
button.
a. Select the media that you would like to insert into your presentation.
b. Your cursor will become a plus sign. Choose the location where you want the media and
click and drag the media file into your presentation.
Writing, Drawing, and Erasing
To write or draw, select the Pen
or Paint Brush
tool. The Highlighter
creates a semi-
transparent mark and the Texture Pen
creates a colorful mark. The Laser Pen
creates a line
that flashes to draw attention to a certain area. The mark also disappears when a new mark is drawn.
Marks can be deleted with the pixel Eraser
tool. To clear the entire slide, click on the Trash
button. To delete an object, select it using the Select
tool and click on the Trash
button.