Care and cleaning – Gastroback 41409 Design Mincer Advanced (standard size 8) User Manual
Page 11
Making Sausages
1.
Prepare the meat according to the instructions in chapter ›Operating- Mincing meat‹.
Season the meat as desired.
2.
Assemble the sausage attachment according to the instructions in chapter ›Assemble for
making sausages‹
3.
Soak the sausage skin for 10 minutes in lukewarm water. Slide the sausage skin over the
sausage attachment.
Tip: If the skin gets stuck to the sausage attachment, wet it with some water.
4.
As soon as the last bit has run through the appliance turn the appliance off (by turning the control
switch to STANDBY) and pull the plug.
5.
Clean and disassemble the appliance right after use and make sure that no leftover
food desiccate on the appliance. Proceed according to the instructions in chapter ›Care and
cleaning‹.
CARe AnD CleAnInG
wARnInG:
Never
hold your face or other body parts over the feed chute when the motor
is running because little pieces of food could be thrown out of the
feed chute. Never put foreign substance or hard objects into the feed
chute.
Before the mincer is used for the first time and after each use, all parts
– with the exception of the motor housing – must be thoroughly cleaned
in warm soapy water. In case of blockage proceed according to the
instructions in the ›Trouble shooting guide‹.
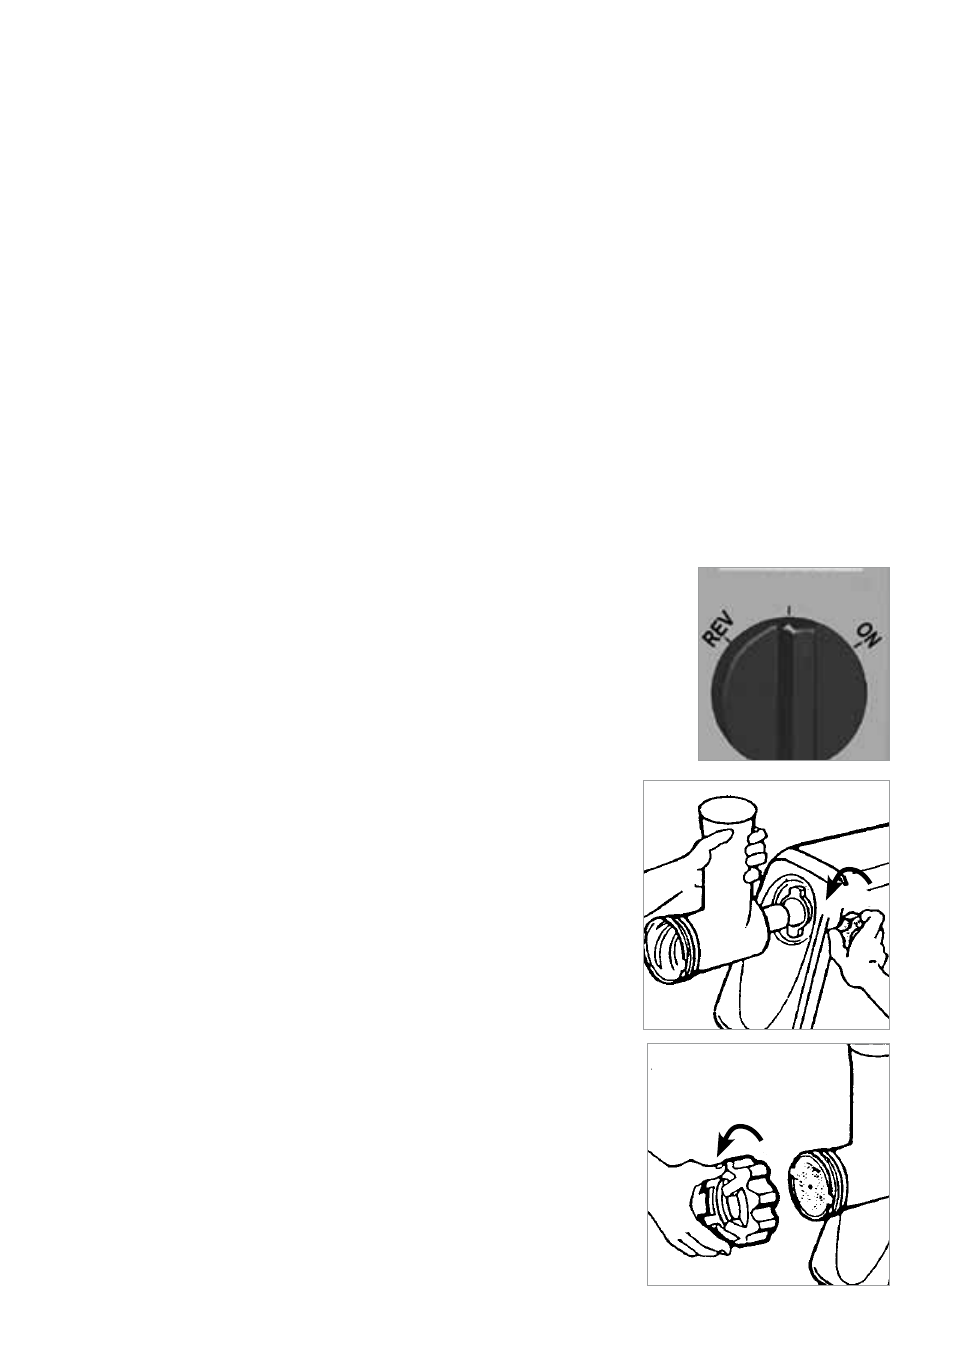
Disassembling the appliance
wARnInG:
To avoid injury and damages of the
appliance turn the appliance off (by turning the con-
trol switch to STANDBY - picture A) and then wait for
approx. 6 seconds to be certain that the motor is no
longer running. Always pull the plug before you
start disassembling or cleaning the appliance.
1.
Switch off the mincer and disconnect the power supply cable
from the mains. Check that the motor has completely stopped.
2.
Take the pusher and the feed pan of the feed chute.
3. Loosen the screw plug on the right side of the mincer by turn-
ing it counterclockwise until you can take the worm housing out
of the motor housing without any resistance (picture B).
4.
Loosen the closing ring by turning it counterclockwise (picture
C). If the closing ring is screwed on too tight you can use the
provided spanner to loosen the closing ring.
STANDBY
A
B
C
27