Assembling your design juicer – Gastroback 40123 Design Juicer User Manual
Page 7
Step 4:
raise the safety locking arm straight up and lock
into the two grooves on either side of the juicer
cover. The safety locking arm should now be in
a vertical position and locked into place on top of
the juicer cover (picture 4).
IMPORTAnT: if the safety locking arm is not in
the right position the motor will not start moving.
secure the safety arm by lifting it into the two
grooves of the cover (picture 4a).
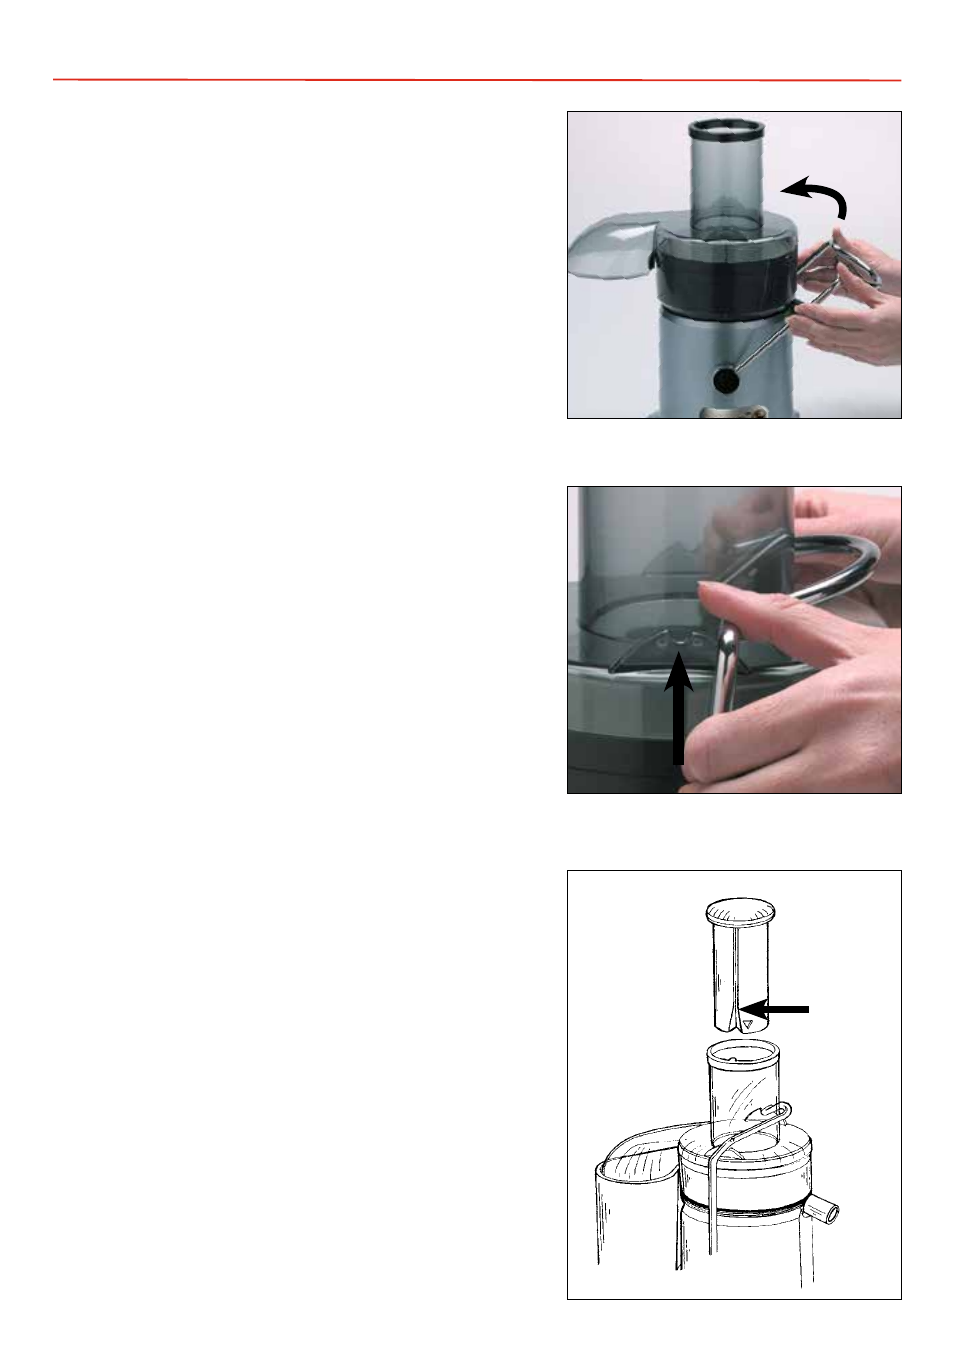
Step 5:
slide the food pusher down the feed chute by
aligning the groove of the food pusher with the
small protrusion on the inside of the top of the
feed chute. continue to slide the food pusher
down the feed chute (picture 5).
Assembling your Design Juicer
37
4
4a
5
Food
Pusher
groove