Notes, Checking the track order, Changing the track order – Sony CDP-361 User Manual
Page 9: Recording your own program, A pause is counted as one track, Q' to check and change your program, Recording from cds, Playing cds
Attention! The text in this document has been recognized automatically. To view the original document, you can use the "Original mode".
Playing CDs
Recording From CDs
'Q' The program remaini even after the program play
ends
When you press I>, you can play the same program
again.
Notes
• The total playing time doesn't appear in the display when it
exceeds 100 minutes.
• "FULL" appears in the display when you try to add a track
to a program which already contains 24 tracks.
Checking the track order
You can check your program before or after you start
playing.
Press CHECK.
Each time you press this button, the display shows the
track number in the programmed order. After the last
track in the program, the display shows "End" and
returns to the original display. If you check the order
after you start playing, the display shows only the
remaining track numbers.
Changing the track order
You can change your program before you start playing.
To
Press
Erase a track
CHECK until the track you
don't want appears in the
display, then press CLEAR
Erase the last track in the
program
CLEAR. Each time you press
the button, the last track will
be cleared.
Add tracks to the end of the
program
Number buttons of the tracks
to be added
Change the whole program
completely
■ (stop). Create a new
program following the
programming procedure.
Recording Your Own Program
You can record the program you've created on a tape,
DAT or MD. The program can contain up to 24 tracks.
By inserting a pause during programming, you can
divide the program into two for recording on both
sides of a tape.
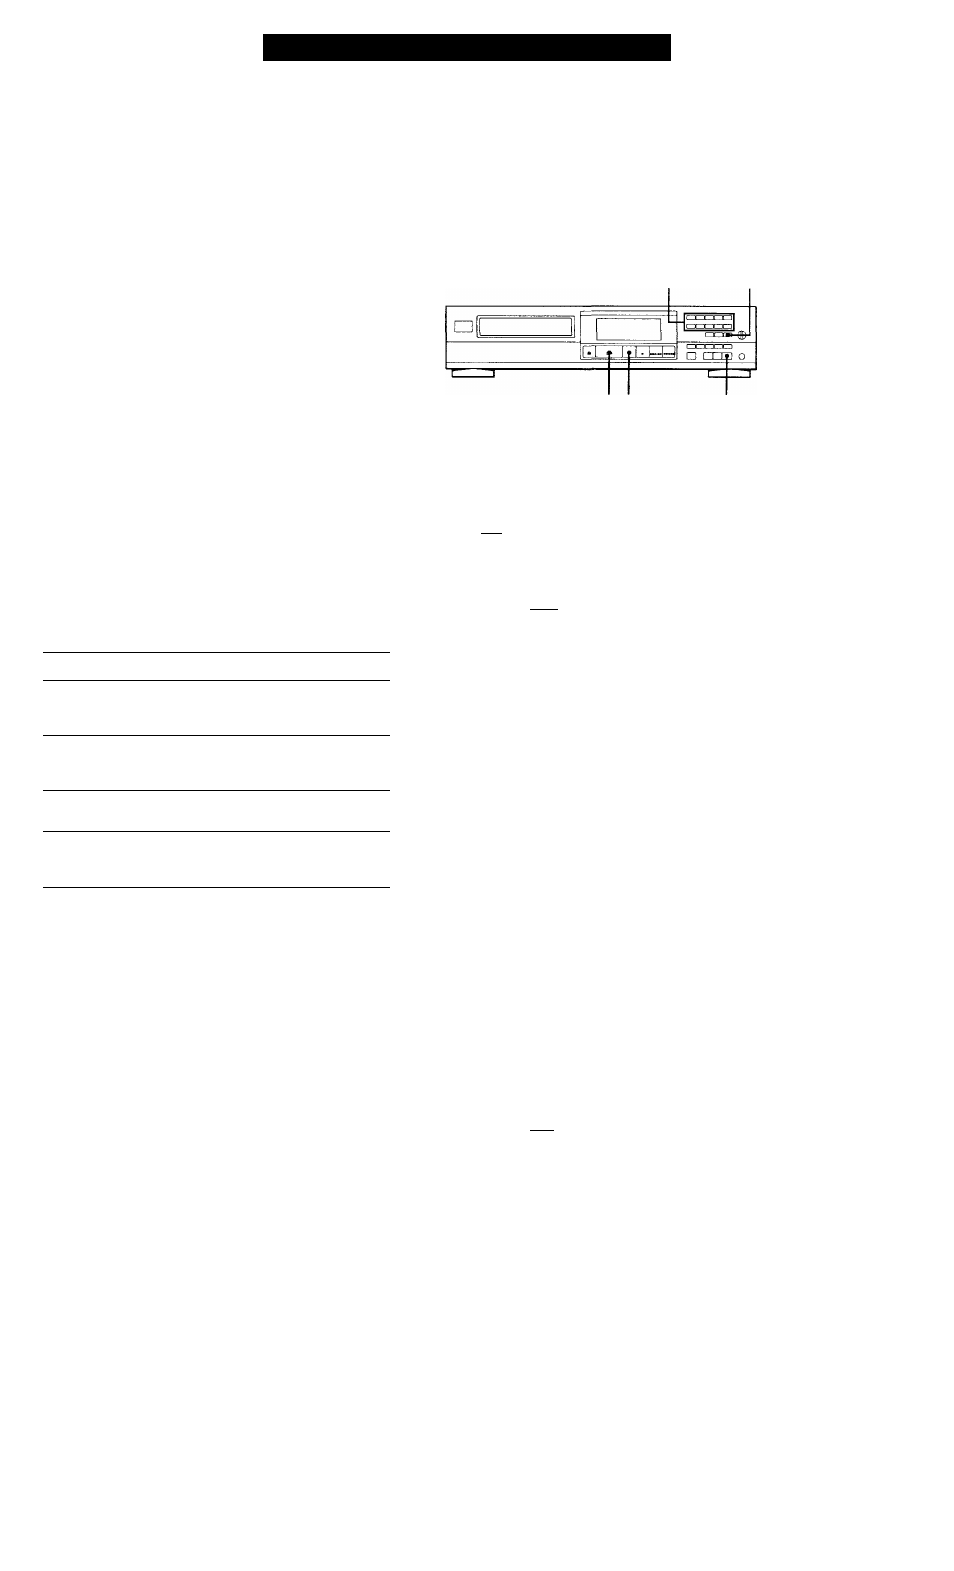
Number buttons
>10
t> II
PROGRAM
1
Create your program (for side A when recording
on a tape) while checking the total playing time
indicated in the display.
Follow Steps 1 and 2 in "Creating Your Own
Program" on page 8.
The i'^1 indication appears in the display.
2
When you record on both sides of the tape, press
I I to insert a pause.
The "P" and folol indications appear in the display
and the playing time is reset to "0.00."
When you record on one side of the tape or on a
DAT or MD, skip this step and go to Step 4.
A pause is counted as one track
You can program up to 23 tracks when you insert a
pause.
3
Repeat Step 1 to create the program for side B.
4
Start recording on the deck and then press O on
the player.
When you record on both sides of the tape, the
player pauses at the end of the program for side A.
5
When you record on side B, reverse the tape and
press O or I I on the player to resume playing.
'Q' You can check the total playing time while
programming (program edit)
To select a track, press
or ►►>1>1I (►►!)
and check the total playing time. Then press PROGRAM
to confirm your selection.
'Q' To check and change your program
See the left column of this page.
The indication appears while checking the program
for side A and [¿^1 while checking the program for side
B.