Setting the clock to stamp the recorded time, Il uu, If you make a mistake while setting the clock – Sony MZ-R55 User Manual
Page 16: To display the current time, To display the time in the 24- hour system, Charging the built-in battery for the clock, 1m id
Attention! The text in this document has been recognized automatically. To view the original document, you can use the "Original mode".
Setting the clock to
stamp the recorded
time
To stamp the date and time on the MD
when you record, you first needdo set the
clock.
1
2
CLOCK SET
(at the bottom)
Connect the power source.
Use the supplied AC power adaptor.
Press CLOCK SET at the bottom of
the recorder.
Use a pointed object.
The digits of the year flash.
^ 8 ^
1m Id
AM
IL UU
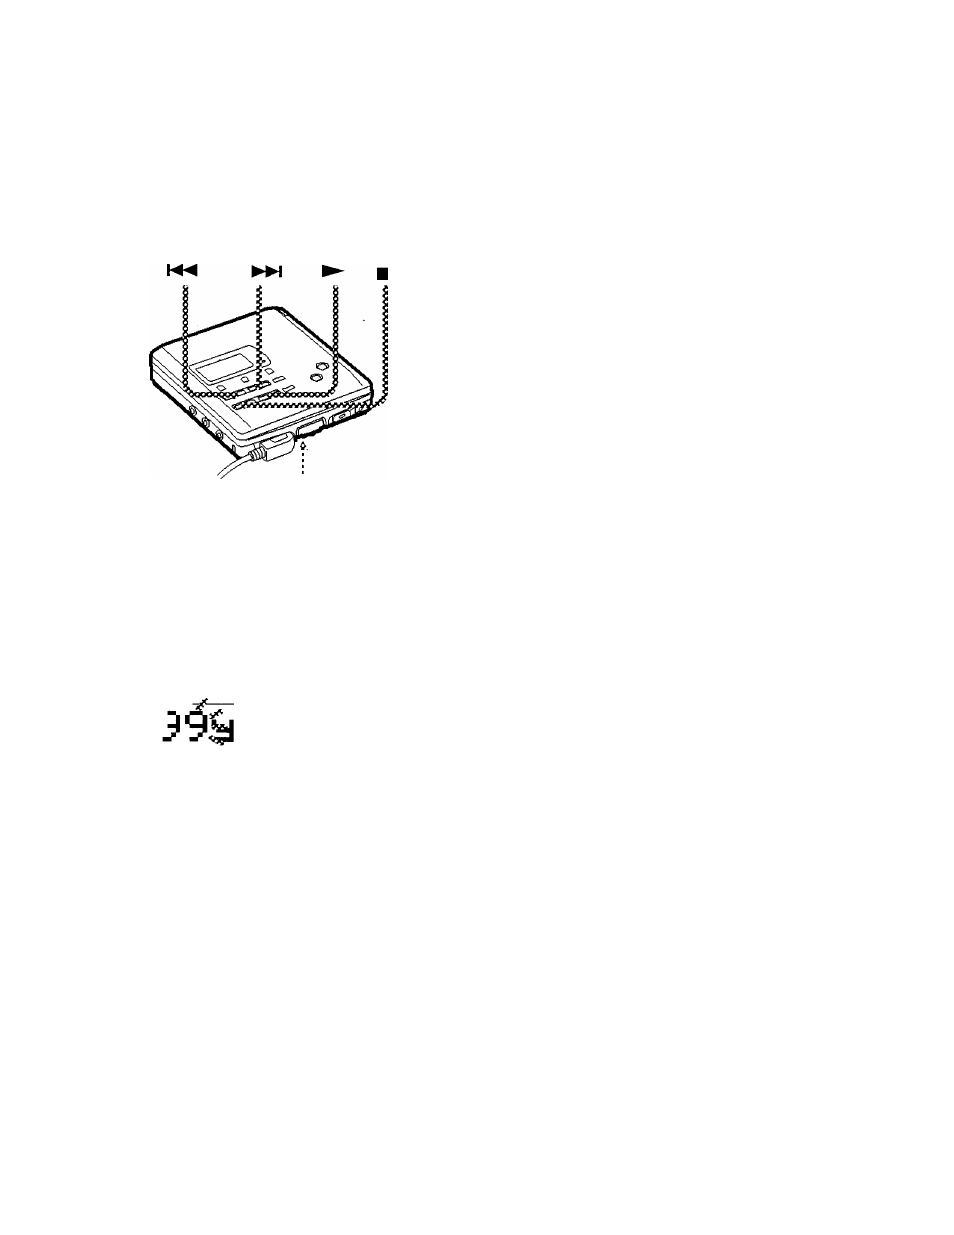
If you make a mistake while
setting the clock
Press ■, and set the clock again from step
2. You can skip a step by pressing ►.
To display the current time
When the recorder is not operating or
while recording, press DISPLAY
repeatedly until the current time appears
in the display.
To display the time in the 24-
hour system
While setting the clock, press DISPLAY.
To display the time in the 12-hour system,
press DISPLAY again.
Charging the built-in battery for the
clock
When you use the recorder for the first time
or after a long period of disuse, charge the
built-in battery. After setting the clock, leave
the recorder connected to the AC power for
about 2 hours to charge the built-in battery.
Once charged, the built-in battery should last
about a month without connecting to any of
the power sources. The recorder will
automatically charge the built-in battery
while connected to AC power, dry batteries
or a rechargeable battery.
3
Change the current year by pressing
or
To change the digits rapidly, keep
pressing or WH.
4
Press ► to enter the year.
The digit of the month flashes.
5
Repeat steps 3 and 4 to enter the
current month, date, hour, and
minute.
When you press ► to enter the
minute, the clock starts operating.
16