Speaker set up – Sony DVP-S550D User Manual
Page 58
Attention! The text in this document has been recognized automatically. To view the original document, you can use the "Original mode".
Settings for Sound (AUDIO SETUP)
Speaker Set Up
A
3
(fi
V)
Hi
3
a
>
a
*E'
Vi
3
n
3
Notes on playing the DTS sound tracks on a CD
• Do not play the DTS sound tracks without connecting the
player to an audio component having a built-in DTS decoder.
The player output the DTS signal via the DIGITAL OUT
OPTICAL and COAXIAL connectors even if "DTS" in "AUDIO
■9--
SETUP" is set to "OFF" in the setup display, affecting your ears
or causing the speakers to be damaged.
• The DTS indicator on the front panel does not light up even if
the player outputs DTS signal via the DIGITAL OUT OPTICAL
and COAXIAL connectors.
• Set the sounds to "STEREO" when vou plav the DTS sound
tracks on a CD. (See "Changing the Sounds" on page 31.) If
vou set the sounds to "1/L" or "2/R", no sounds will come out
from the DIGITAL OUT OPTICAL and COAXIAL connectors.
Notes on playing the DTS sound tracks on a DVD
• No sounds will come out from the LINE OUT (AUDIO 1, 2)
and PHONES connectors.
• If the player is connected to an audio component lacking a
built-in DTS decoder, do not set "DTS" in "DIGITAL OUT" to
"ON" in the setup display. Otherw'ise, when you play the DTS
sound track, a loud noise will come out from the speakers,
affecting your ears or causing the speakers to be damaged.
• When you set "DTS" in "AUDIO SETUP" to "OFF", no sound
will come out from the DIGITAL OLT OPTIC.AL and
COAXIAL connectors even if vou play DTS sound tracks on
DVDs.
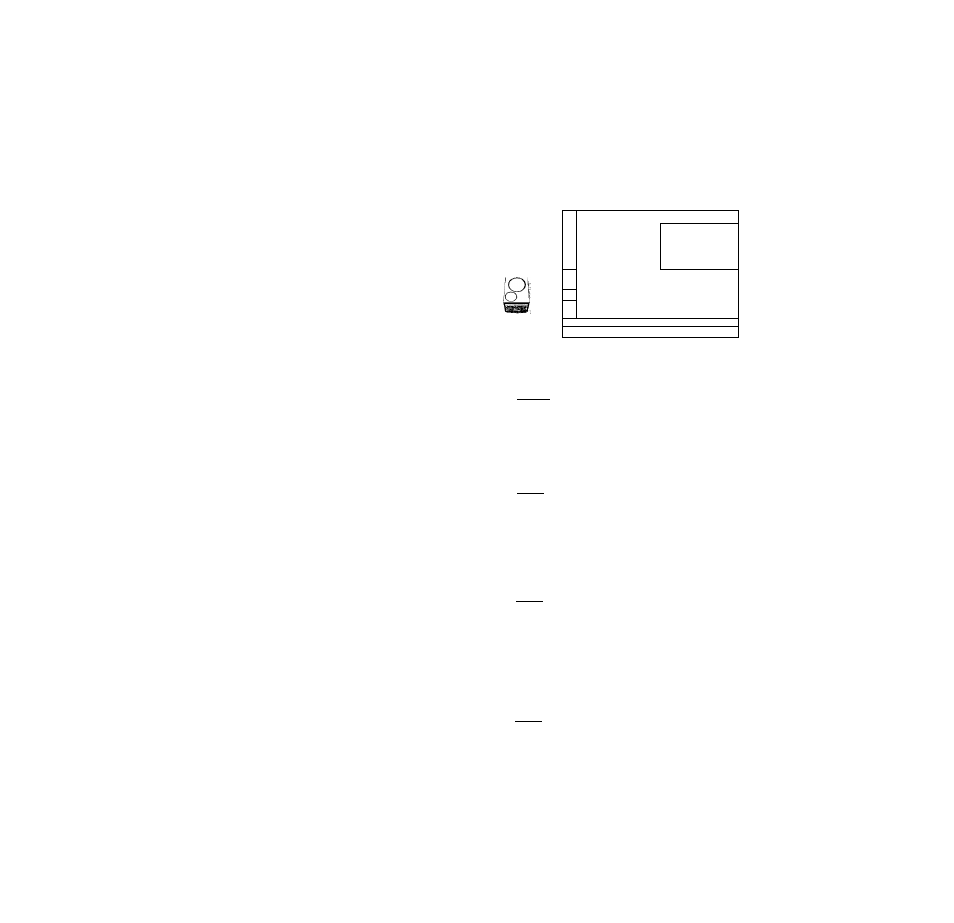
Select "SPEAKER SETUP" after pressing SET UP.
To obtain the best possible surround sound, first specify
the size of the speakers you have connected and their
distance from your listening position, then set the balance
and level. Use the test tone to adjust the speaker volumes
to the same level.
For the speaker hook ups, see pages 12 to 13.
SPEAKER SETUP
SIZE:
DISTANCE:
BALANCE:
LEVEL:
TEST TONE: OFF
> 2SS
FRONT:
LARGE
CENTER:
LARGE
REAR:
LARGE (REAR)
SUBWOOFER:
YES
To set. press
thenlENTER!
To quit, press
ISETUPl.
■ SIZE
Selects the size of the speakers to be connected.
• FRONT
—LARGE: Normally select this.
—SMALL: When the sound cracks or the effects of the
surround is difficult to hear, select this. This
activates the Dolby Digital (AC-3) bass redirection
circuitT}-' and outputs the bass frequencies of the
speaker from subwoofers.
• CENTER
—NONE: If vou will not connect a center speaker, select
this.
—L.ARGE: Normallv select this.
—SMALL: When the sound cracks, select this. This
actiwites the Dolby Digital (AC-3) bass redirection
circuitry and outputs the bass frequencies of the
speaker from some other speakers .
• REAR
—NONE: If you will not connect a rear speaker, select
this.
—LARGE (REAR*./SIDE*): Normally select this.
—SMALL (REAR*/SIDE*): When the sound cracks or
the effects of the surround is difficult to hear, select
this. This activates the Dolby Digital (AC-3) bass
redirection'circuitry' and outputs the bass frequencies-
of the speaker from some other speakers .
•SUBWOOFER
—NONE: If you do not connect a subwoofer, select this.
This actic'ates the Dolby Digital (AC-3) bass
redirection circuitry' and outputs the LEE signals
from the front speakers.
—YES: If you connect a subw'oofer, select this to output
the LEE (low frequency' effects) channel from the
hubwooler.