Aeroclassics oil cooler, Oil cooler installation, 6sonex aircraft – Sonex Jabiru 3300 Oil Cooler Upgrade Installation Instructions User Manual
Page 6
AeroClassics Oil Cooler
6
Sonex Aircraft
LLC
© 2008 All Rights Reserved.
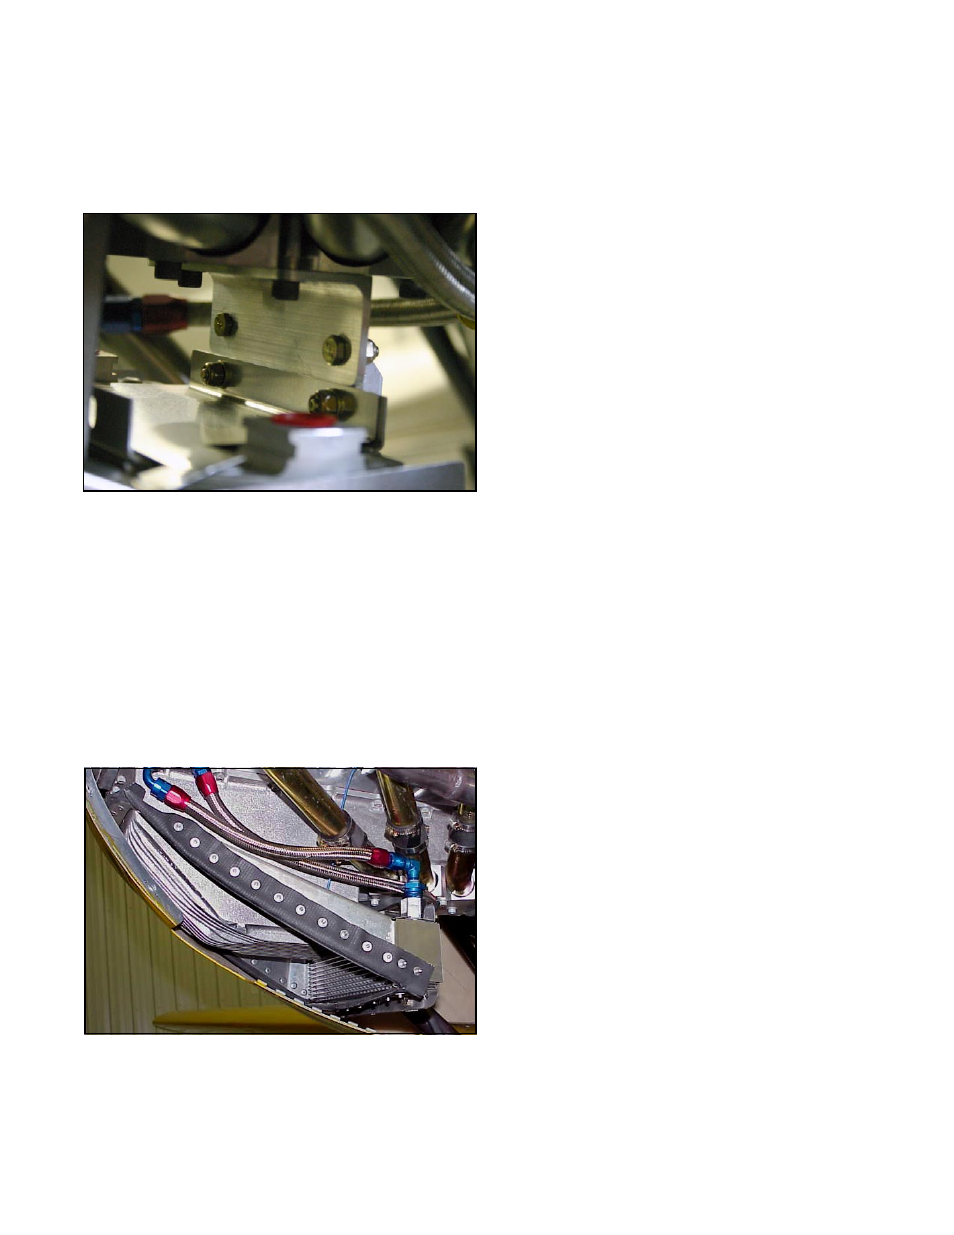
7. Attach the oil cooler assembly to the cooler mounting
bracket with:
AN3-5A Bolt, Qty 2
AN960-10 Washer, Qty. 2
MS20365-1032 Elastic Stop Nut, Qty. 2
Baffle seal must be installed to seal the space between the
metal baffles, cowling, and oil pan.
8. Tighten the two nuts left lose in step 6.
Note: The front of the oil cooler shroud is not physically at-
tached to anything. It is held in place by the cowling.
9. Fit one cowl half at a time and trim the oil cooler shroud
to achieve a gap of 1/4" to 3/8" between the cowling and
the baffles.
10. Install baffle seal material as needed to seal the gaps
between the baffles, cowling, and oil pan. AAL-42 rivets
were included with the kit for attaching baffle seal mate-
rial (not included).
The oil cooler assembly is seen here mounted to the oil cooler
bracket with two AN3-5A bolts, washers, and stop nuts.
Notes on Oil Cooling and Duct Sealing
A complete seal is not critical in most applications. In gen-
eral, oil cooling needs drop as the ambient temperature drops.
Flight testing has shown that in temperatures below approxi-
mately 50 degrees (F) air flow through the oil cooler will need
to be partially to fully blocked to allow oil temperatures to
rise to an acceptable level. The air flow can be blocked simply
with tape over the cowl opening, or using more complex meth-
ods such as an aluminum plate in front of the oil cooler.
In hotter climates more complete sealing may be required to
force all incoming air through the oil cooler.
Flight testing your aircraft in your climate is the only way to
determine what level of sealing is needed to keep your engine
oil in the correct operating range, as defined in your engine's
operator's manual.
OIL COOLER INSTALLATION