Removing the display assembly, Replacing the display panel, Replacing the display assembly – Dell Latitude Z (Late 2009) User Manual
Page 34: Replacing the display panel assembly
7.
Release the adhesive under the display cable.
8.
Disconnect the display cable from the display panel assembly.
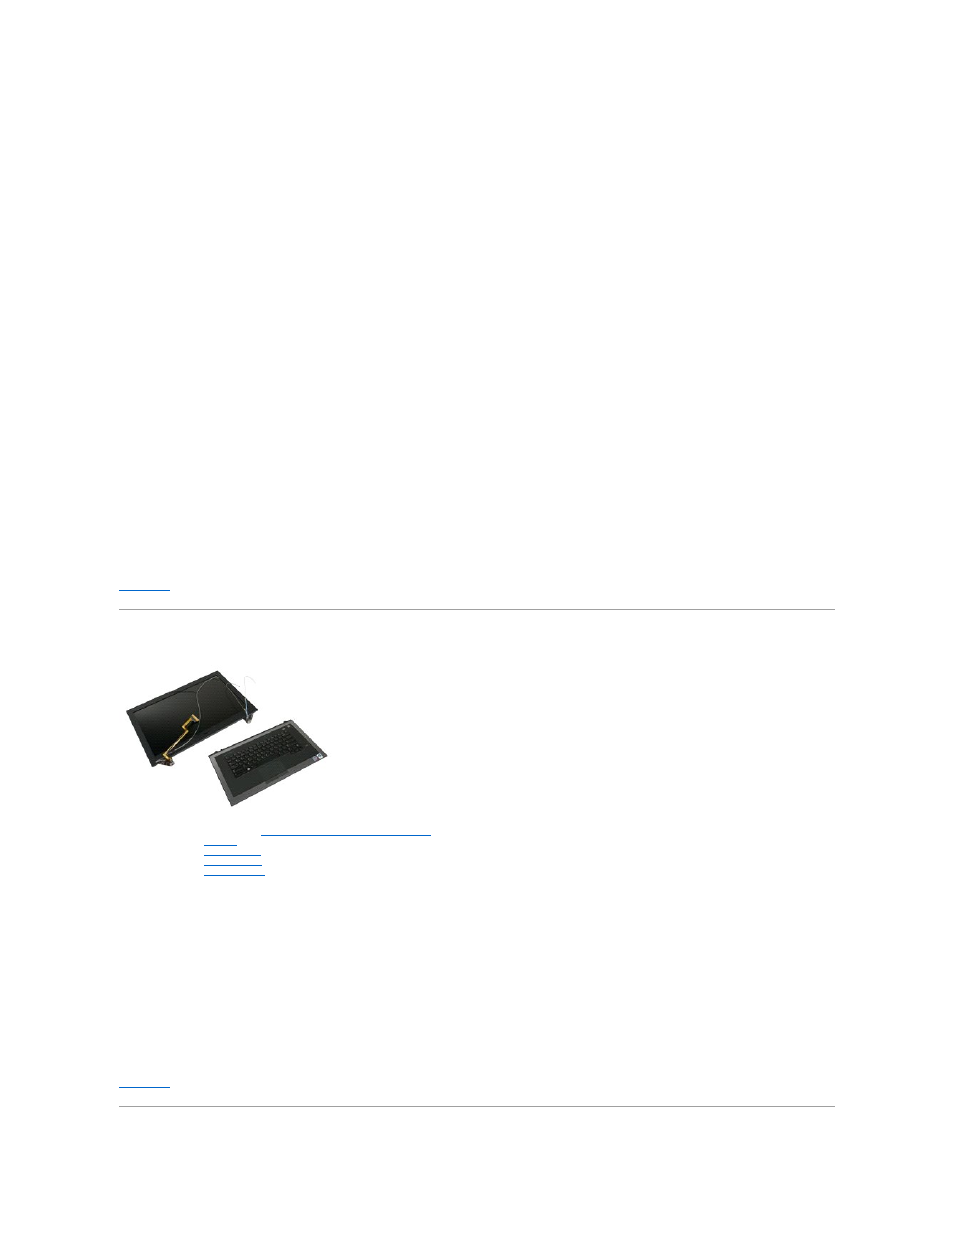
9.
Remove the display panel assembly from the computer and place the display panel assembly on a clean work surface.
10.
Remove the screws that secure the first display bracket to the display panel.
11.
Remove the first display bracket from the display panel.
12.
Rotate the display panel assembly 180-degrees.
13.
Remove the screws that secure the second bracket to the display panel.
14.
Remove the second display bracket from the display panel.
Replacing the Display Panel Assembly
To replace the display panel assembly, perform the above steps in reverse order.
Removing the Display Assembly
1.
Follow the procedures in
Before Working Inside Your Computer
.
2.
Remove the
battery
from the computer.
3.
Remove the
hinge covers
from the computer.
4.
Remove the
access panel
from the computer.
5.
Remove the
system board
from the computer.
6.
Remove the screw that secures the display assembly to the palmrest assembly near the left hinge.
7.
Remove the screw that secures the display assembly to the palmrest assembly near the right hinge.
8.
Lift the base palm rest assembly away from the display assembly.
Replacing the Display Assembly
To replace the display assembly, perform the above steps in reverse order.