Optical bay latch, Removing the optical bay latch – Dell Inspiron 710M User Manual
Page 22
Back to Contents Page
Optical Bay Latch
Dell™ Inspiron™ 700m/710m Service Manual
Removing the Optical Bay Latch
Replacing the Optical Bay Latch
Removing the Optical Bay Latch
1.
Remove the
battery
.
2.
Remove the
memory module
.
3.
Remove the
Mini PCI card
, if present.
4.
Remove the
modem card
, if present.
5.
Remove the
hard drive
.
6.
Remove the
keyboard
.
7.
Remove the
display module
.
8.
Remove the
palm rest
.
9.
Remove the
system board
.
10.
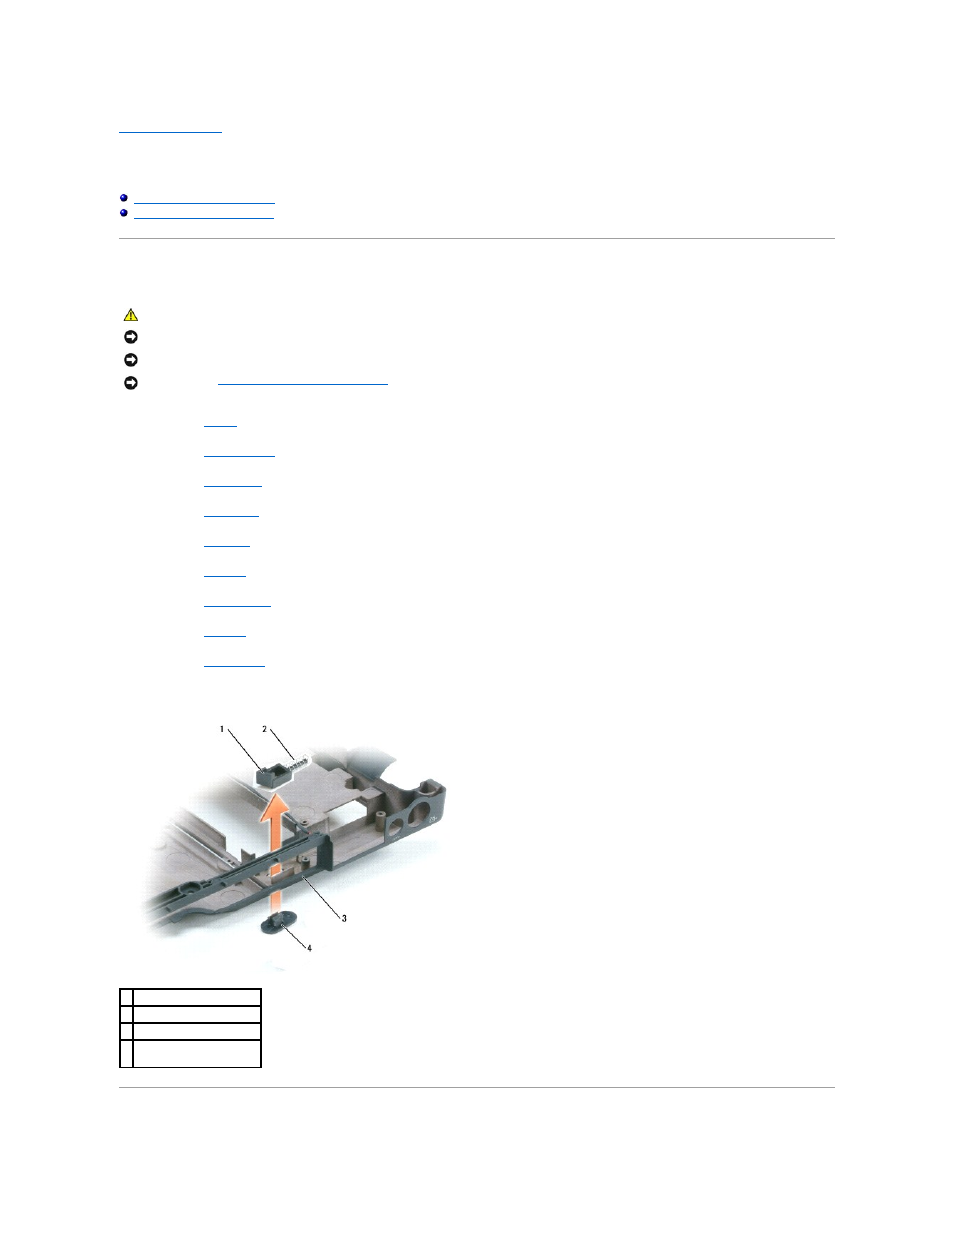
On the inside of the bottom case, use your fingers to unhook the latch from the bottom case and the snap tabs, catching the optical-latch release
button on the outside of the bottom case.
CAUTION:
Before you begin any of the procedures in this section, follow the safety instructions in the Product Information Guide.
NOTICE:
Disconnect the computer and any attached devices from electrical outlets.
NOTICE:
To avoid ESD, ground yourself by using a wrist grounding strap or by touching an unpainted metal surface on the computer.
NOTICE:
Read "
Before Working Inside Your Computer
" before performing the following procedure.
1 optical lock latch
2 spring
3 bottom case
4 optical-latch release
button