Hard drive, Replacing the hard drive – Dell Inspiron 710M User Manual
Page 17
Back to Contents Page
Hard Drive
Dell™ Inspiron™ 700m/710m Service Manual
Returning a Hard Drive to Dell
Replacing the Hard Drive
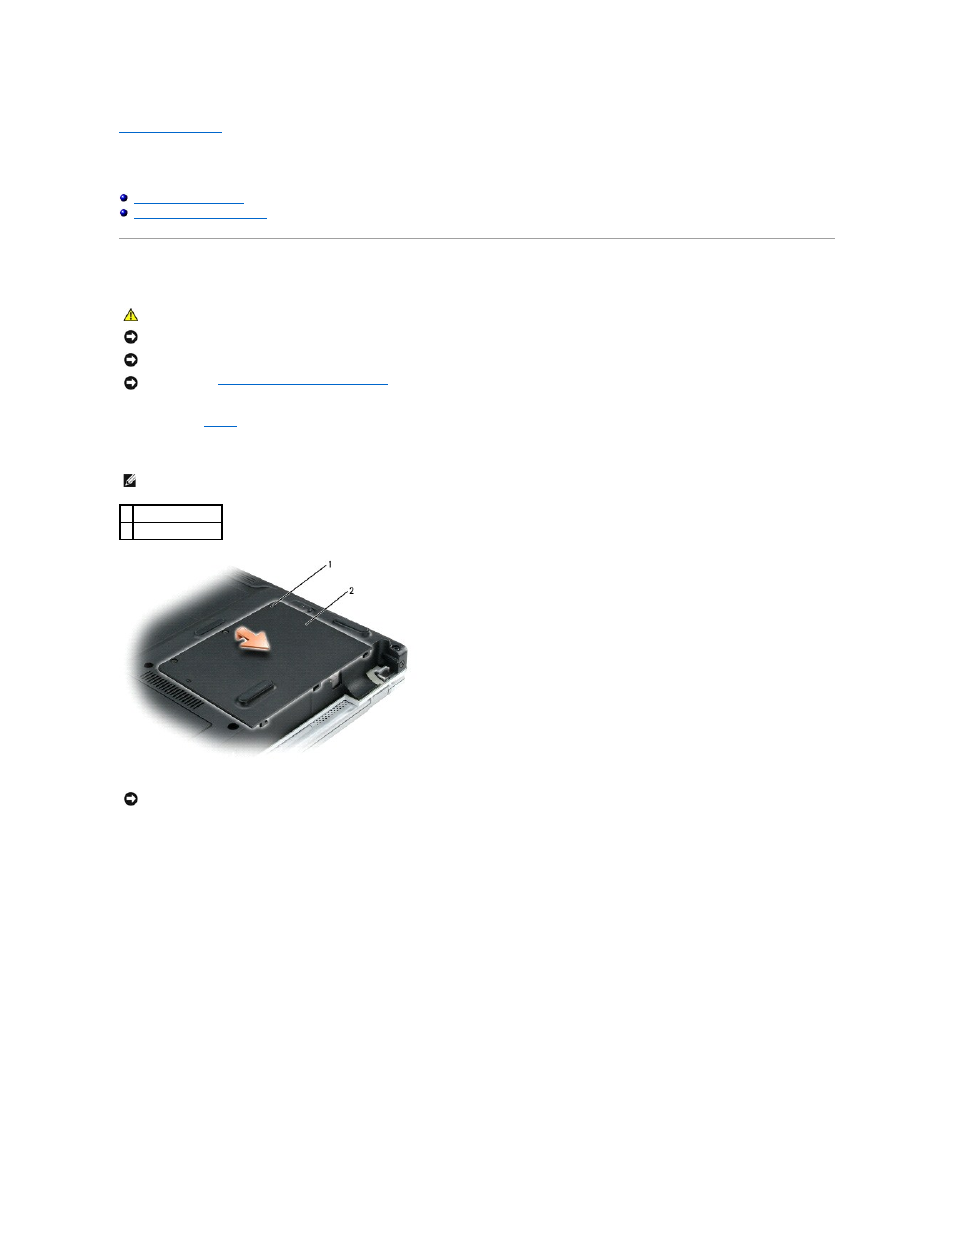
1.
Remove the
battery
.
2.
Loosen the three captive screws that secure the hard drive to the bottom case.
3.
Loosen the two captive screws on the hard-drive securing bracket and remove the bracket.
4.
Pull the hard drive out of the computer using the pull tab.
CAUTION:
Before you begin any of the procedures in this section, follow the safety instructions in the Product Information Guide.
NOTICE:
Disconnect the computer and any attached devices from electrical outlets.
NOTICE:
To avoid ESD, ground yourself by using a wrist grounding strap or by touching an unpainted metal surface on the computer.
NOTICE:
Read "
Before Working Inside Your Computer
" before performing the following procedure.
NOTE:
Rubber grommets secure each screw to the hard drive so that you do not need to completely remove the screws.
1 captive screws (3)
2 hard drive cover
NOTICE:
When the hard drive is not in the computer, store it in protective antistatic packaging. See "Protecting Against Electrostatic Discharge" in the
Product Information Guide.