Dell 3010cn Color Laser Printer User Manual
Page 47
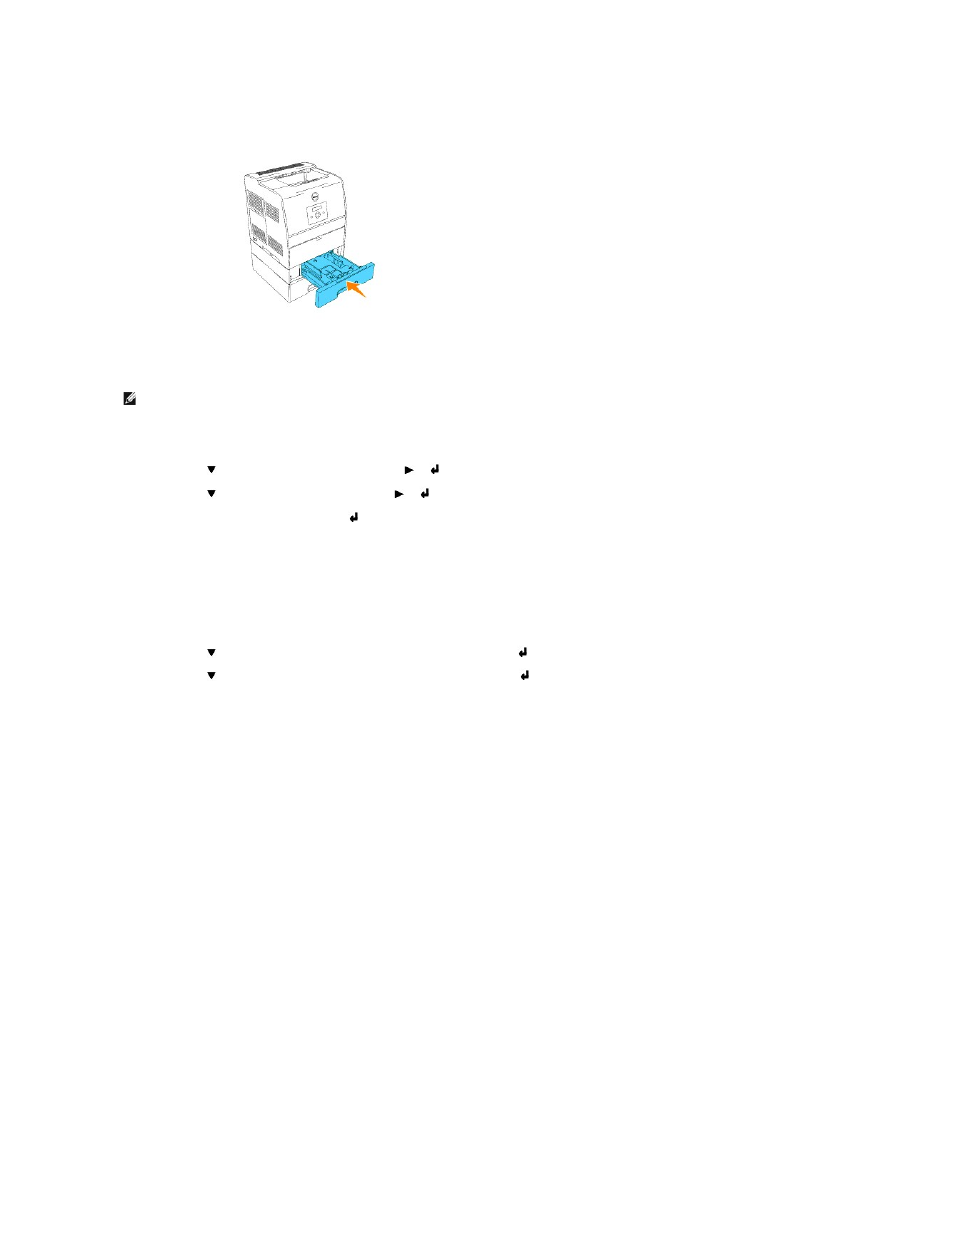
9.
Replace all trays and load the paper.
10.
Turn on the printer.
11.
Print a Printer Settings page to verify the optional 250-sheet tray module or 500-sheet tray module is installed correctly.
a.
Press Menu.
b.
Press
until Configure appears, and then press
or
.
c.
Press
until Reports appears, and then press
or
.
d.
Printer Settings
is displayed. Press
.
The Printer Settings page is printed.
e.
Verify 250-Sheet Tray Module or 500-Sheet Tray Module is listed in the printer settings under Printer Options.
If the tray modules are not listed, turn off the printer, unplug the power cable, and reinstall the optional 250-sheet tray module or 500-sheet tray
module.
12.
After loading paper in the optional tray, specify the paper type and size from the printer operator panel.
a.
Press
until the paper size for the installed tray appears, and then press
.
b.
Press
until the paper type for the installed tray appears, and then press
.
13.
Update your driver by following the instructions for each operating system. If the printer is on a network, update the driver for each client.
Windows XP/XP x64/Server 2003/Server 2003 x64
1.
Click Start ® Printers and Faxes.
2.
Right-click this printer icon and select Properties.
3.
Click the Options tab, and then select Get Information from Printer.
4.
Click Apply, and then click OK.
5.
Close the Printers and Faxes folder.
Windows 2000/Windows NT 4.0
1.
Click Start ® Settings ® Printers.
2.
Right-click this printer icon and select Properties.
3.
Click the Options tab, and then select Get Information from Printer.
4.
Click Apply, and then click OK.
5.
Close the Printers folder.
NOTE:
The printer automatically detects the attached tray(s) but does not detect the paper type.