Serializing your labels, Printing a fixed-length label, Adding barcodes to labels – Dymo LabelManager 450D User Manual User Manual
Page 13
13
To print multiple copies of the label
Press
1.
Settings
.
Select
2.
Set # Copies and press
H
.
Press the up arrow key to increase the number of copies
3.
to print.
Press the down arrow key to begin decreasing the number
4.
of copies from 16.
Press
5.
H
.
Press
6.
1,2...n
to begin printing.
x
You may notice a brief pause in printing between each
label for more complex formats.
When printing is finished, the number of copies to print
returns to the default value of 1.
Serializing Your Labels
You can print a series of labels with the last number
incremented by one number. The number of labels serialized
depends upon the number of copies you selected to print. Only
the last series of numbers that follows any letter, space, or
punctuation will be serialized. For example, abc123 will print
as abc123, abc124, abc125; and 123-998 will print as 123-998,
123-999, 123-1000, and so on.
To serialize your labels
Enter the text for your label.
1.
Press
2.
Settings
and then select Set # Copies.
Press the up arrow key to increase the number of
3.
increments to print and press .
Press
4.
Shift
+
1,2...n
.
The labels automatically print, each label incremented by one
number.
Printing a Fixed-Length Label
Normally, the length of the label is determined by the length
of the text entered. However, you may wish to make a label
for a specific purpose that is a fixed length regardless of the
length of the text.
You can specify a fixed length for a label in 2 mm increments
between 40 mm and 400 mm. The preset fixed length is
100 mm. Any change you make to the fixed-length setting
remains in effect until you change it.
To set the label length
Press
1.
Shift
+
.
Press the up arrow to select
2.
Fixed Length On and then
press
H
.
Use the arrow keys to set the length.
3.
Press
4.
H
.
After you print the label, you must reset the fixed-length label
setting to OFF; otherwise, all your subsequent labels will print
with this fixed length.
Adding Barcodes to Labels
The label maker can print barcodes in six standard formats:
UPCA, UPCE, EAN8, EAN13, CODE39, and CODE128.
You can print a barcode on 19 mm and 24 mm label tape; and
you can print only one barcode per label.
The barcode prints horizontally along the label with the text
in small print underneath the barcode. You can optionally
add text before and after the barcode. Or, you can add text
above or below the barcode by creating a two-line label. See
Creating Multi-Line Labels on page 10.
Four of the standard barcodes require a fixed number of
characters to generate the barcode: EAN8, EAN13, UPCA, and
UPCE. CODE39 and CODE128 barcodes allow a variable number
of characters to be entered.
To set the barcode type
Press
1.
Settings
.
Select
2.
Set Barcode and press
H
.
Use the arrow keys to select the barcode type and press
3.
H
.
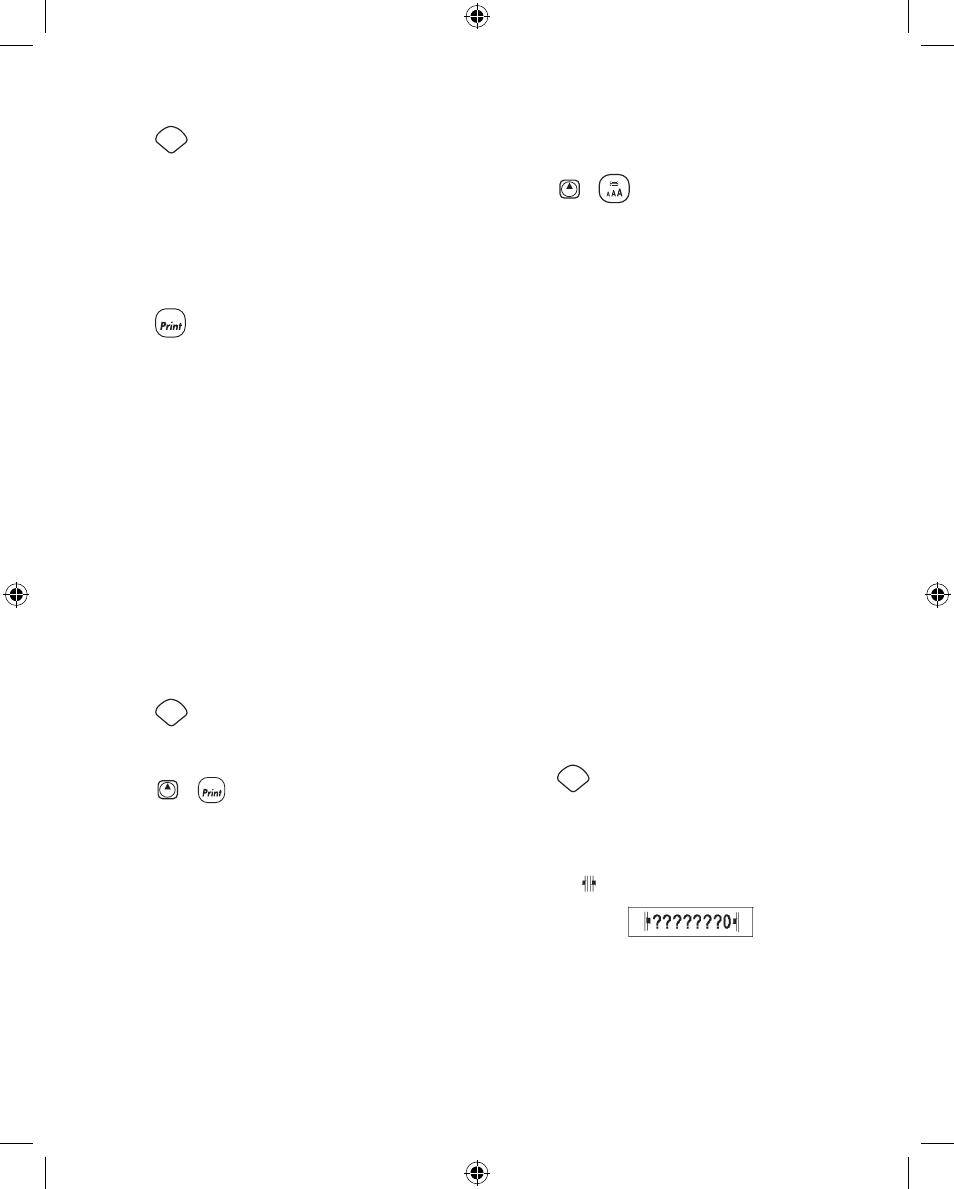
One or more question marks appear between the barcode
symbols ( ).
You may see a 0 in the far right position for some barcode
types. This is a check digit and will be replaced with a
number when the barcode data is entered.
Enter the data for the barcode, replacing the question
4.
marks, and press
H
when finished.
LM450D_manual_UK_WEU.indd 13
16-08-2007 09:23:08