Setup and programming – Wildview STC-TGL-X5IR User Manual
Page 3
www.wildviewcam.com
Toll Free 888‐304‐6125
9
BATTERY AND MEMORY INSTALLATION
Your Wildview Digital Scouting Camera is designed to operate using two
different types of battery power options.
Batteries “C” cell
The internal battery compartment accepts 4 “C” cell batteries. Be sure to use
high quality brand name alkaline batteries. Install batteries with correct
polarity (+/‐) as noted inside the battery compartment.
12V Lead Acid External Battery
The camera is equipped with an external power jack designed to accept a
barrel plug cable that attaches to a sealed lead acid battery. (Sold separately).
This will enhance the camera’s field life.
Battery cable and complete 12V
Lead Acid battery kits are available wherever Wildview scouting cameras are
sold, or call toll free 888‐304‐6125. Only Wildview external battery
accessories are recommended.
1. Make sure camera is in the OFF position.
2. Insert the external battery barrel plug into the DC 12V jack on the bottom
of camera housing.
WARNING: Do not use different Voltage lead acid battery other than the
one specified in this section. Doing so will damage the camera and will
void the warranty.
WARNING: ALWAYS have the camera in the OFF position when installing
or removing batteries and memory card. Removing batteries or memory
card while the camera is ON it may damage the camera.
www.wildviewcam.com
Toll Free 888‐304‐6125
10
3. Turn the camera to the ON position.
4. The camera will automatically switch to external power when it is
connected, even if the internal batteries are installed.
NOTE: Please make sure the voltage and polarity (+/‐) are correct before
connection. Incorrect voltage or polarity (+/‐) will damage the camera.
When both internal and external batteries are connected, the camera will
draw power from the higher voltage source first.
Memory Options
The camera is also equipped with an expandable media card slot capable of
accepting up to 16GB* SD card (sold separately). With no memory card
inserted into the slot, the camera will use the built in SDRAM memory to
store images. If an SD card is inserted into the slot, then the camera will
bypass the built in memory and utilize the SD memory. The front counter
display will show the number of images in the built in memory, unless the
expansion card is inserted at which point the front counter will only display
the number of images stored in the expansion card.
WARNING: The above camera will not accept any High Speed memory
cards. Common verbiage that will indicate High Speed includes but is not
limited to: Extreme, Ultra, Optima, Micro, Platinum, Store and Shoot.
www.wildviewcam.com
Toll Free 888‐304‐6125
11
Inserting SD memory card
NOTE: Make sure camera is in the OFF position whenever adding or
removing memory.
• Insert SD memory card in to the SD card slot completely and in the
correct direction, as shown by the picture shown on the Open View
image above (see page 5).
• To remove the SD memory card, depress the SD card and pull out the
card gently.
• SD cards must be clean (no images from other sources). If you are using
the SD card from other cameras, please make sure to format the SD card
in your computer prior to use in the camera. New cards are good to use
straight from the package.
• If installed SD card is locked, camera will show LOC on the display, please
slide the lock switch to unlock location then reinstall the SD card.
FORMAT – Definition: When you format a SD memory card, the operating
system erases all information and files on the card. Then it creates an internal
address tables that it later uses to locate information and files. Formatting
also removes all Hidden System files as well. Basically it cleans your SD
memory card just like if it was brand new. Please make sure to follow the
guidelines listed below:
SD Card size: 2GB or below, format using File System type “FAT”.
SD Card size: 4GB or above, format using File System type “FAT32”.
*DO NOT use File System type “NTFS” or “exFAT”, these formats are not
supported.
www.wildviewcam.com
Toll Free 888‐304‐6125
12
SETUP AND PROGRAMMING
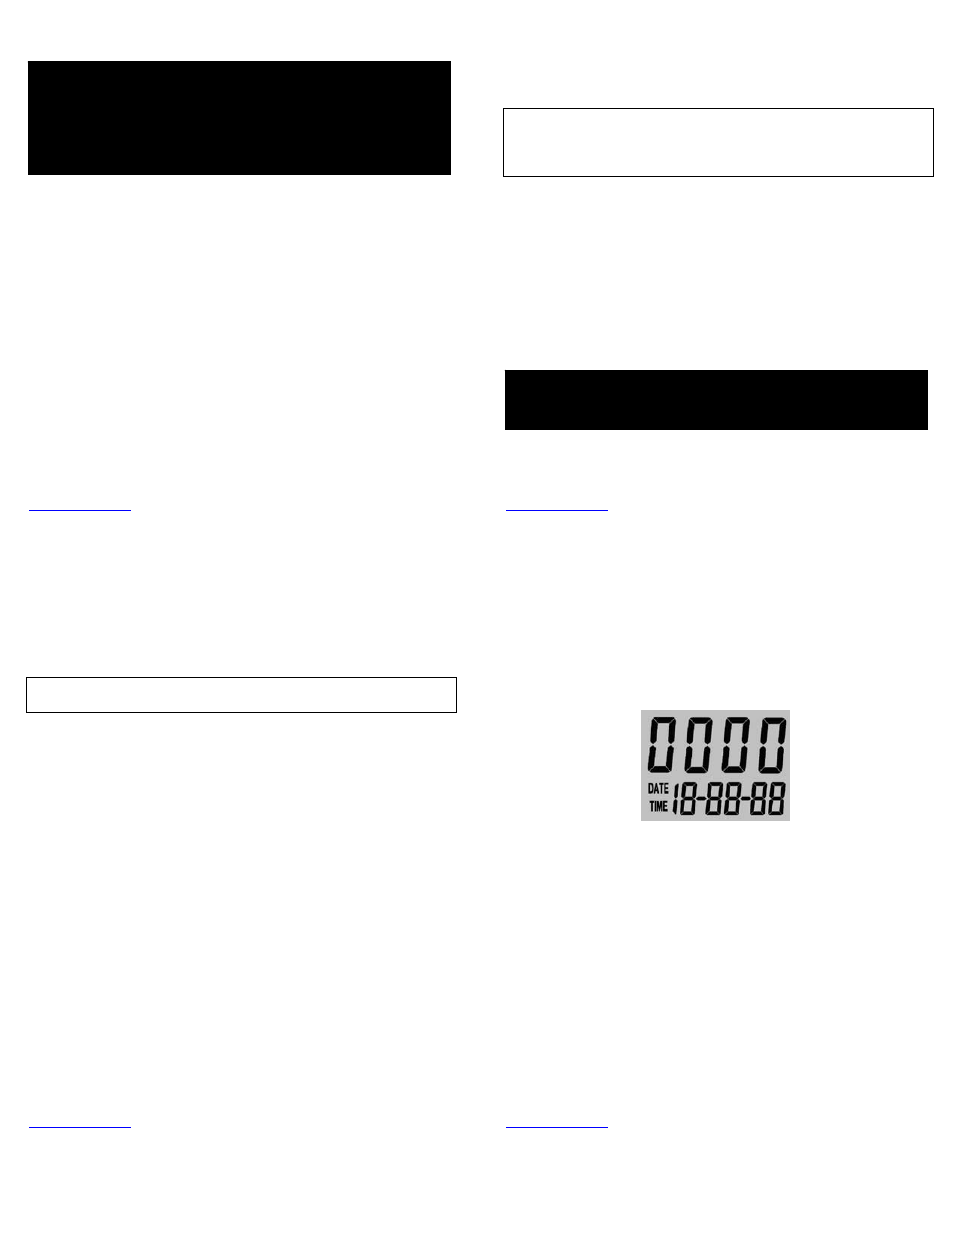
When the camera is first turned on, the internal LCD screen displays the
camera status. The following information is present on this screen.
Definitions
• Cam: To set which mode you want the camera to be in.
¾ TEST = Test mode
¾ OFF = Power Off mode
¾ ON = Active Passive Infrared mode / Power On mode
• Time out: To set the amount of time the camera will sleep between PIR
triggering.
¾ 20s = 20 Seconds
¾ 1m = 1 minute
¾ 5m = 5 minutes
¾ 10m = 10 minutes
• Resolution: The resolution selection that you have chosen.
¾ High (HI) = 5.0 Megapixels
¾ Low (LO) = 1.3 Megapixels