Starlight Xpress SXV-H9C User Manual
Page 16
Handbook for the SXV-H9 Issue 1 June 2002
16
I will assume that you are now set up with a focused camera attached to a telescope
with an operating sidereal drive. If so, you are now in a position to take a moderately
long exposure of some interesting deep-sky astronomical object (I will deal with
planets later). As most drives are not very accurate beyond a minute or two of
exposure time, I suggest that you find a fairly bright object to image, such as M42,
M13, M27 or M57. There are many others to choose from, but these are good
examples.
Use the finder to align on your chosen object and then centre accurately by using the
focus frame and a short exposure of between 1 and 5 seconds. The ’12-16 bit’ slider
in the focus frame allows you to adjust the image contrast if you find that the object is
too faint with a short exposure. Once properly centred and focused, take an exposure
of about 60 seconds, and observe the result. Initially, the image may appear rather
barren and show only a few stars, however, there is a great deal of data hidden from
view. You can get to see a lot of this, without affecting the image data, if you go to
the ‘View’ menu and select ‘Auto Contrast Stretch Image’. The faint image data will
then appear in considerable detail and I think that you will be impressed by the result!
If you are happy with the image, go to the ‘File’ menu and save it as a Tiff file in a
convenient directory.
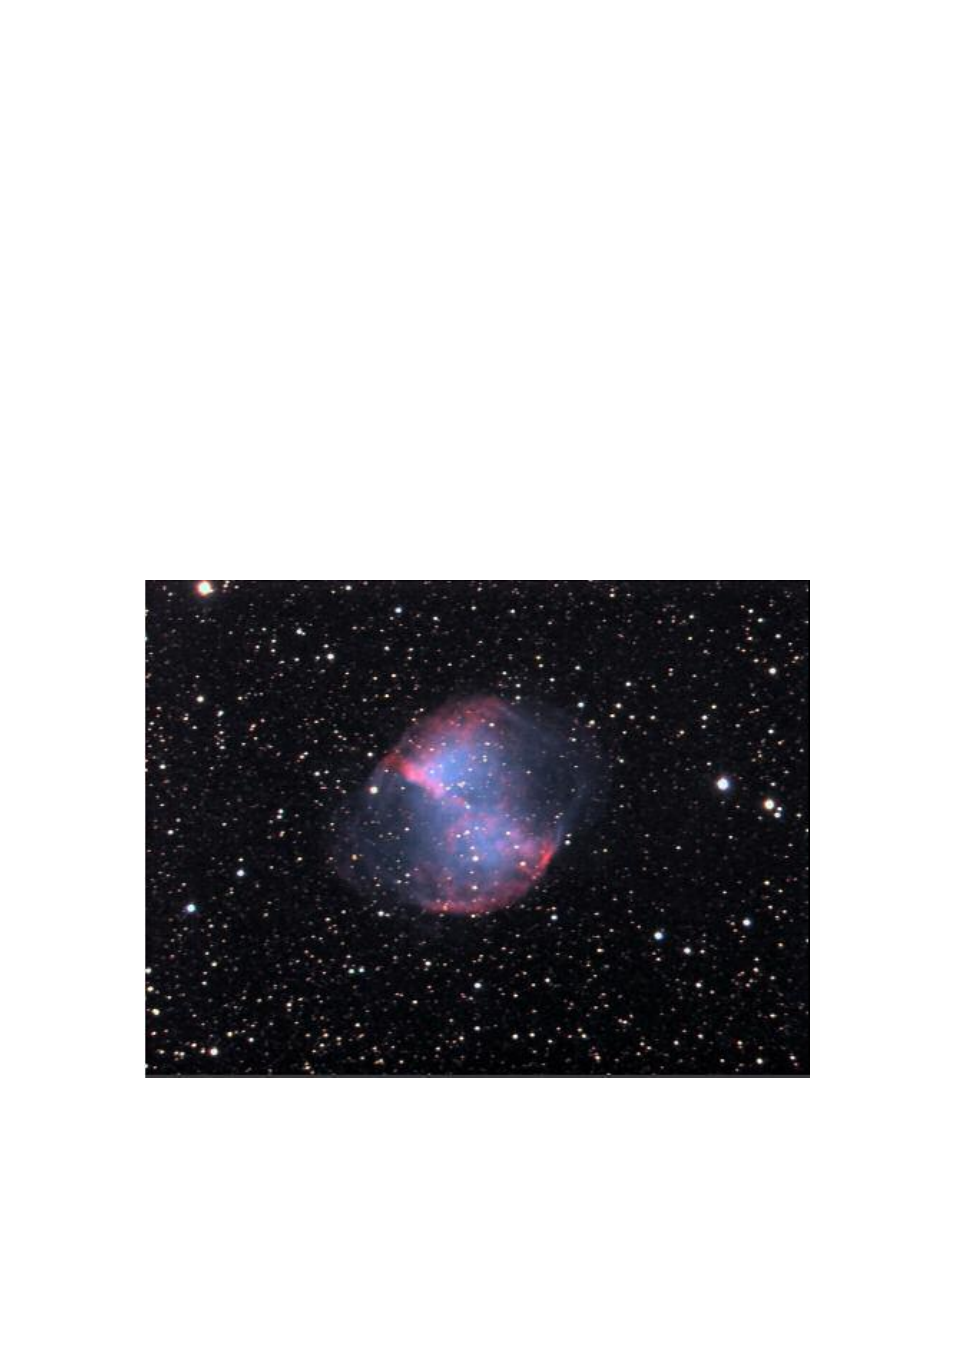
M27 from a 15 minute exposure at F5 with a C11
Most competitive brands of CCD camera require a ‘dark frame’ to be subtracted from
your images to achieve the best results. A dark frame is simply a picture which was
taken with the same exposure as your ‘light frame’, but with the telescope objective
covered, so that no light can enter. It records only the ‘hot pixels’ and thermal