页 20, Menu system instruction, Function – SONIQ E46Z10A User Manual
Page 20
Menu
Return
OK
EXIT
OK
Exit
PVR File System
Select Disk
C:
Record Max Time 4Hr.
Check PVR File System Start
USB
Disk
Format
Time Shift Size
Speed
Disk Remaining Space MB
Menu
Return
OK
EXIT
OK
Exit
PVR File System
Select Disk C:
Record Max Time 4Hr.
Check PVR File System Start
USB Disk
Format
Time Shift Size
Speed
Disk Remaining Space MB
Select Disk
OK
Exit
Disk
C:
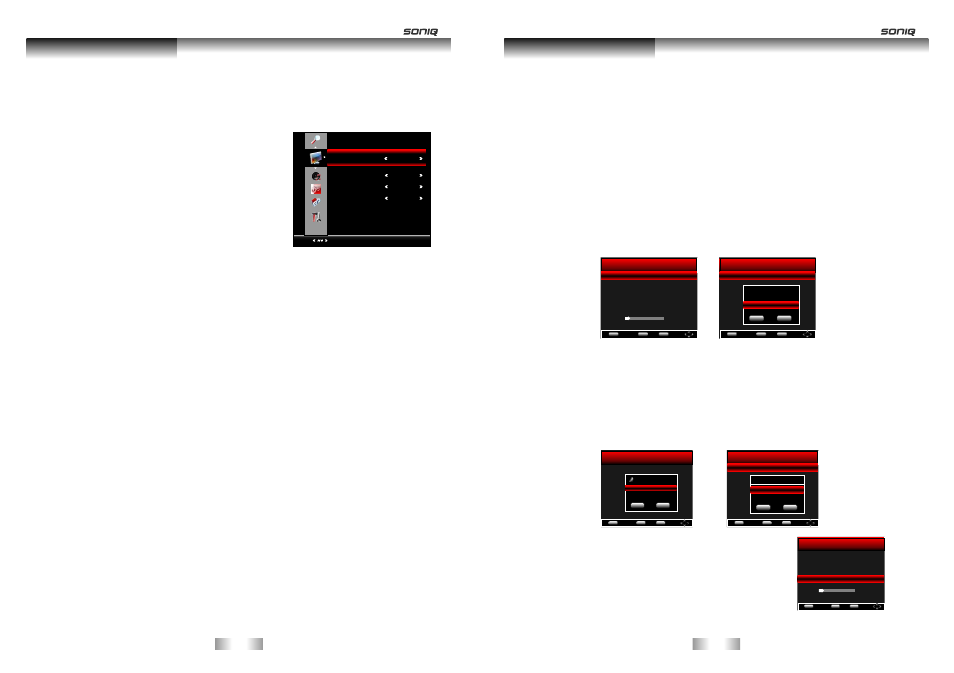
Function
Menu System Instruction
Aspect Ratio
You can select the picture size which best corresponds
to your viewing
1. Press p/q key to select “
" option.
2. Press t/u key to set the scale mode.
You can also press “
” key on the remode control
to select one of the scale modes.
(Auto, 16:9,4:3,Panorama,Moive,Subtitle. Auto and
Panorama is disabled when it is in
)
Screen Saver
This option is only used in ATV mode.
1.Press p/q key to select “Screen Save” option.
2.Press t/u to choose on or off.
OPC
Press t/u button to select “On”, “Off” and “Demo”. In “On” mode, according to bright dark
screen image changes, the system will automatically adjust the allocation of power, so as
to achieve the effect of energy-saving.
If “OPC” is in “Demo” mode, it will turn to “On” automatically the next time you
turn on the TV.
Motion
After selecting the “Motion” option, press OK or key to enter the submenu.
1. ME/MC: Press
key to select the ME/MC mode: On/Demo. The moving pictures
will be more liquid in “On” mode. Your eyes can also be protected. In “Demo” mode,
the panel will be divided into two parts to show this function. The right part open the
function, and the left part does not. This option is not used in DVI/ VGA/ USB mode.
2. Detail enhance: Press
key to select the detail enhance mode: Off/On. The detail
will be stronger when it is in “On” mode.
3. Noise Reduction: Press
key to select the Noise Reduction mode: LOW/MIDDLE/
HIGH/DEFAULT/Off. You can select the right mode to match the pictures.
requirement.
Aspect
Aspect
Component/HDMI
/PC/USB mode.
''Off'' is the default setting and disables the OPC
function. In “Demo” mode, TV will show the OPC effect of real-time in the lower rightPC,
USB and DVI-HDMI modes or on signal.
Note: 1. The Demo mode can not show together with other menus.
2.
u
t/u
t/u
t/u
FUNCTION
Select
Menu:Return
Aspect Ratio 16:9
Screen Saver Off
OPC Off
MOTION Off
PVR
Menu System Instruction
PVR File System
Select Disk: Press OK” button to enter submenu and press
/
choose the disk for PVR.
Record Max Time: Press
/
Check PVR File System: Press OK” button to check if the disk is
PVR.
USB Disk:
Format: Press OK” button to enter format submenu. The disk must be
when first
used for PVR.
Speed: Display the disk writing/reading speed.
than 4500KB/S.
Disk Remain Space: Display the remaning space for PVR.
WARNING:
1. Before connecting your USB device to the TV, please back up your files to prevent them
from damage or loss of data.
2. A USB disk must be formatted when first used for PVR. Any existing data on the disk will
be lost during the formatting process. Please back up your disk if you do not want to lose
this data. You are recommended to use a dedicated disk for PVR use only. Do not
disconnect disk or power during formatting.
3. Do not modify PVR files on a PC.
USB2 supports Playback/Recording/Software upgrade. USB1 only supports playback.
Please connect your USB device to USB2 port on the back panel before using PVR.
Note: Make sure your USB device is compatible with the TV and able to support
PVR recording.
“
“t u” to
“t u” to set the max time for PVR Record.
Record Max Time: Set the maximum duration for any recording.
“
suitable for
Indicates PASS or FAIL for the status of your USB Disk.
“
formatted
Do not disconnect disk or turn power off during formatting.
When formatting your disk, a progress bar will appear on the display.
NOTE: The larger your device the longer it will take to format. The device
may take many minutes to format, this is not a malfunction, please wait for
the formatting to finish.
Time Shift Size: This setting is available to adjust only
after the disk has been formatted. The maximum Time
Shift Size is 8G.
Please note: It is suggested that you use a disk with
speed that is greater
NOTE: The times listed are not precise, only for reference.
Menu
Return
OK
EXIT
OK
Exit
PVR File System
Select Disk C:
Record Max Time 4Hr.
Check PVR File System Start
USB Disk
Format nat...
Time Shift Size
Speed
Disk Remaining Space MB
OK
Exit
File System Size
SD 55 Mins HD 15 MIins
PVR File System Size
All
Menu
Return
OK
EXIT
OK
Exit
PVR File System
Select Disk C:
Record Max Time 4Hr.
Check PVR File System Start
USB Disk
Format
Time Shift Size
Speed
Disk Remaining Space MB
OK
Exit
Time Shift Size
Time Shift Disk Size 512MB
SD 14 Mins HD 4 Miins
Menu
Return
OK
EXIT
OK
Exit
PVR File System
Select Disk C:
Record Max Time 4Hr.
Check PVR File System SUCCESS
USB Disk Pass
Format
(Hard Disk Recommended)
Pass Pass
Time Shift Size 512MB
Speed 3008KB/s
Disk Remaining Space 384 MB
HD support
-37-
-38-