LandAirSea 3100 GPS Tracker User Guide User Manual
Page 20
14
Exporting the Map and Track to a Windows BMP file
You can export the map and the track to a Windows BMP file by selecting Tools | Export
Screen to BMP File. You will be asked to give a name to that file. Click Save and the file
will be saved.
Set Area
This function is used in conjunction with Open Map. When you have a map open,
choose Set Area. It will ask you to type a name to save this information. When you select
Open Map, you will see your new area in the list.
Text Activity Reports:
To create a text report, select Tools | Generate Activity Report. You will then be asked to
save the file to a location. We recommend you save it to your My Documents folder so it
is easy to find. A default name will be given to the file unless you change it. Click the
save button to save the activity report. It will automatically open up in your default web
browser.
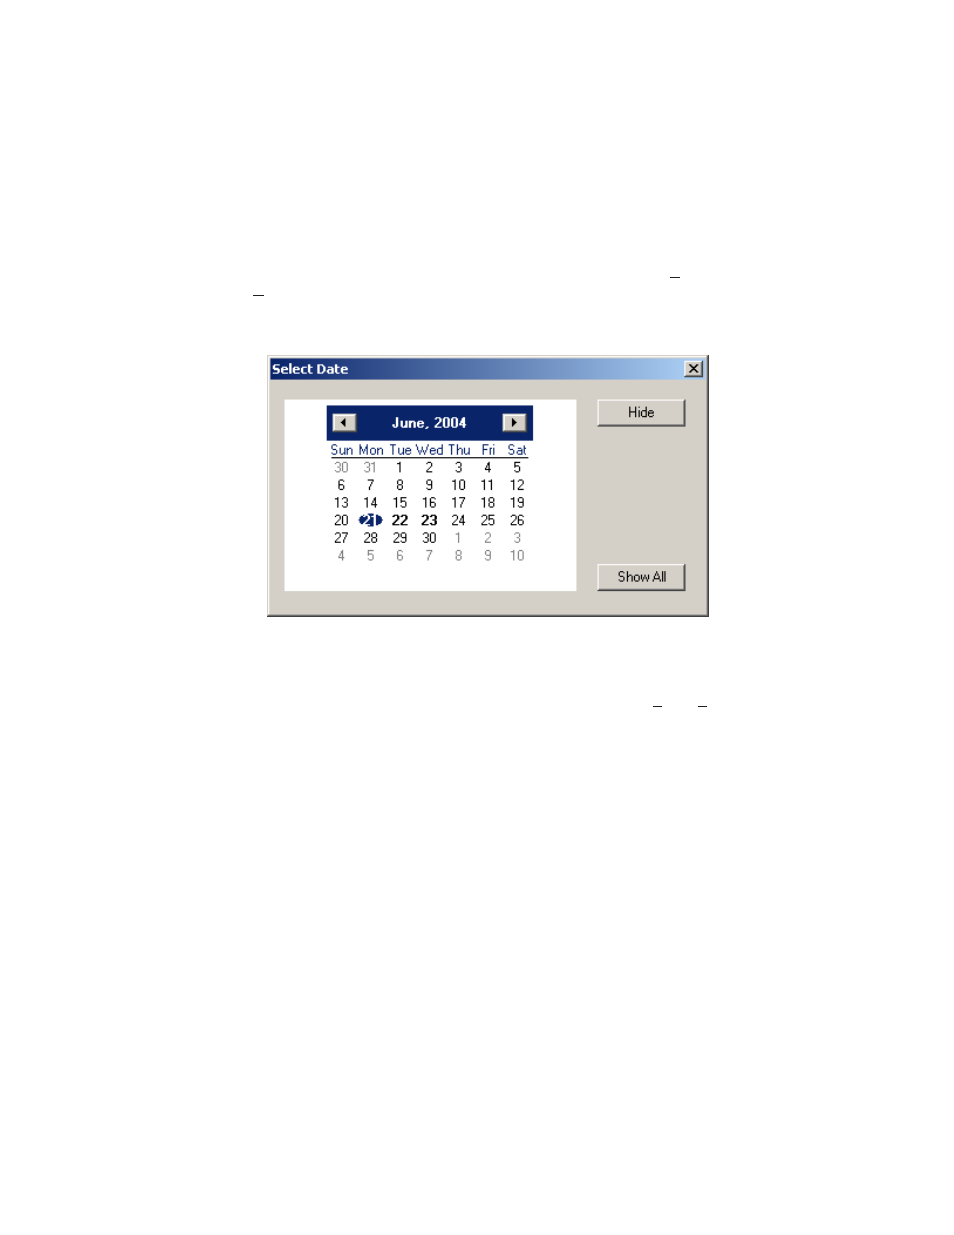
Figure 7.2 - View By Date
Selecting Which Days to Review
You have the option of selecting which days to review and print by selecting View | Enable
View By Date. The default setting is to display the data from everyday. When a day is
shown in Bold Type, that means that you have data from that day. You click on the day
you want to review by clicking on that date. See Figure 7.2.