Vigo VG0601 User Manual
Page 5
5
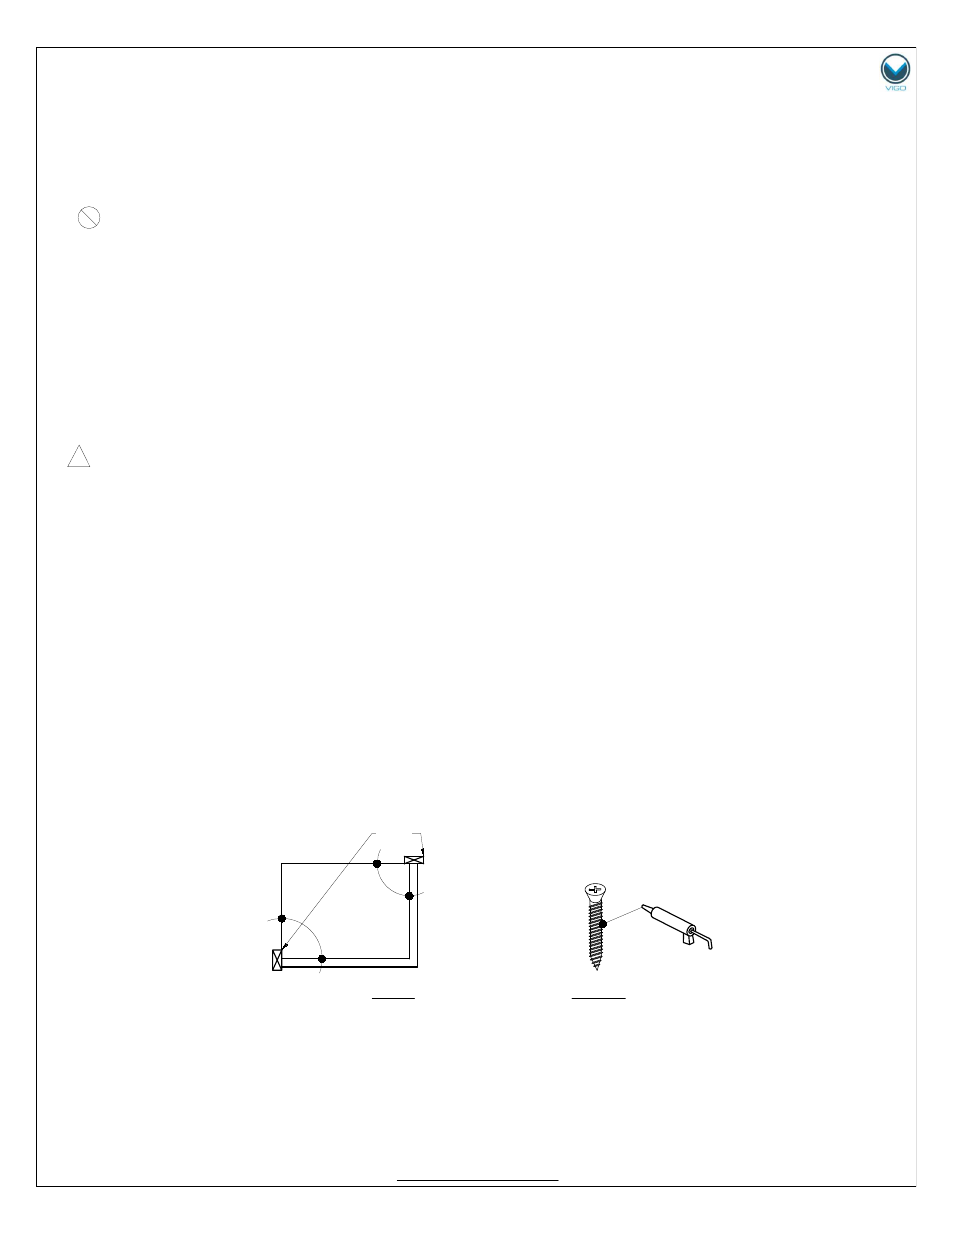
STUD
FIG.1
FIG.2A
MODEL VG06011
PREPARATION STEPS TO FOLLOW BEFORE INSTALLATION
1.
Remove the plastic layer from the base border (if needed). Do NOT remove the plastic layer off
the plastic platform of the base.
2.
Properly apply silicone to the wall and base joints.
IMPORTANT
To prevent damage to the finish, you should protect the shower cabin bottom with a cardboard
protector before beginning the installation.
Ensure that there is sufficient structural support behind the shower wall to hold the weight of the
shower door. If there is insufficient support, then reinforce the shower walls with wooden studs
prior to shower door installation. [SEE FIG.1]
INSTALLATION STEPS
A.
INSTALLING THE BOTTOM RAIL
CAUTION
!
OUTSIDE EDGE OF THE BOTTOM RAIL IS HIGHER THAN THE INSIDE EDGE. TO ALLEVIATE
WATER BUILD UP IN THE TOP PORTION OF THE RAIL, IT IS RECOMMENDED TO DRILL SMALL
HOLES ON THE TOP INSIDE PORTION.
1.
Slide the corner joint onto the bottom rail. [SEE FIG.2]
2.
Place the bottom rail (#9) with the corner joint (#11) to the desired position on the shower base
(see page 2 for proper A and B distances). Make sure A and B are correct and plum.
3.
Seal the underside of the bottom rail with clear silicone. Center the rail sides to the base
according A and B measurements.
4.
Apply silicone to 3/4" screw (#18) threads. [SEE FIG.2A]
5.
Screw the bottom rail securely to the base with the 3/ 4" screw.
6.
Clip the aluminum cover to the front piece of the bottom rail.
7.
Apply silicone to 3/4" screw (#18) head portion and where the corner joint meets the bottom rail.