Brother LE8235001 User Manual
Page 2
9
10
11
Selecting Receive Mode
Set Station ID
Set Date and
Time
Choose the mode that best suits your needs by pressing Mode
repeatedly until you have changed the Fax and F/T lights to the
setting you want to use.
( means light off.
means light on.)
TAD
Fax
F/T
For use with a dedicated fax line.
Every call is answered as a fax.
TAD
Fax
F/T
For receiving fax and voice calls on one line.
The machine answers every call automatically and
receives a fax or pseudo rings for you to pick up a voice
call on an extension/external telephone.
TAD
Fax
F/T
For use with an external answering device.
The TAD answers every call and stores voice messages.
Fax messages are printed.
Make sure that TAD is connected to the external socket.
TAD
Fax
F/T
For receiving fax and voice calls on one line.
You control the phone line and must answer every call
yourself on the machine or extension/external telephone.
For more details, see
Receive Mode Settings in Owner’s Manual.
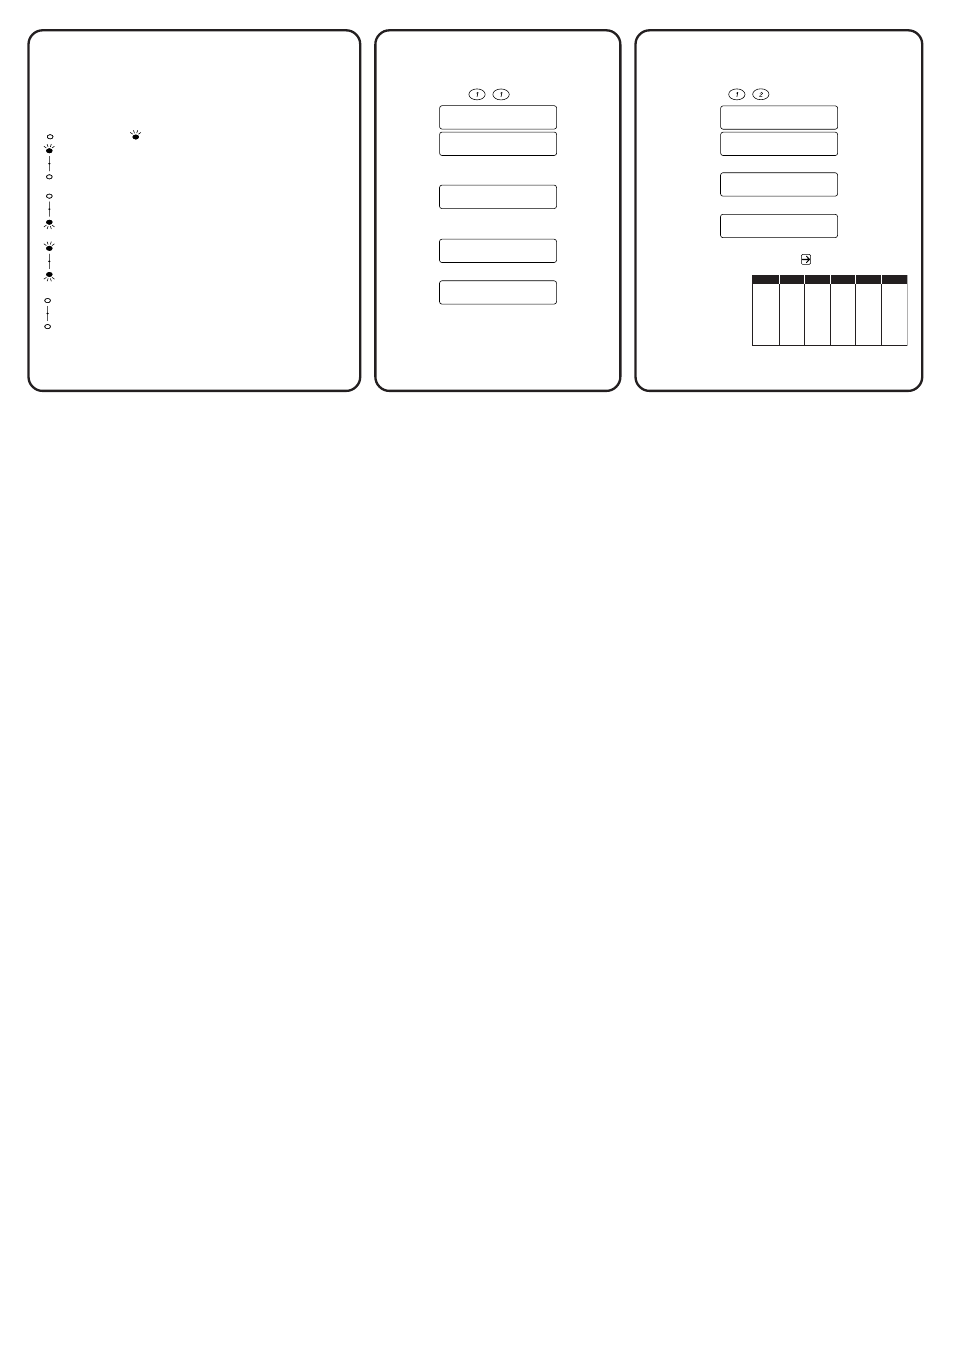
A.
Press Menu,
,
.
1.DATE/TIME
YEAR:XX
ENTER & SET KEY
B.
Enter the last two digits of the year and
press Set.
MONTH:XX
ENTER & SET KEY
C.
Enter two digits for the month and press
Set.
DAY:XX
ENTER & SET KEY
D.
Enter two digits for the day and press Set.
TIME:XX:XX
ENTER & SET KEY
E.
Enter the time in 24-hour format and press
Set.
F.
Press Stop/Exit.
Note: To cancel the setting and exit the menu
please press Stop/Exit.
A.
Press Menu,
,
.
2.STATION ID
FAX:
ENTER & SET KEY
B.
Enter your fax number, then press Set.
TEL:
ENTER & SET KEY
C.
Enter your telephone number, then press Set.
NAME:
ENTER & SET KEY
D.
Enter your name using the dial pad and the chart
below, then press Set. Press
twice to enter a
space.
E.
Press Stop/Exit.
For more details,
see
Entering Text in
Owner’s Manual.
Press Key
2
3
4
5
6
7
8
9
once
A
D
G
J
M
P
T
W
twice
B
E
H
K
N
Q
U
X
three times
C
F
I
L
O
R
V
Y
four times
2
3
4
5
6
S
8
Z
five times
A
D
G
J
M
7
T
9
Note: To cancel the setting and exit the menu please
press Stop/Exit.
– 2 –