Inspection – Multiquip MRH800DS2 User Manual
Page 23
MRH800DS2 VIBRATORY ROLLER • OPERATION AND PARTS MANUAL — REV. #1 (04/12/11) — PAGE 23
CHECKING THE VIBRATOR OIL LEVEL
1. Check vibrator casing for any oil leakage.
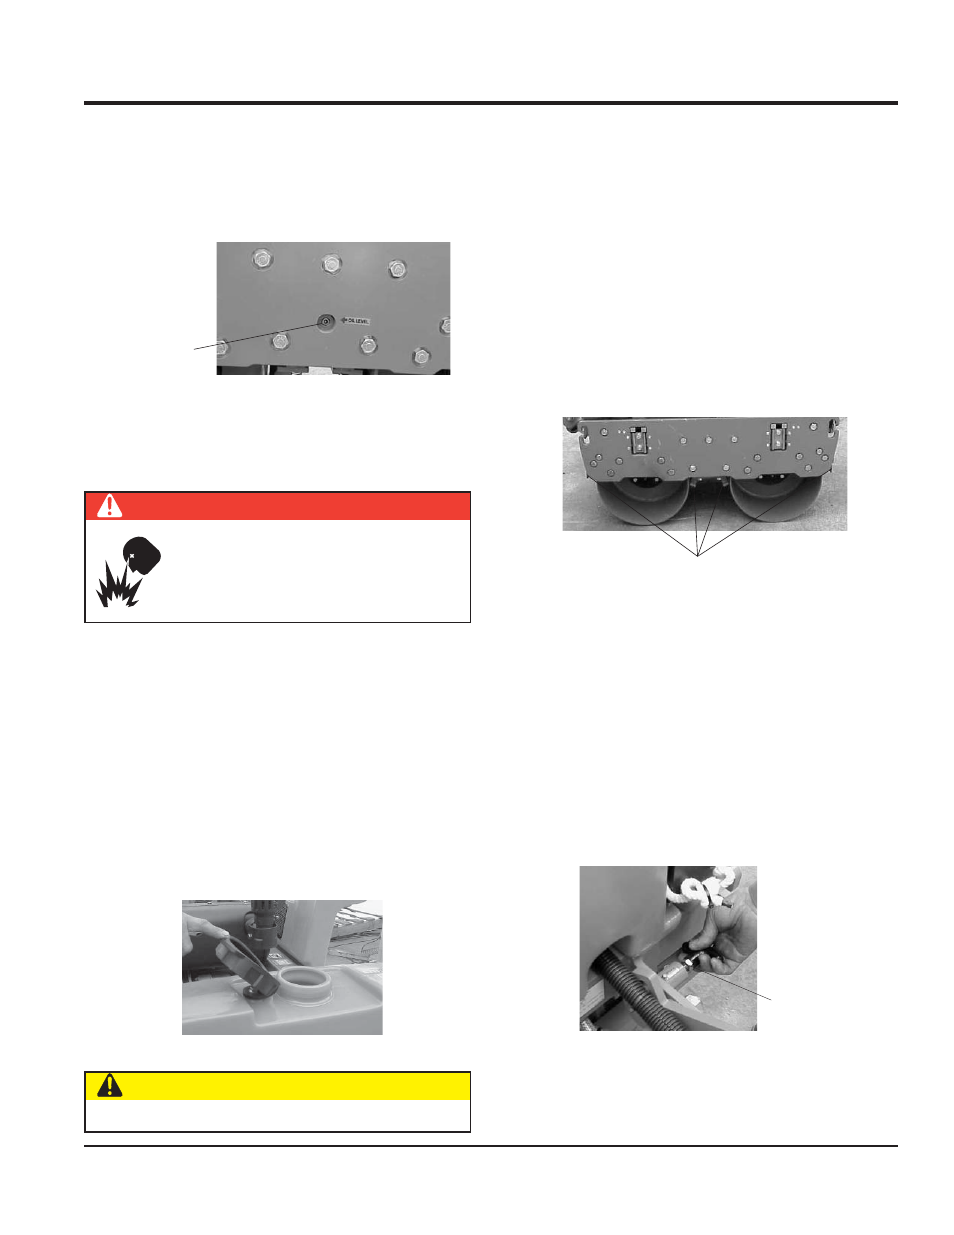
2. If any leakage is noticed, remove the level plug on the
side of the plate (Figure 8).
Figure 8. Checking Vibrator Oil Level
3. Check the oil level.
FUEL CHECK
1. Remove the fuel cap located on top of the engine fuel
tank.
2. Visually inspect to see if the fuel level is low. If fuel is
low, replenish with unleaded gasoline using a strainer
for fi ltration. DO NOT top-off fuel. Wipe up any spilled
fuel immediately!
CHECKING WATER TANK
Check the water tank to see if fi lled. Add water if necessary.
The water tank has a capacity of approximately 10 gallons
(40 liters). See Figure 9.
Figure 9. Checking Water Tank
VIBRATOR OIL
LEVEL PLUG
DANGER
Motor fuel is highly fl ammable and can be
dangerous if mishandled. DO NOT smoke
while refueling. DO NOT attempt to refuel
the pump if the engine is hot or running.
CAUTION
Be careful not to confuse the water tank with the oil tank.
INSPECTION
CHECKING LEVERS AND HORN
1. Check travel, vibration, and throttle levers to make sure
they are functioning properly (Figure 3).
2. With travel lever placed in reverse, push the deadman
device and verify that the travel lever returns to neutral
position. The travel lever stays in neutral position once
the deadman device is released.
3. Press the horn and verify that it functions properly.
CHECKING SCRAPERS
1. Check scrapers and make sure that they are not
clogged with mud, bent or damaged (Figure 10).
Figure 10. Checking Scrapers
2. Adjust clearance between drums and scrapers as
necessary.
CHECKING BOLTS, NUTS AND SCREWS
1. Check bolts, nuts, and screws on various parts of the
machine, including the engine, for proper tightness.
POSITIONING THE HANDLE BAR
1. Release the handle bar release pin (Figure 11) and
position the handle bar to the lowered position before
starting operation.
Figure 11. Positioning the Handle Bar
2. When machine is not in use, release the handle bar
release pin and position the handle bar to the upright
position.
SCRAPERS
HANDLE BAR
RELEASE PIN