Warning – Gast AT05 Series User Manual
Page 4
4
Manufacturer will NOT guarantee field-rebuilt product
performance. For performance guarantee, the product
must be returned to the manufacturer.
Service Kit contents vary. Most contain vanes, gaskets
and filter parts.
1. Remove filter/muffler parts from front of muffler box.
2. Remove the 5 muffler box bolts.
3. Use a small hammer to tap on box to remove. Do
not use a screwdriver.
4. Remove the 6 end plate bolts.
5. Remove end plate. Check direction of bevel edges
of vanes then remove vanes.
6. Clean body and rotor slots with Gast flushing
solvent or equivalent flushing solvent. Hand turn
the rotor to make sure it rotates freely. Any
unusual grinding or scraping sound could indicate
worn bearings or scored parts.
7. Check end plate, rotor and body for scoring.
Severe scoring or worn bearings will require
service at the manufacturer.
DO NOT remove rotor or motor bolts.
SERVICE KIT INSTALLATION
SHUTDOWN PROCEDURES
It is your responsibility to follow proper shutdown
procedures to prevent product damage.
NEVER ADD OIL TO THIS OIL-LESS PUMP.
1. Disconnect plumbing.
2. Operate product for at least five minutes without
plumbing.
3. Run at maximum vacuum for 10-15 minutes.
4. Repeat step 2.
5. Disconnect power supply.
6. Plug open ports to prevent dirt or other
contaminants from entering product.
Ꮨ
Disconnect electrical power supply cord before
installing Service Kit.
If product is hard wired into system, disconnect
electrical power at the circuit breaker or fuse box
before installing Service Kit.
Vent all air lines to release pressure or vacuum.
Failure to follow these instructions can result in
death, fire or electrical shock.
WARNING
Electrical Shock Hazard
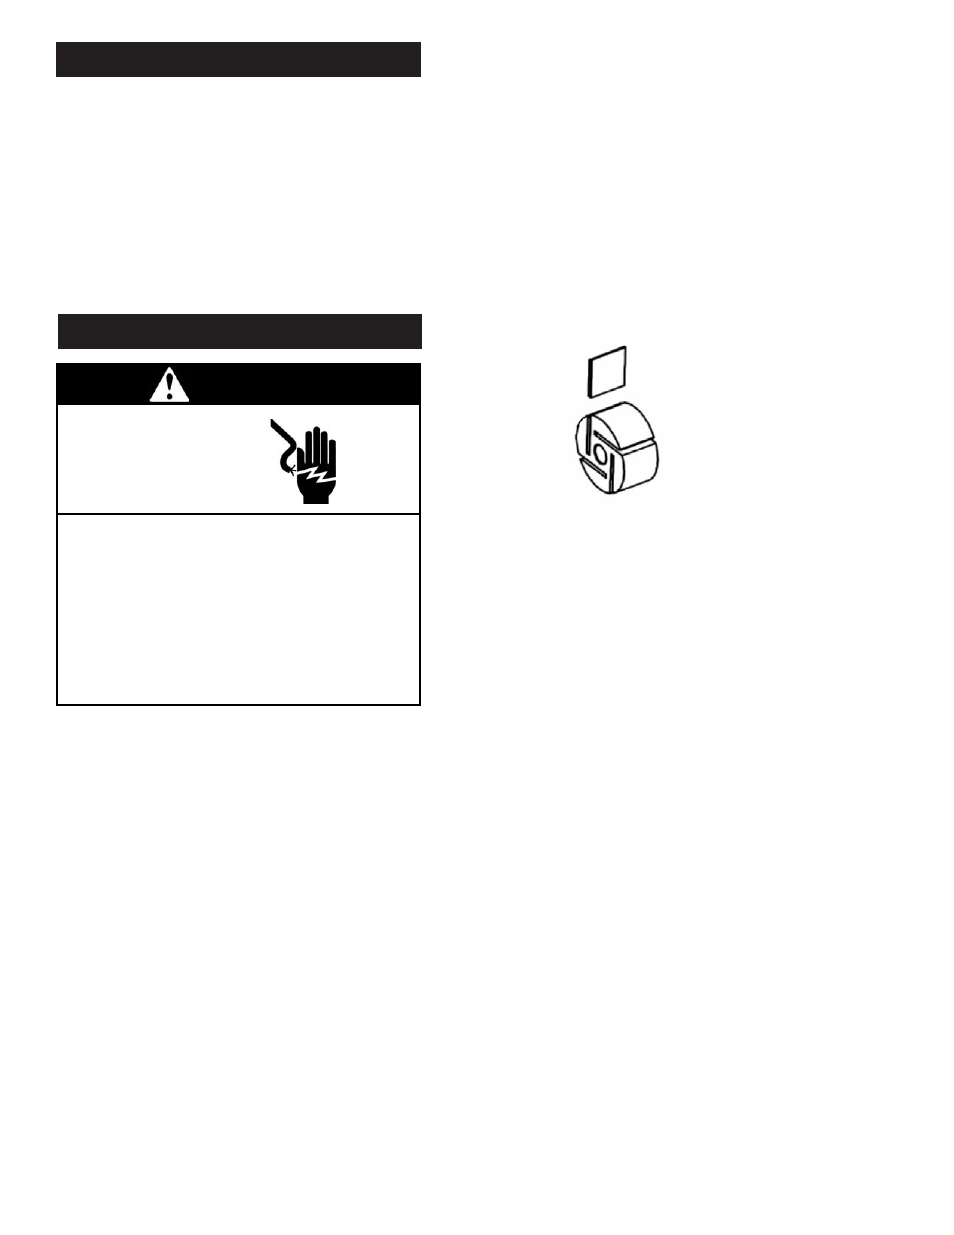
8. Insert vanes, checking that the bevel edges are in
the correct direction. See diagram below.
9. Replace end plate. Torque bolts to 90-120 in. lb.
10. Check gasket for damage.
11. Reinstall muffler box. Torque bolts to 90-120 in. lb.
Check that all external accessories such as relief valves
and gauges are attached and are not damaged before re-
operating product.
The vanes need to be flush with the curvature of the
rotor when installing.