Warning – Gast AT05 Series User Manual
Page 3
3
It is your responsibility to:
• Regularly inspect and make necessary repairs to
product in order to maintain proper operation.
• Make sure that pressure and vacuum is released
from product before starting maintenance.
Check intake and exhaust filters after first 500 hours of
operation. Clean filters and determine how frequently
filters should be checked during future operation. This one
procedure will help to assure the product’s performance
and service life.
General Maintenance
1.
Remove end cap and filters. Inspect filters for
rips,tears, cuts, brittleness and excessive foreign
material.
2. Clean filters if in good condition with
compressed air. Re-inspect for wear conditions.
Set filters aside.
3. Check both internal and external filter felts (#8 and
#11 on exploded view) for foreign material. If felts
are dirty or worn, replace with new felts.
4. Check condition of O-ring on internal filter. It should
be soft and flexible. Replace if it is not.
5. Remove and inspect muffler box. Clean box. Set
box aside. (Not all models have a muffler box.)
6. Check gasket for cracks or tears. Install new gasket
if any cracks or tears appear. Replace gasket.
7. Reinstall muffler box. Torque bolts to 90-120 in. lb.
8. Reinstall filters or install new filters if required.
Reinstall end cap finger tight.
MAINTENANCE
Option 2
1. Remove six end plate bolts. (See exploded view.)
2. Use a small hammer to carefully tap on end plate to
remove. Do not use a screwdriver to pry off.
3. Check that vanes are moving freely in and out of
vane slots. Replace vanes if more than 50% of the
vane extends past the vane slot.
4. Remove vanes and clean both sides with fine emery
cloth. Clean end-plate with fine emery cloth.
5. Flush vanes with solvent and remove all
solvent from vanes.
6. Flush body, rotor and end plate with solvent, then
remove all solvent from each part.
7. Check body, rotor and end plate for scoring. If each
part is clean and shows no signs of scoring,
re-install parts. If scoring appears,
send unit to factory or replace with new part(s).
8. Insert vanes, checking that the bevel edges are in
the correct direction.
9. Replace end plate. Torque bolts to 90-120 in. lb.
10. Check gasket for damage.
11. Reinstall muffler box. Torque bolts to 90-120 in. lb.
Check that all external accessories such as relief valves
and gauges are attached to cover and are not damaged
before re-operating product.
Flushing
Flushing this product to remove excessive dirt, foreign
particles, moisture or oil that occurs in the operating
environment will help to maintain proper vane
performance. There are 2 options for this operation.
If Option 1 does not remedy your problem, go on to
Option 2.
Use only Gast Flushing Solvent or other non-petroleum
based flushing solvent. Do Not use kerosene or ANY
other combustible solvents to flush product.
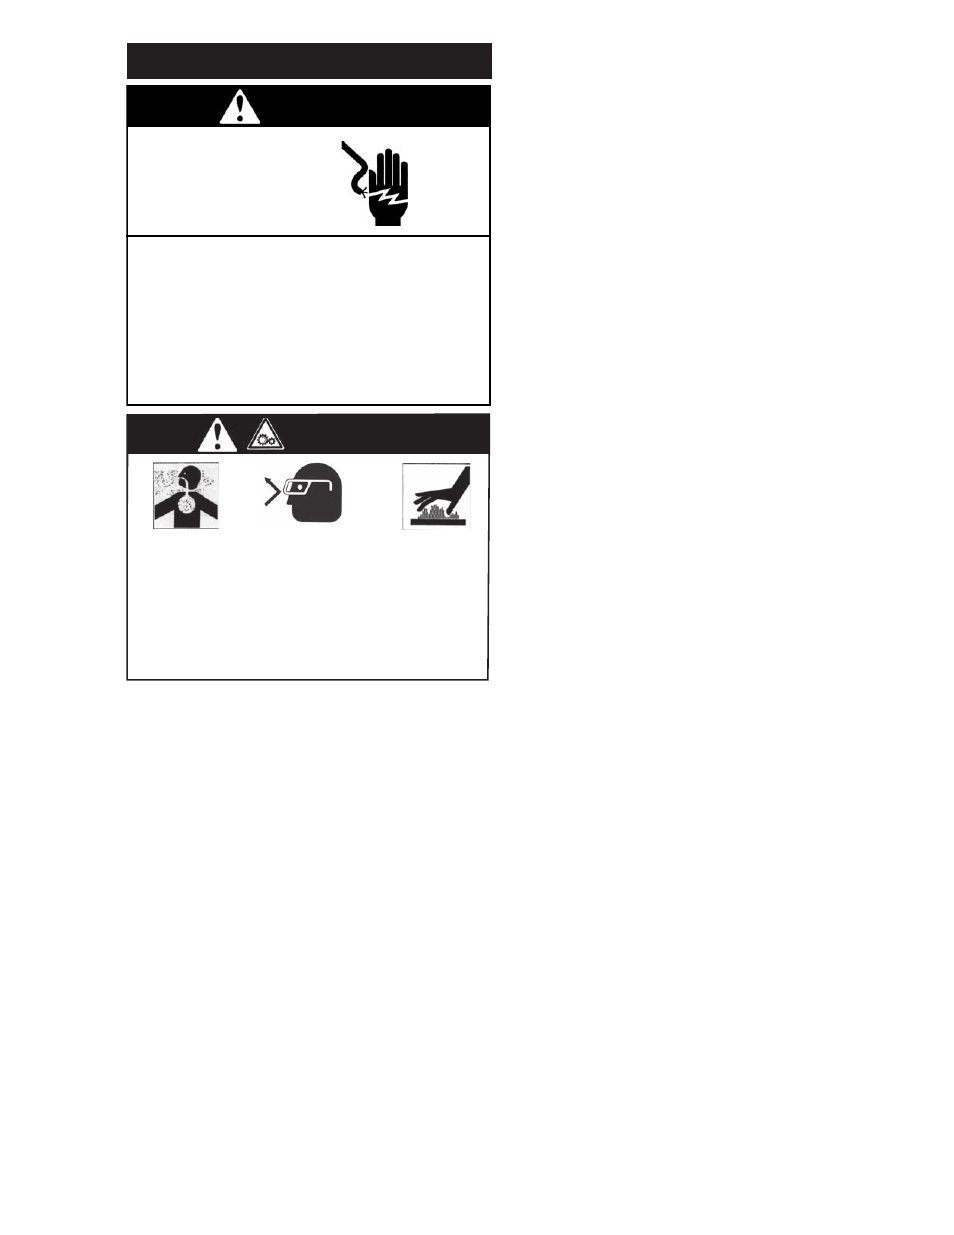
Ꮨ
Disconnect electrical power supply cord before
performing maintenance on this product.
If product is hard wired into system, disconnect
electrical power at the circuit breaker or fuse box
before performing maintenance on this product.
Failure to follow these instructions can result in
death, fire or electrical shock.
Electrical Shock Hazard
WARNING
Option 1
You will need 2 pipe nipples at least 4 inches long with
appropriate thread size for the unit involved. No nipples
are needed if the unit does not have a muffler box.
1. Remove filter and muffler cap (#9).
2. Remove 5 bolts. Use a small hammer to tap on
muffler box to remove it. Attach pipe nipples
where muffler caps were removed.
3. Start product and add flushing solvent to the inlet
port. If using liquid solvent, pour several
tablespoons directly into the inlet port. If using Gast
spray solvent, spray for 5-10 seconds into inlet
port. Place towel over exhaust port to clean up
solvent.
4. Plug inlet port for 20-30 seconds. Listen for
changes in the sound of the pump. If pump sounds
smooth, go to next step. If pump does not sound
like it is running smoothly, installing a Service Kit will
be required (See Service).
5. Release vacuum.
6. Repeat steps 3-5 three or four times.
If Option 1 is not successful, remove the end plate and
examine.
Air stream from product may contain solid or liquid
material that can result in eye or skin damage.
Flush this product in a well ventilated area.
Do Not use kerosene or other combustible solvents
to flush this product.
WARNING
Injury Hazard
Wear eye protection when flushing this product.
Failure to follow these instructions can result in
eye injury or other serious injury.