Dakota Ultrasonics MMX-6DL User Manual
Page 15
MMX-6 DL Ultrasonic Thickness Gauge
11
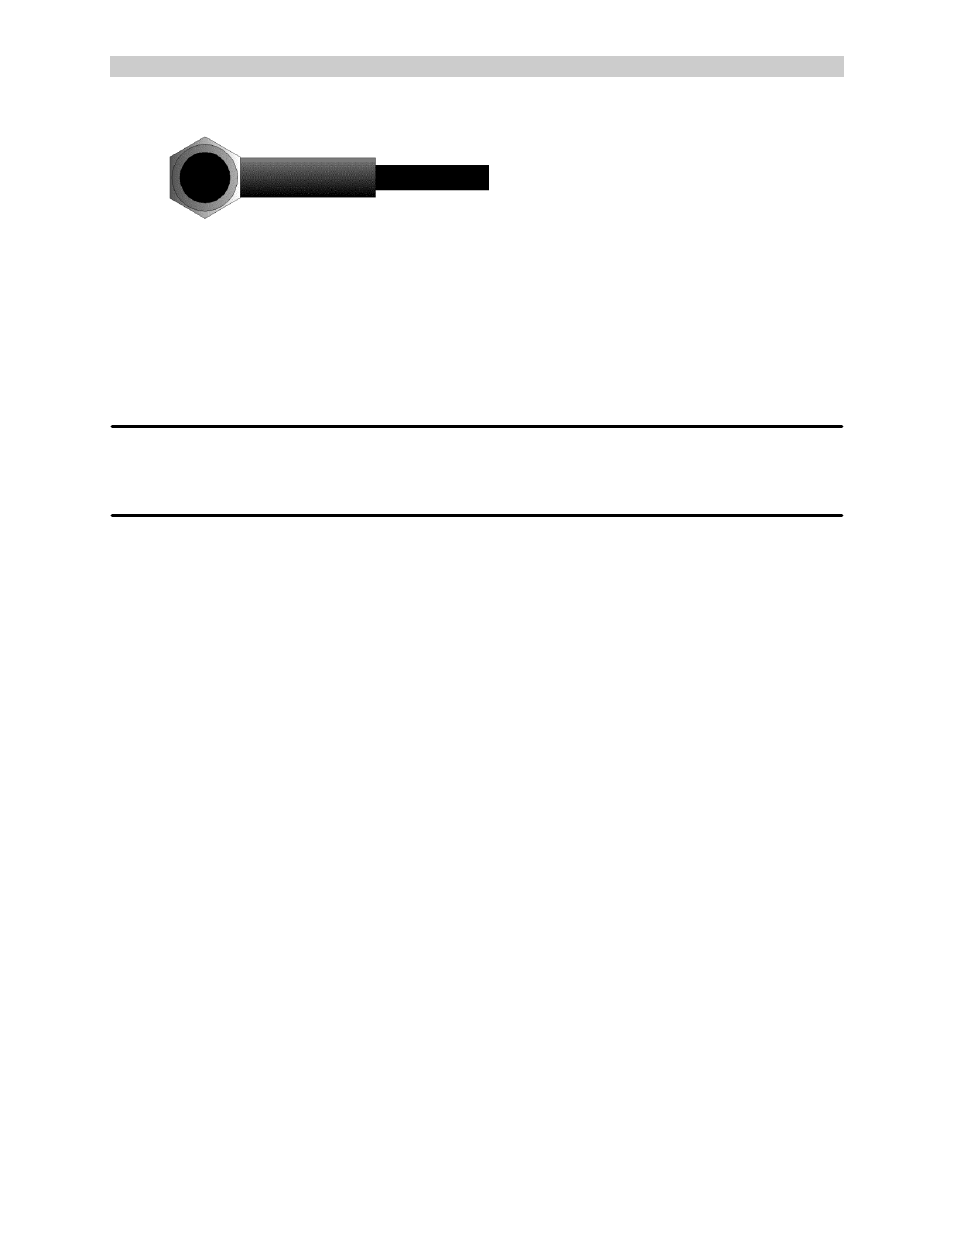
This is a top view of a typical transducer. Press against the top with the
thumb or index finger to hold the transducer in place. Moderate pressure is
sufficient, as it is only necessary to keep the transducer stationary, and the
wearface seated flat against the surface of the material being measured.
Making Measurements
In order for the transducer to do its job, there must be no air gaps
between the wear-face and the surface of the material being measured.
This is accomplished with the use of a "coupling" fluid, commonly called
"couplant". This fluid serves to "couple", or transfer, the ultrasonic sound
waves from the transducer, into the material, and back again. Before
attempting to make a measurement, a small amount of couplant should be
applied to the surface of the material being measured. Typically, a single
droplet of couplant is sufficient.
After applying couplant, press the transducer (wearface down) firmly
against the area to be measured. The Stability Indicator should have six or
seven bars darkened, and a number should appear in the display. If the
MMX-6 DL has been properly "zeroed" (see page 14) and set to the correct
sound velocity (see page 15), the number in the display will indicate the
actual thickness of the material directly beneath the transducer.