2 configuring bria, Setting up notifications, Setting up accounts – CounterPath Bria 4 Mac User Guide - Retail Deployments User Manual
Page 8: Configuring bria
CounterPath Corporation
4
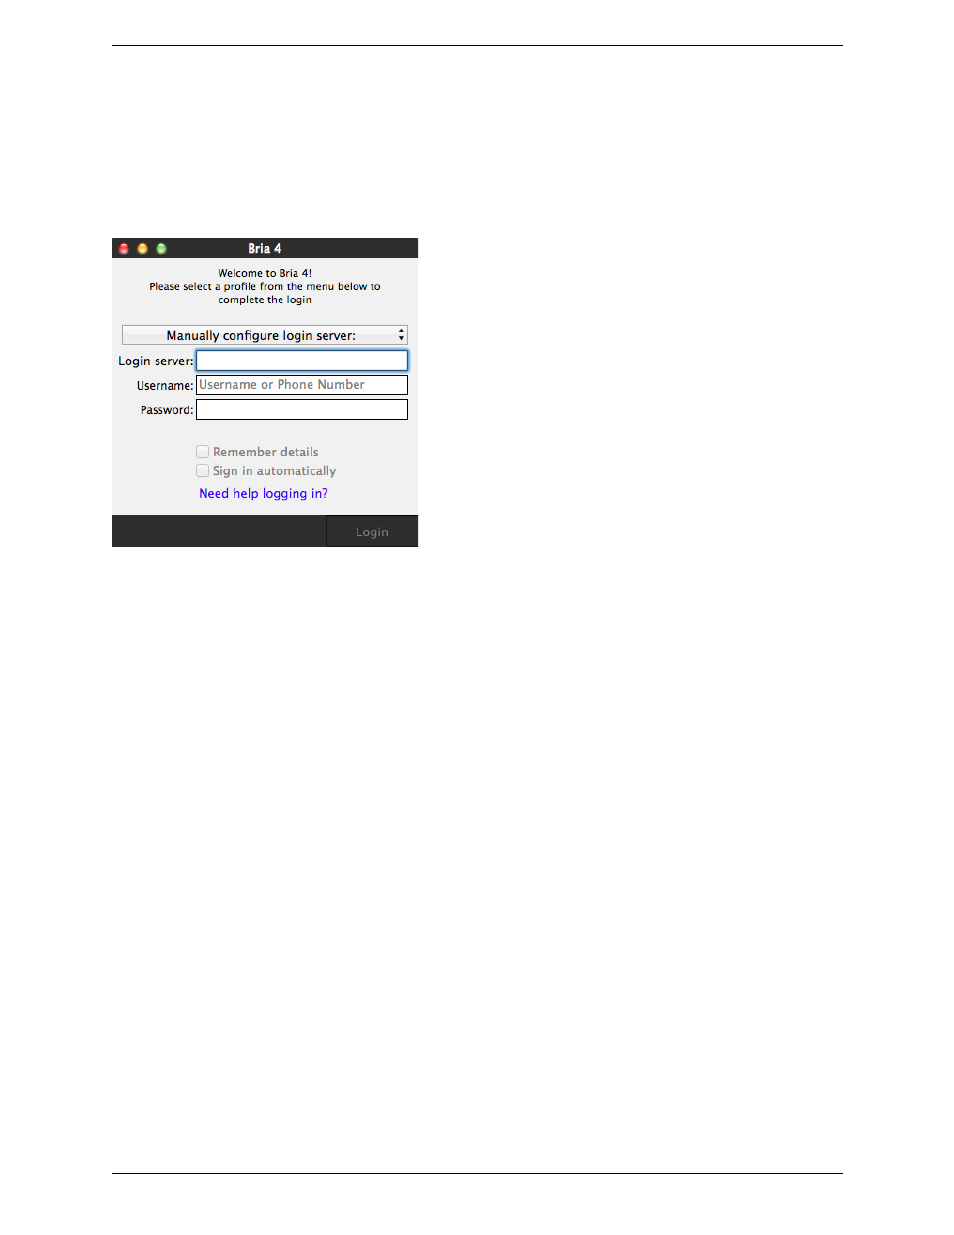
2.2 Configuring Bria
First-time Startup
If Bria is not already running, start it as you would any other program. The Bria Login dialog appears with the
Profile set to “Manually configure login server”.
Set the profile to “No login required” and click Continue. The softphone GUI appears. (Login is used only in
enterprise deployments in which a system administrator has set up a provisioning server to automatically
configure Bria for you.)
Subsequent Startups
After the first-time startup, the Bria Login dialog will not appear if you selected the No login required profile.
(If you started up the first time with “No login required” but in fact you do need to log in, go to the menu and
choose Preferences. Click the Application tab and enable login. See page 64.)
Setting up Notifications
Bria uses OS notifications. Make sure that the notifications are set up for Bria in system preferences.
From the menu, click Apple logo > System Preferences > Notifications. In the notification center, choose Bria
4. Choose Banner or Alerts for the alert style. For details on incoming call notifications, see page 15.
Setting up Accounts
After obtaining SIP account information from your VoIP service provider, you can set up Bria accounts.
1.
From the menu bar, choose Bria 4 > Preferences > Accounts. The Account list appears with one account
(the Mac Address Book account) configured; see below.
Set up the SIP Account
2.
Click the + button and choose New SIP Account. The SIP Account window opens.