C.B.S. Scientific MGV-216-33 User Manual
Page 9
C.B.S. Scientific
Double & Triple Wide Mini-Vertical
9
SECTION 3
Instructions for Use
3.1
Mini-Vertical Unit Preparation
Place Mini-Vertical unit on a level work surface in an authorized work area. If using the
internal cooling chamber option for the Dual unit, attach tubing to the inlet (bottom port)
and outlet (top port) and to your pump. Verify that the comb, spacer set and Gel Wrap
™
gasket are the same thickness.
3.2 Preparation/Cleaning of Glass Plates
Hand wash both plates with a high quality lab detergent followed by a complete rinsing
with dH
2
O. Air dry or use a lint-free tissue. Spray/wipe the chosen inner surfaces of the
plate set with 95% ethanol and dry with lint-free tissue. The same side of the notched
glass plate should a;ways be used to seal against the silicone gasket of the
electrophoresis unit. This will prevent any silicone residue from inhibiting gel
polymerization. Mark the notched plate to indicate which side will be placed against the
facia for future use.
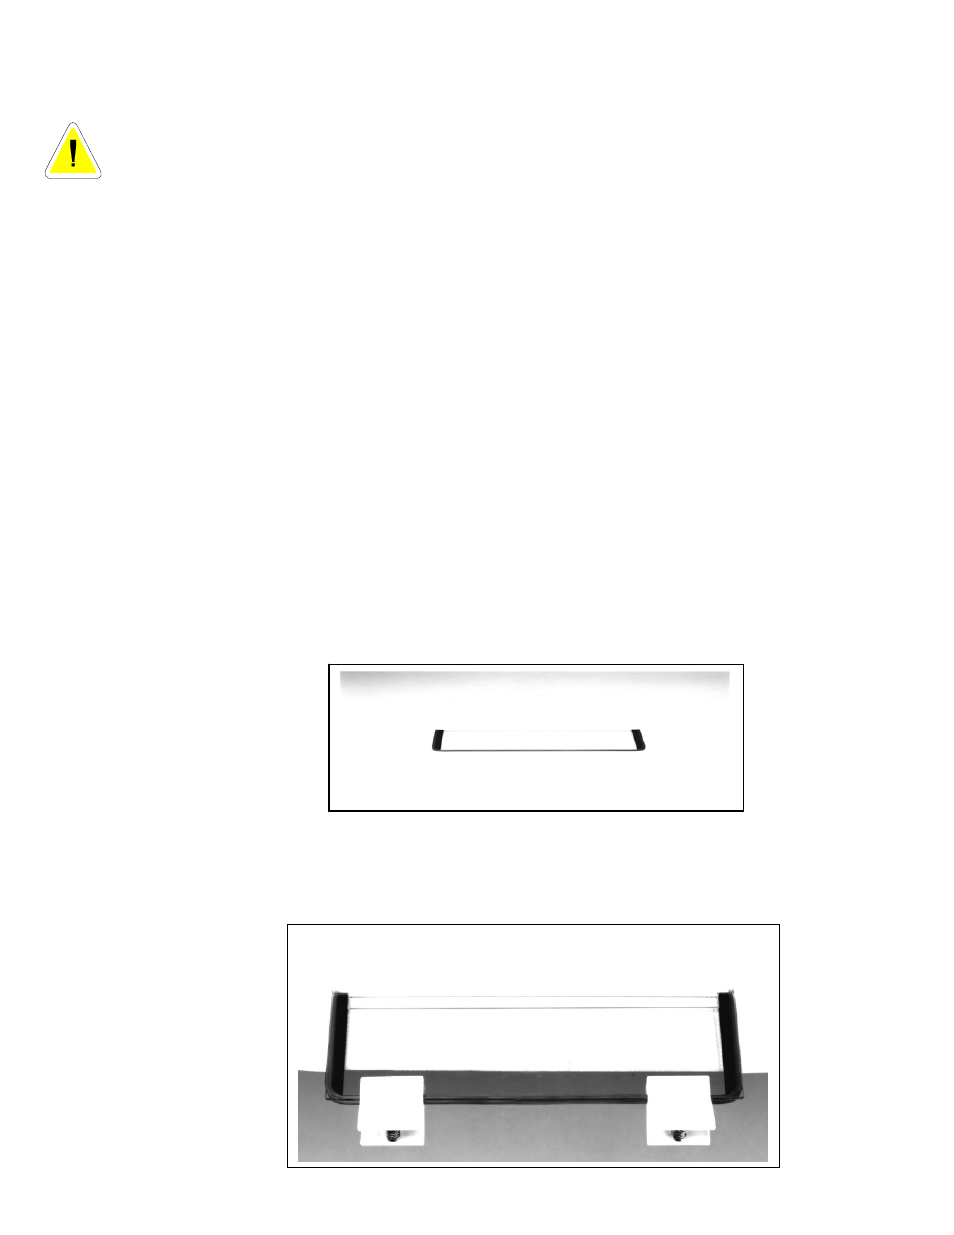
3.3
Gel Casting Using Gel Wrap
™ Gasket Casting method
1. Start by holding the rectangular back plate with the rounded bottom corners and start
applying the gasket around one side of the glass plate. Note: one side of the “U”
shaped gasket is flat, and the other side has tubing that will act as a seal around the
spacers.
2. When applying the gasket over the rounded corners of the back glass plate, make
sure the notches on the gasket align with the rounded corners of the glass plate.
Once the gasket is pushed over the bottom edge and corners, work it down the
remaining side.
3. Place the gasketed plate on the lab bench with the tubing side up, and extend the
bottom of the plate over the edge of the bench, approximately ¾ of an inch. Place
the spacers along side the inside edges of the gasket. Be sure the rounded corner
end of each spacer is facing the outside bottom of the plate, following the radius of
the glass.
4. Place the notched plate on top of the bottom assembly, starting from the bottom edge
and gently easing the plate down. Verify the gasket is smooth around the edges and
then clamp along the bottom, using #2 clamps (cat.# GPC-0002). Do not use a
center clamp along the bottom.