Activator installation, Required materials, Mounting the activator – Axcess Activator Installation Guide User Manual
Page 16
Activator Installation Manual
16
750.001.006 R04
© 2005, AXCESS Inc.
Activator Installation
The Activator originates the signal that is broadcast by the transmit
antenna. The Activator should be installed as close as possible to the
transmit antenna, and up to 50 feet away by cable distance from the
antenna. Contact Distributor Support for assistance with extended
distance installations. The shorter the cable, the better the system
will perform.
Required Materials
The following materials are necessary for a successful installation:
•
Power drill and bits
•
Screwdrivers – Phillips and flathead
•
Two screws (for wall mount)
NOTE
Depending on the surface that the Activator will be mounted on, you
may want to use #10 molly bolts.
Mounting the Activator
IMPORTANT!
Before permanently mounting any piece of the ActiveTag
System, first lay out and test the entire system.
The Activator should be a maximum of 50 feet from the transmit
antenna for best performance.
Holes on the bottom of the Activator allow it to be mounted vertically
to a wall or other surface.
IMPORTANT!
Cycle the power on the Activator after attaching the
transmitting antenna.
To install the Activator
1. Install the Activator as close as possible to the transmit antenna.
A maximum distance of
50 feet for best performance.
2. Cycle the power on the Activator after attaching the transmitting
antenna in order for the antenna’s auto-tune feature to function.
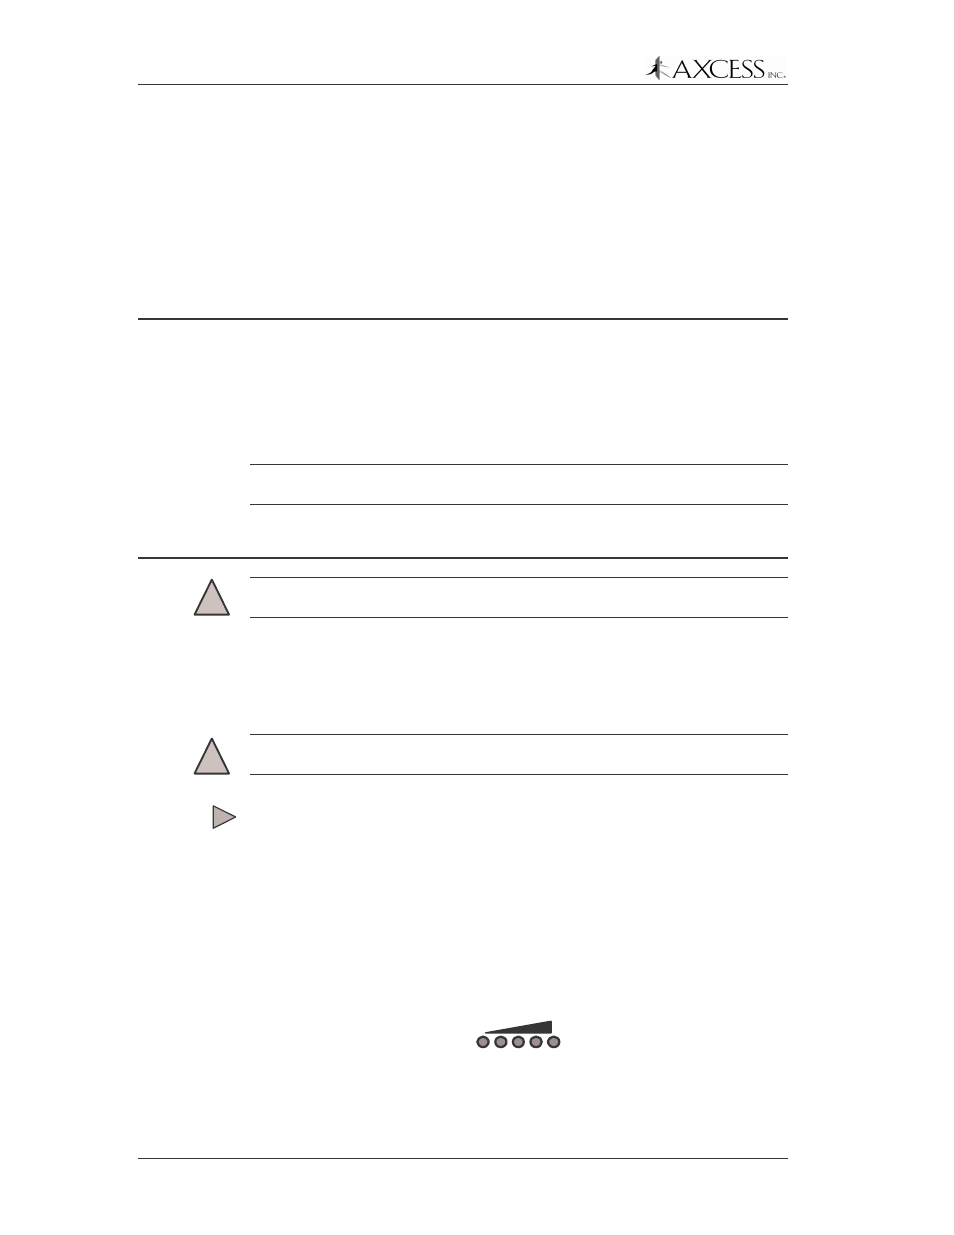
3. Check the strength of the TX Output LEDs located on the front
panel of the Activator (Figure 9). A minimum of four lit LEDs is
desired.
TX OUTPUT
Figure 9 TX Output LEDs on the front of the Activator