AirLive WP-201G User Manual
Page 48
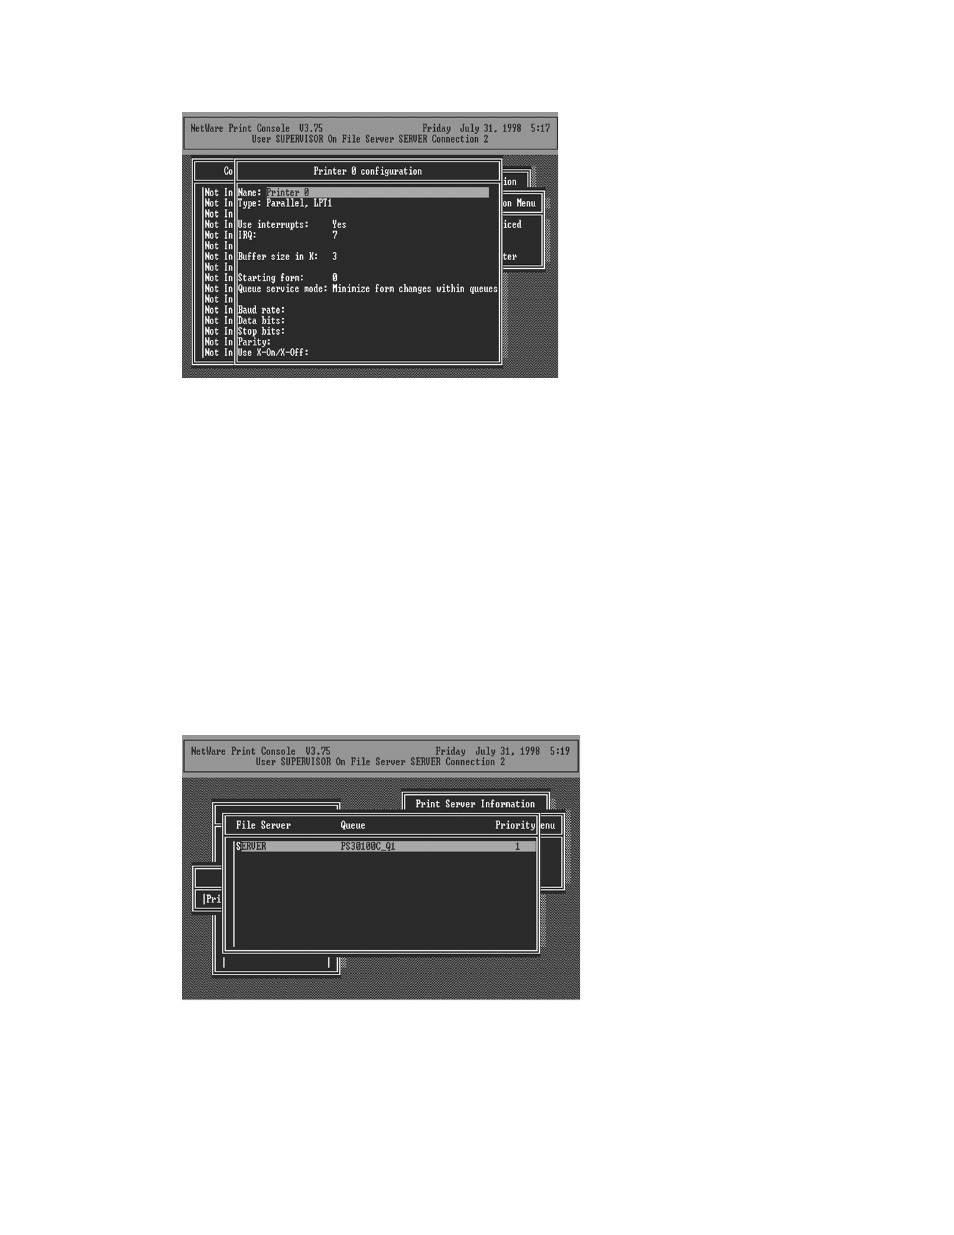
13. Press Escape, and answer Yes to the Save Changes
question.
14. Select Queues Serviced by Printer, then select Printer
0 (or Printer 1, Printer 2) and press Enter.
15. Press Insert and add your newly created print queue
to the list of queues serviced by the printer. Enter a
priority number for the queue service, or press Enter to
accept the default.
16. Repeatedly press Escape to exit the PCONSOLE
program.
40 AirLive WP-201G User’s Manual
See also other documents in the category AirLive Accessories for video:
- AirMax5 (146 pages)
- AirMax5N (93 pages)
- AirMax5X (91 pages)
- AirVideo-100 (67 pages)
- AirVideo-100v2 (63 pages)
- AirVideo-2000 (31 pages)
- AP60 (101 pages)
- BT-201USB (63 pages)
- BT-302USB (52 pages)
- BU-3026 (64 pages)
- CamPro Professional (178 pages)
- CoreNVR 16 (55 pages)
- DS-100 (34 pages)
- DS-100 v2 (36 pages)
- ES-4000 v2 (168 pages)
- ES-6000 (221 pages)
- Ether-FSH2402NT (19 pages)
- Ether-FSH2422W (55 pages)
- Ether-GSH16TW (42 pages)
- Ether-GSH2404W (50 pages)
- Ether-GSH2416W (61 pages)
- Ether-GSH24T v.2 (16 pages)
- Ether-GSH24TW (42 pages)
- Ether-GSH8TW v2 (36 pages)
- EtherWe-1000U (15 pages)
- G.DUO (137 pages)
- HP-1000E v2 (13 pages)
- HP-2000E (29 pages)
- HP-3000E (15 pages)
- IAR-5000 v2 (202 pages)
- IAS-2000 (163 pages)
- IGR-1500 (78 pages)
- IGR-2500 (81 pages)
- Live-800G (16 pages)
- Live-GSH5T (25 pages)
- Live-GSH8T (25 pages)
- WFP-101U (133 pages)
- MU-5000FS A2 (42 pages)
- MW-2000S (225 pages)
- N.MINI (87 pages)
- N.Plug (103 pages)
- N.TOP (71 pages)
- NAS-235 (89 pages)
- NVR4 (85 pages)
- OD-2025HD (101 pages)