Aries Automotive P2062 User Manual
Page 8
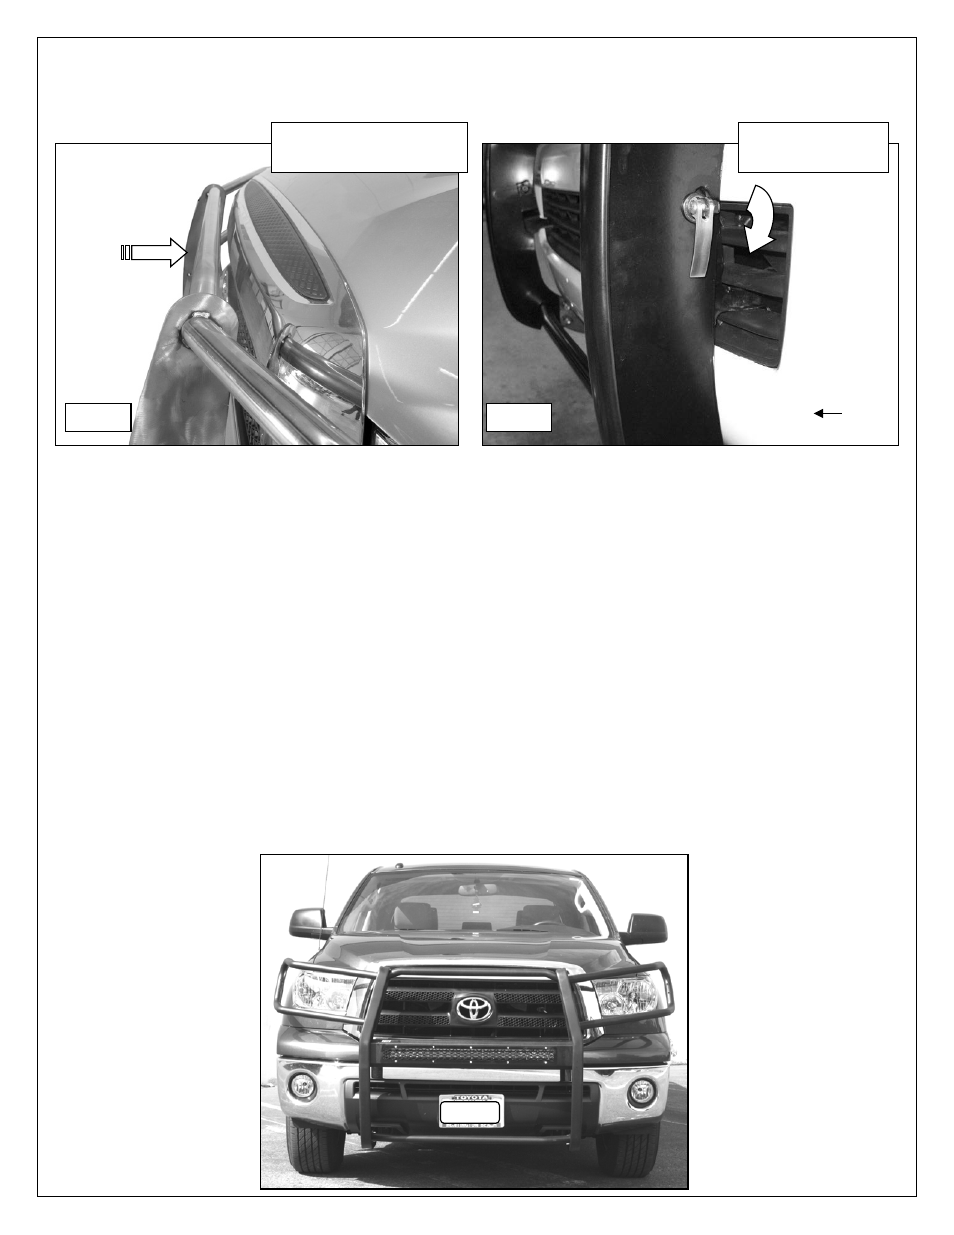
Driver/Left Side Installation Pictured
Opening and closing the hood
23.
Lift the levers on the Quick Release bolt to release the clamping pressure, (Fig 11). Pull the Grille
Guard out and away from the vehicle to the "open" position, (Fig 12). NOTE: If the Grille Guard does
not pivot to "open" position, slightly loosen the upper hex bolt on each Mounting Bracket, (Figure
13)
. WARNING! Do not completely loosen bolts or damage to the truck may occur.
24.
Carefully pull on the Grille Guard until it is fully extended away from the vehicle, (Fig 12).
25.
Pull the hood release and slowly open the hood.
26. IMPORTANT!
Before closing the hood, always make sure that the Grille Guard is in the full open
position and away from the vehicle. Pull on the Grille Guard to verify that it is fully extended away from
the vehicle and slowly close the hood, (Fig 12).
27.
Once the hood is completely closed, push the Grille Guard back to its "closed," upright position and
tighten all hardware on the Grille Guard, (Fig 14). Push down on the Quick Release lever to tighten,
(Fig 15)
. No tools are required to close the Quick Release levers. It will require some effort to open and
close by hand when properly adjusted. Loosen or tighten the 10mm Nylon Lock Nut on the Quick
Release bolt to adjust the clamping pressure.
28.
Do periodic inspections to the installation to make sure that all hardware is secure and tight.
Push Grille Guard back
to the "closed" position
Quick Release in
"closed" position
Fig 17
Fig 18
Front
Complete Installation
Page 7 of 7 10/31/2013