Aries Automotive P2062 User Manual
Page 3
13.
Repeat Step 10 to attach the passenger side mounting tab to the Bracket. Snug but do not tighten
hardware at this time.
14.
Use the (2) previously installed 12mm Hex Bolts to act as a hinge and carefully rotate the Grille Guard
up to the vehicle. Line up the two remaining holes in the Mounting Brackets with the holes in the Grille
Guard and repeat Steps 12 & 13 for installation, (Fig 11). Snug the hardware but do not tighten at this
time.
15.
Next, move to the driver side Top Bracket installed in Step 10. Line up the long slot in the Top Bracket
with the hole in the Grille Guard upright, (Fig 13). Insert (1) 10mm Plastic Washer between the Top
Bracket and the Grille Guard. Line up the holes in the Grille Guard, Plastic Washer and the slot in the
Top Bracket. Insert (1) 10mm Quick Release Bolt with (1) 10mm Special Pivot Washer, (Fig 13),
through the Grille Guard upright first, the Plastic Washer and through the Top Bracket. Secure the
Quick Release Bolt with (1) 10mm Plastic Washer, (to protect the finish on the Top Bracket), (1) 10mm
Flat Washer and (1) 10mm Nylon Lock Nut, (Figs 13 & 14). Snug but do not tighten at this time.
16.
Repeat Step 15 to attach the passenger Top Bracket to the Grille Guard.
17.
Release/loosen the levers on the Quick Release bolts, (Fig 14), and pull the Grille Guard away from the
vehicle to the "open" position, (Fig 15). Center and level the Grille Guard and tighten all hardware
including the Mounting Brackets and Bolt Plates.
18.
Adjust the Quick Release Bolt clamping pressure by loosening or tightening the 10mm Nylon Lock Nut.
See Steps 23 – 28 for more information.
19.
Slowly close the hood and check for clearance. Release both Quick Release bolts. Push the Grille
Guard into the "closed" position. If needed, loosen the upper bolt on each Frame Mounting Bracket,
(Fig 16)
. WARNING! Do not completely loosen bolts or damage to the truck or Grille Guard may occur.
20.
Push the Grille Guard back towards the vehicle and tighten all hardware, (Figs 17 & 18).
21.
Do periodic inspections to the installation to make sure that all hardware is secure and tight.
22.
For the Led lights wiring please refer to the manufactures installation.
To protect your investment
, wax this product after installing. Regular waxing is recommended to add a protective layer
over the finish. Do not use any type of polish or wax that may contain abrasives that could damage the finish.
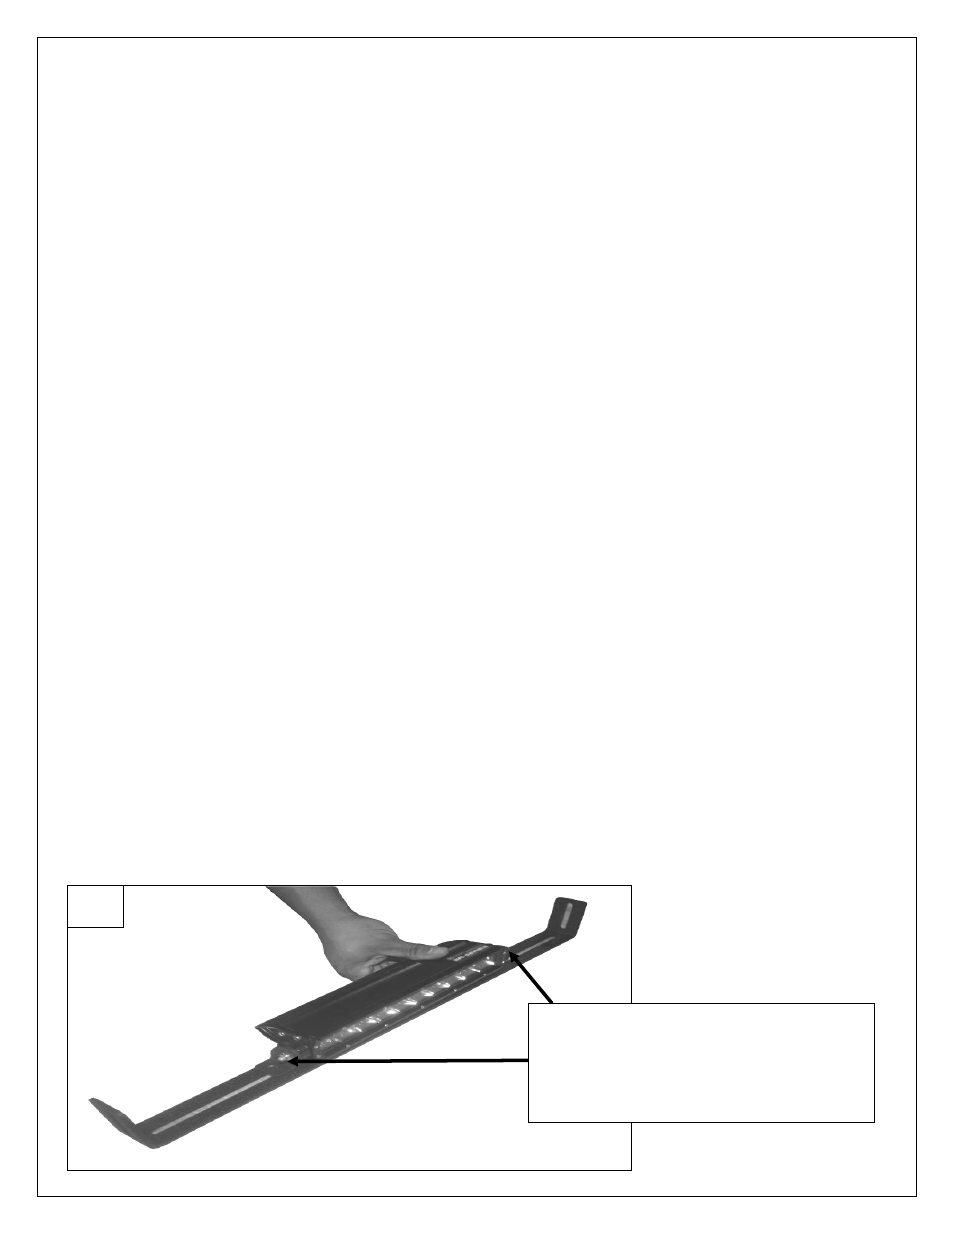
Fig 1
LED light attached to support flange.
NOTE:
LED Manufactures will have similar
but different mounting styles or brackets,
once you determine you mounting options
attach it to the support flange as seen.
Page 2 of 7 10/31/2013