Caution – Snorkel A38E-sn006001+ User Manual
Page 22
Chapter 6 – Batteries
18
A38E – 8210243
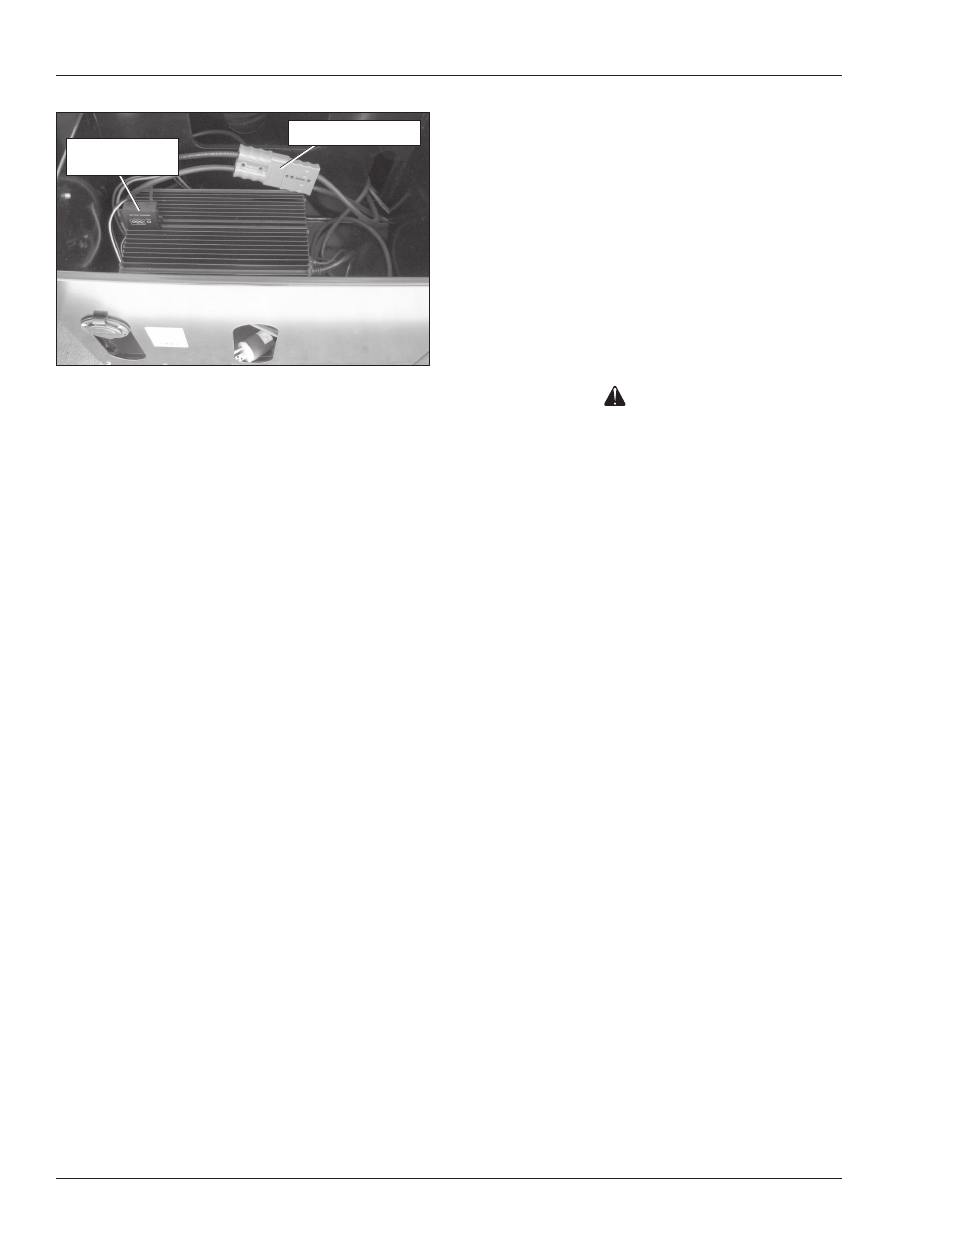
Figure 6.2 – Electrical Compartment
2. Remove the cover on each side of the chassis to
access the batteries. Remove the caps from each
battery (refer to Figure 6.1).
3. Visually check the battery fluid level making sure the
level is 3/8″ (10 mm) above the plates. If needed, add
distilled water.
4. Tightly replace the caps on each battery and replace
and latch the battery tray covers.
5. Plug the battery charger into a properly grounded
outlet (115 volt AC, 60 Hz) using a 3 conductor, 12
gauge (1.5 mm) or larger extension cord. The outlet
must be equipped with GFCI protection. The exten-
sion cord must be as short as possible and in good
electrical condition.
Note
Do not operate any of the aerial platform functions while
the battery charger is plugged in.
6. Visually inspect the battery charge indicator (refer to
Figure 6.2).
The charger will turn on three to five seconds after
a complete electrical connection is made.
The LED charge indicators will be lit while the
batteries are charging.
When the batteries are fully charged, the charge
indicator will blink.
Caution
The batteries may be overcharged and/or damaged
if the charger is plugged in after the charge cycle is
complete. Do not leave the battery charger on for
more than 48 hours.
7. After the charge cycle is complete, unplug the ex-
tension cord from the battery charger and allow the
batteries to cool.
8. Remove the cover on each side of the chassis to
access the batteries. Remove the caps from each
battery (refer to Figure 6.1).
9. Visually check the battery fluid level making sure the
level is 3/8″ (10 mm) above the plates. If needed, add
distilled water.
10. Tightly replace the caps on each battery and replace
and latch the battery tray covers.
•
•
•
Battery Disconnect
Battery Charge
Indicator