Editing and auditioning your impulse response, Editing your impulse response – Apple Impulse Response Utility User Manual
Page 17
17
Editing and Auditioning Your Impulse Response
Once you have recorded (or deconvolved your recorded tracks into) impulse responses,
you can use the Editing area to do some “touching up” of your impulse response. You
can use the Audition IR window to hear how your impulse response sounds when
applied to a test audio file.
Editing Your Impulse Response
When you have finished recording your audio tracks, you may feel that they have
superfluous silence at the beginning or end of the file, don’t fade out early enough,
and so on. To address these minor issues, Impulse Response Utility allows you to cut,
crop, and fade your audio files in the Editing area.
To view an audio file in the Editing area:
m
Select the audio file.
Your audio file will automatically appear in the Editing area.
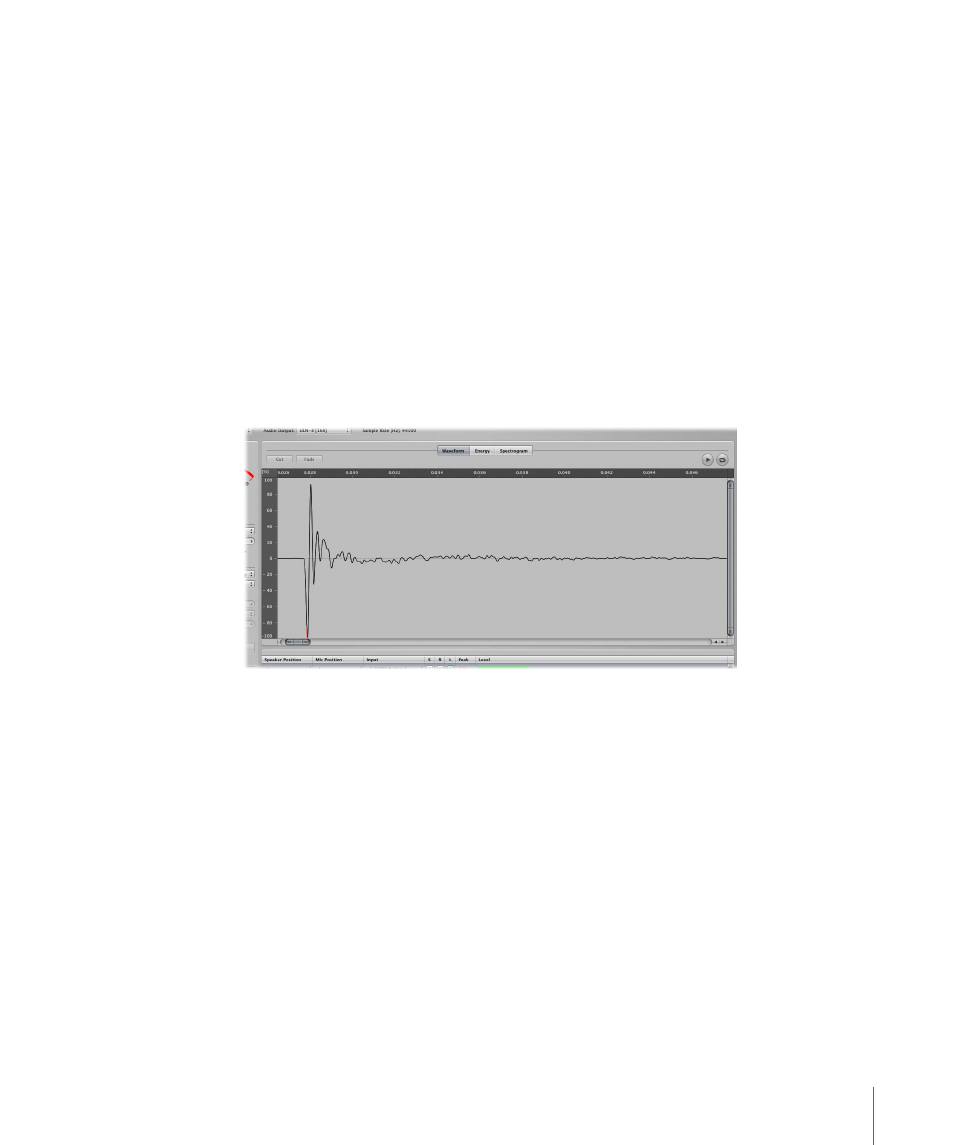
You can choose from three different display modes in the Editing area:
 Waveform: Shows the recorded audio as a standard waveform. The horizontal axis
displays the elapsed time. The vertical axis displays the audio level as a percentage.
 Energy: Shows the sound energy distribution over time. The horizontal axis displays
the elapsed time. The vertical axis displays audio levels in dB.
 Spectrogram: Shows the frequency distribution over time. The horizontal axis
displays the elapsed time. The vertical axis displays the frequencies, which are color
coded by dB range. The color legend in the upper right corner of the Editing area
indicates the color schema.
These display modes allow you to effectively analyze your waveforms, making it easy to
identify material you need to cut or crop, or that requires a fade. The Spectrogram
mode, in particular—which simultaneously shows frequency, level, and time—allows
for very detailed analysis of your audio.