Rock-Slide Engineering RAPTOR – SLIDER User Manual
Page 4
Installation Instruction RSEI 137
vii. If the nutsert ever breaks loose and spins, repeat the process and crimp it
tighter to prevent spinning
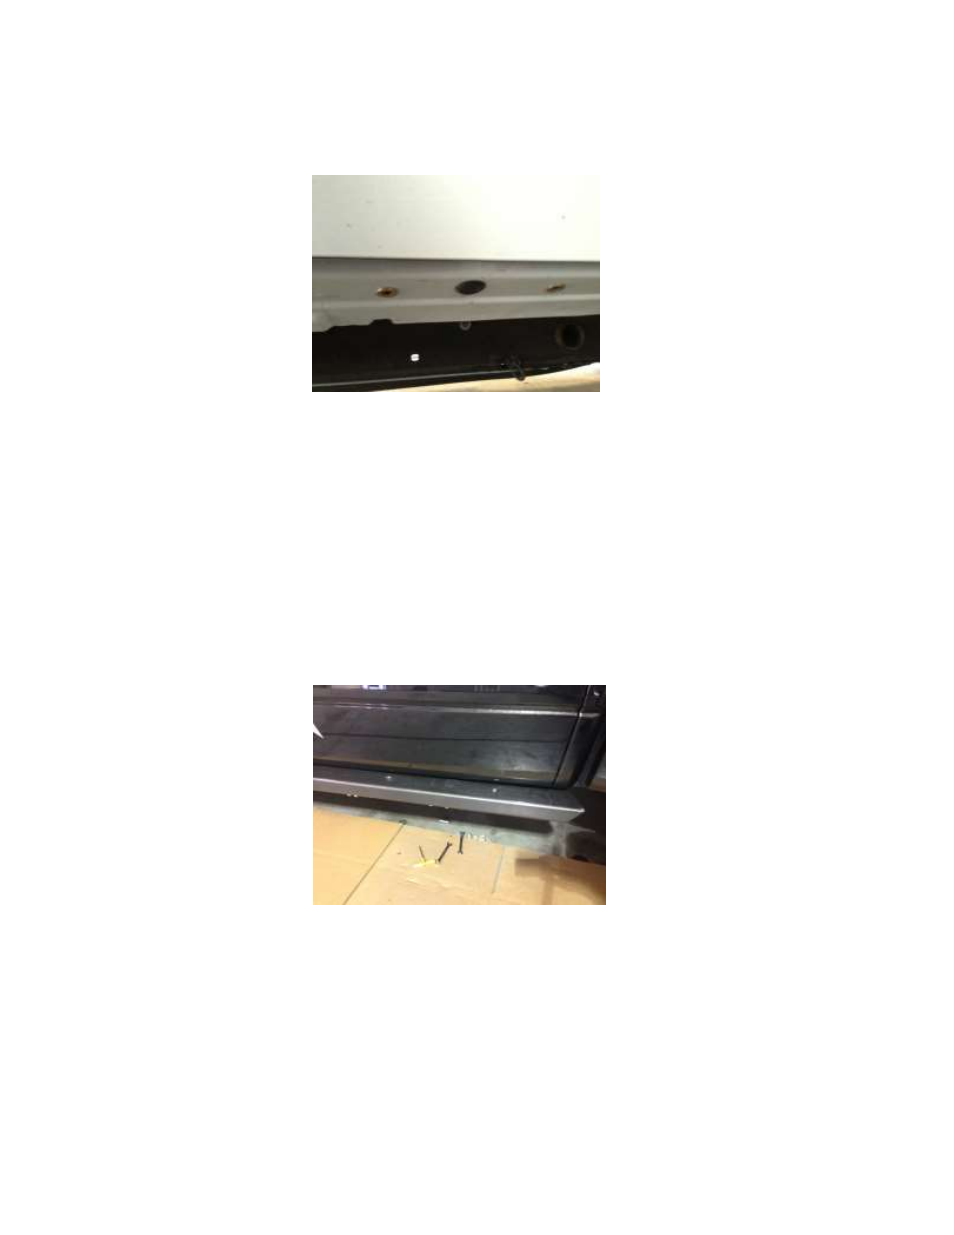
Nutserts properly installed
8. Attach the top bracket to the truck
a. Hang bracket on truck and bolt through bracket into the nutserts. Leave bolts
loose until all bolts are installed. Go back and tighten bolts until the bracket is
firm against side of truck
9. Set slider onto installed top bracket
10. Place slider in place and put two countersunk bolts in the matching holes to hold the
slider in place. BE SURE TO TIGHTEN THESE BOLTS. DO NOT OPEN THE DOOR WITH
THESE PARTICALLY INSTALLED IT WILL SCREWUP YOUR DOOR.
a. Make sure you put included anti-seize on bolt, since it is stainless steel and when
stainless steel is bolted into steel it can be hard to remove
11. Attach the back bracket to step slider body with two or three bolts and position it in
place as to where to secure it to the truck. Tighten the bolts to hold it in the desired location.
12. Mark location of holes from back bracket into body of truck
13. Drill 5/16” holes into the pinch seam of the body
14. Remove the slider to enable you to bolt the back bracket onto the truck
15. Bolt back bracket onto truck with provided bolts, nuts and washers. Bolt through the
bracket and pinch seam and put the nuts on the back side of the pinch seam