Installation – Belkin F5D7130 User Manual
Page 10
INSTALLATION
8
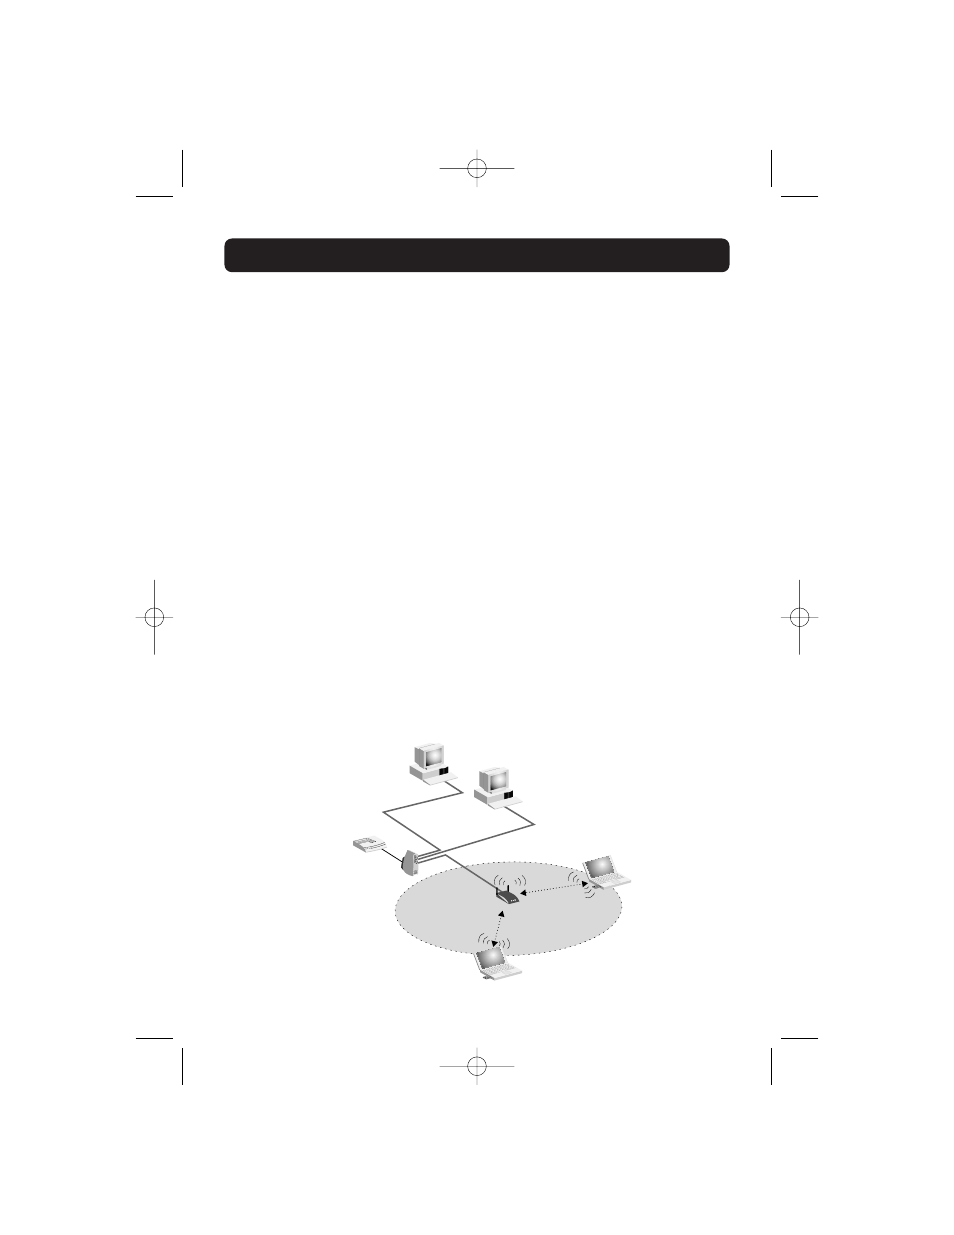
Connecting the WAP to a Cable/DSL WAP, Ethernet Switch, or Hub
Verify the contents of your box. You should have the following:
• Belkin 54g Wireless Network Access Point
• Vertical Mounting Base (optional use)
• Power Supply
• User Manual
1. Select a suitable place for your WAP.
2. Connect a CAT5 cable between the WAP and your cable/DSL WAP’s LAN
port, Ethernet switch, or hub by plugging one end of the cable into the
RJ45 jack on the WAP and the other end into an open RJ45 jack on the
cable/DSL WAP, Ethernet switch, or hub.
3. Connect the power supply to the WAP by plugging the round DC connector
into the DC jack on the WAP. Plug the power supply into the wall. Verify
that the Power LED and the LAN LED are illuminated. If both LEDs are
illuminated, this indicates that the WAP is connected properly.
4. Place the WAP on a desktop or mount it to a wall in the location that you
have chosen. Next, swivel the antennas so they are both pointing up.
5. Connection and placement of your WAP is now complete. Go to the
“Configuring the WAP” section to learn how to configure the WAP.
Desktop PC
Desktop PC
Cable/DSL Modem
Belkin Router or
Switch
Wireless Access
Point
Wireless Notebook
Network Card
Wireless Notebook
Network Card
P74218_F5D7130_man.qxd 1/7/03 8:39 PM Page 8