Digital output 43, Helpful hints – Philips DVD962SA User Manual
Page 43
Digital Output 43
After connecting the DVD Player to your TV and other equipment, you may
need to change the DVD Player’s Digital Output setting. Look to see which
DVD Player audio jacks you connected to your other equipment, then set
your Digital Output accordingly. The information in step 4 will help you make
your choice.
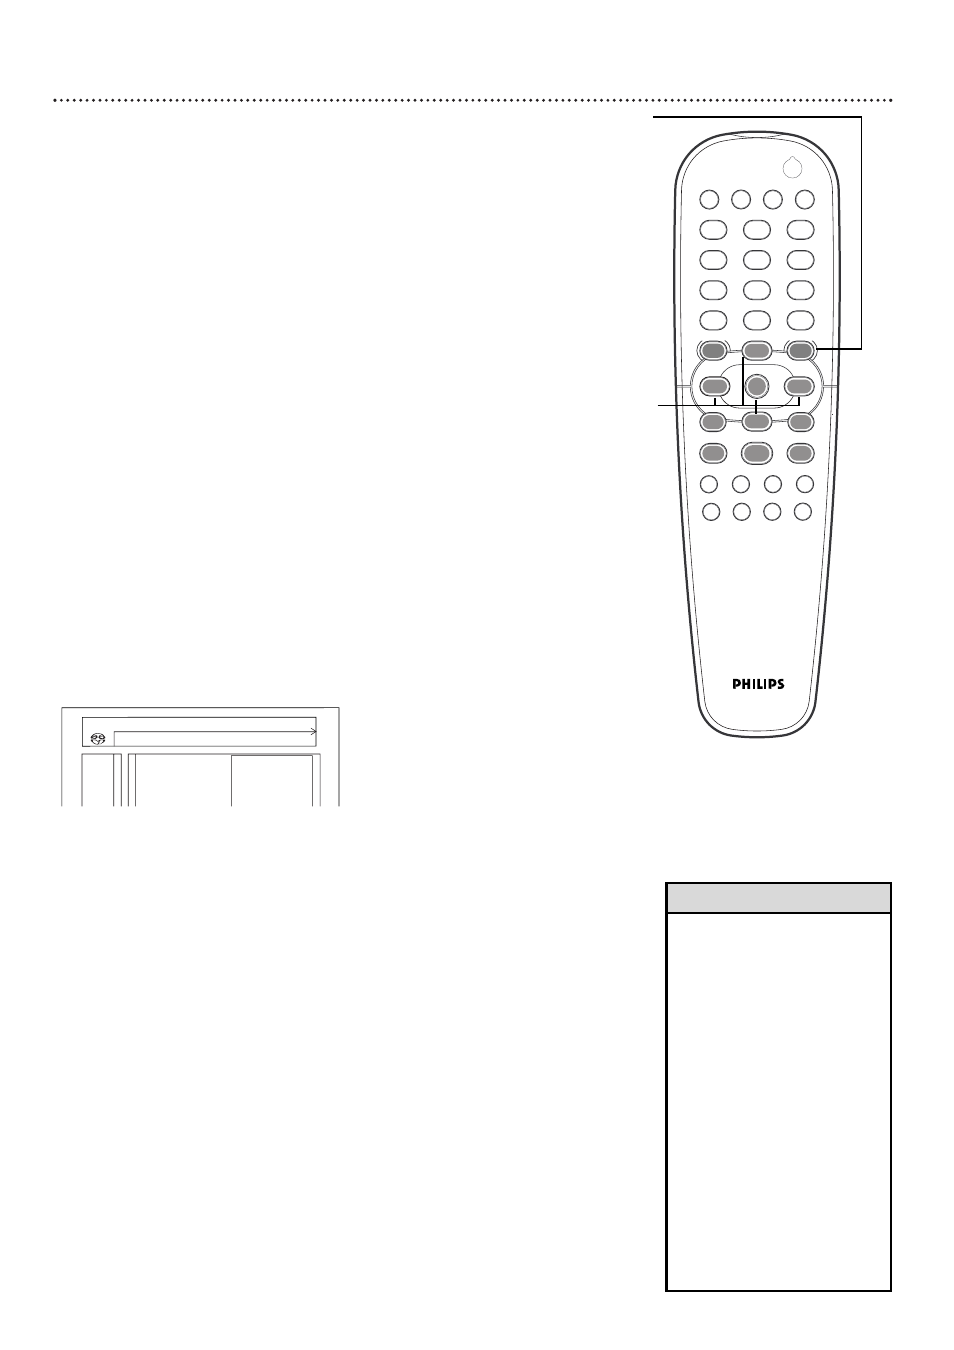
1
Press SYSTEM MENU, then press ; to select V
V.
2
Press p repeatedly to select q, then press B.
3
Digital output will be selected. Press the B button.
4
Press o or p to select Off, PCM only, or All, then press the OK
button.
●
Select All if you used the COAXIAL (Digital Audio Out) jack to connect
the DVD Player to a Stereo Receiver that has a Multi-channel Decoder.
Details are on page 14.
All is the preset factory setting.
●
Select Off if you did not use either of the COAXIAL or OPTICAL (Digital
Audio Out) jacks. For example, if you used the supplied red and white
audio cables to connect the AUDIO OUT jacks of the DVD Player to a
TV or Stereo, select Off.
●
Select PCM only if you used the COAXIAL or OPTICAL (Digital Audio
Out) jacks of the DVD Player for connections, but the audio equipment
does not include a digital multi-channel Decoder.
5
Press the SYSTEM MENU button to remove the menus.
p
Digital output
Off
PCM output PCM
only
q
Analog output
All
s
p
V
W
X
Y
Z
}
a
1
2
1en
off
no
off
1
2
3
4
5
6
7
8
0
9
POWER
REPEAT
SHUFFLE
SCAN
REPEAT
A-B
STOP
DISPLAY DIM
RETURN
DISC
SYSTEM
ANGLE
ZOOM
AUDIO
SUBTITLE
PLAY
PAUSE
FTS
T-C
RESUME
SOUND MODE
MENU
MENU
Й
Й
Й
Й
OK
G
З
Й
Е
H
2
1,5
1-4
• Discs are recorded in a certain
sampling rate. The higher the
sampling rate, the better the
sound quality. Adjust PCM Output
to match the sampling rate of
your Disc if necessary. Press the
SYSTEM MENU button, then
press ; to select V. Press p
repeatedly to select q, then press
B
. Press p repeatedly to select
PCM Output, then press B.
Press o or p to choose 48kHz
or 96kHz. (Select 96kHz if the
disc was recorded in PCM
96kHz. Otherwise, select
48kHz.) Press OK, then press
SYSTEM MENU to remove the
menus.
• If you set the PCM Output to
96kHz, the sound may be muted
if the disc is copyright protected.
Helpful Hints