Kit installation (detailed), 1 making a backup of the pmp to be replaced, 2 replacing the faulty pmp – Barco GALAXY NW-12 User Manual
Page 11: 1 removing the input module, Making a backup of the pmp to be replaced, Replacing the faulty pmp, Removing the input module
3. Kit installation (detailed)
3. KIT INSTALLATION (DETAILED)
C
AUTION
:
This procedure may only be performed by Barco trained and qualified technicians.
3.1
Making a backup of the PMP to be replaced
Introduction
If a PMP fails, communication via Ethernet is most probably still possible. This implies that a backup can still be made using the
Projector Support tool. If there is no more communication with the faulty PMP, Barco’s helpdesk must be contacted.
How to make a backup of the PMP to be replaced?
See "Backup and restore data", page 15.
3.2
Replacing the faulty PMP
3.2.1
Removing the input module
Input layers 3, 4 and 5 can be installed or removed without taking out the complete input module!
The input module with all of the input layers can be removed as a unit!
Necessary tools
Torx screwdriver T10
How to remove the input module?
1. Remove the covers (see concerning chapters):
-
rear cover
-
top cover
-
engine fan cover 1
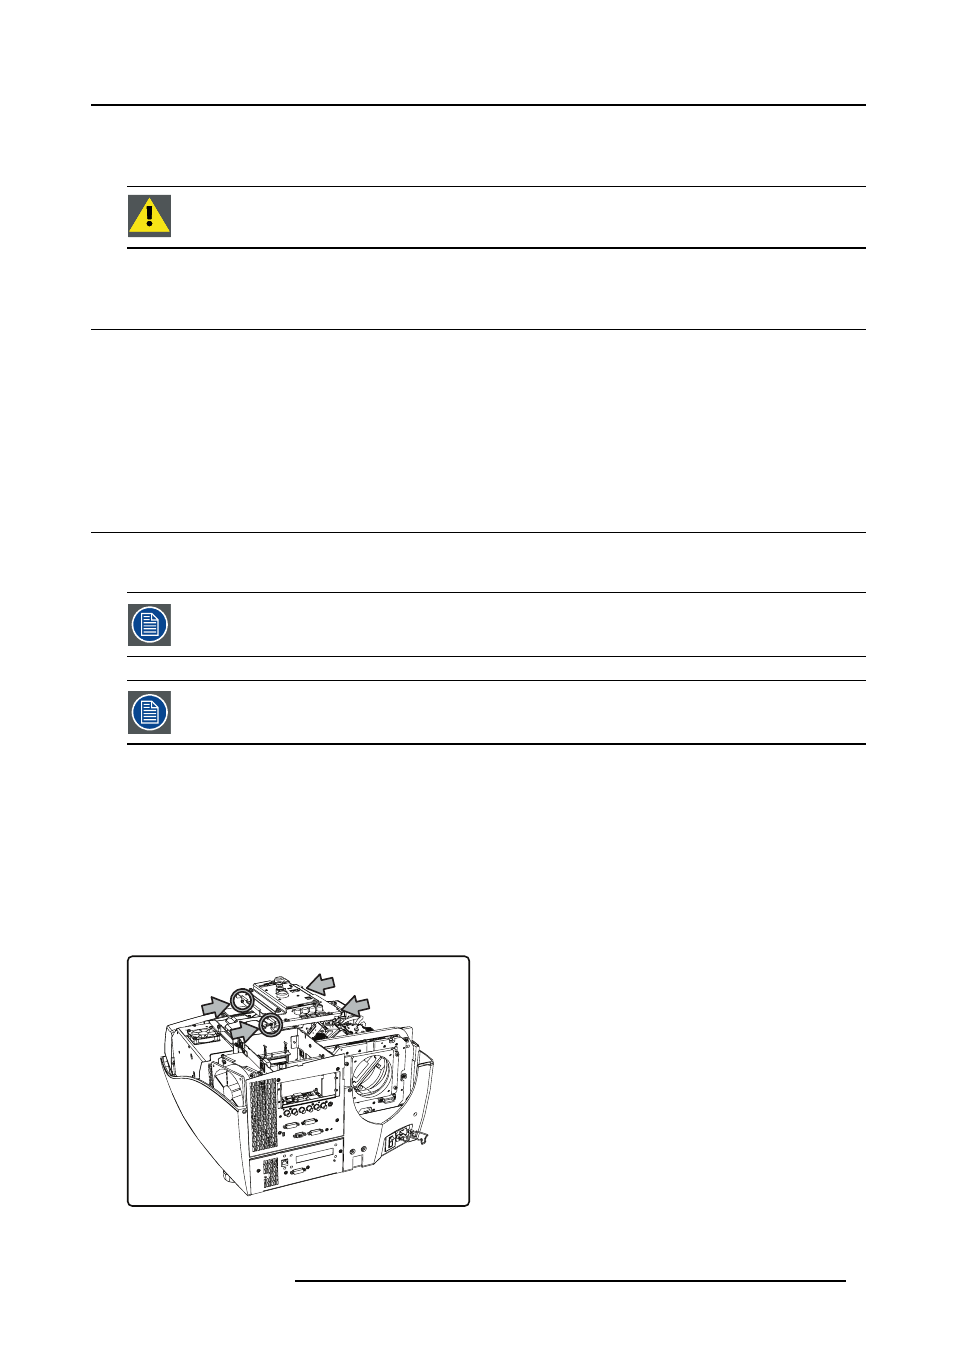
2. Remove the four screws fixing the preformatter unit to the input module
Image 3-1
Preformatter unit: fixing screws
R59770498 PMP KIT 28/02/2011
7