Ant/cable/satellite (if available), Satellite settings – Toshiba TV743 User Manual
Page 17
17
SETTING UP YOUR TV
E
n
g
lish
From this menu, you can set the RF input configuration.
a
Press MENU, and select SETUP menu.
b
Use
b
to highlight Ant/Cable/Satellite and use
C
or
c
to select Antenna, Cable or Satellite.
NOTE: When you attempt to change the Ant/Cable/
Satellite setting, a warning message will appear
followed by PIN entry (if PIN has been set) and a
prompt for Auto Tuning.
c
When Ant/Cable/Satellite is set to Cable, the
following setting options will be provided in the Auto
Tuning screen.
Press
B
or
b
to select an item, and then press
C
or
c
to select your desired option.
With the exception of DTV Scan Type and DTV Modulation
items, all of the following items will have 2 operating modes.
The first is Auto where the values for each item are preset by
the system. The second is an Input mode where you will be
able to enter a single value in place of the pre-set value. If no
channel is currently tuned and the Input state is chosen, a
system default value will be shown. However, if a channel is
currently tuned when the item is accessed, the value of the
current channel will be displayed.
DTV Scan Type:
This item determines whether a Quick Scan or a Full Scan will
be executed.
The Quick Scan is a simplified version of the Full Scan that is
designed to complete in less time.
DTV Start Frequency:
This sets the frequency from which the scan will begin.
DTV End Frequency:
This sets the frequency at which the scan will end.
DTV Modulation:
You can choose from five QAM modulation settings.
DTV Symbol Rate:
This is the baud rate (KS/s) of the scan.
DTV Network ID:
This is the Network ID to be utilized for the scan. This item is
greyed out when DTV Scan Type is set to “Full Scan”.
From the SETUP menu, you can add the satellites that you wish
to tune and configure detailed settings for each one
individually.
To add a satellite:
a
Press MENU and use
C
or
c
to select SETUP menu.
b
Use
b
to highlight Satellite Settings. Press
Q
.
c
Press
b
to highlight a new line to add an another
satellite, and press
Q
.
d
Press
b
until the required satellite is displayed and press
Q
.
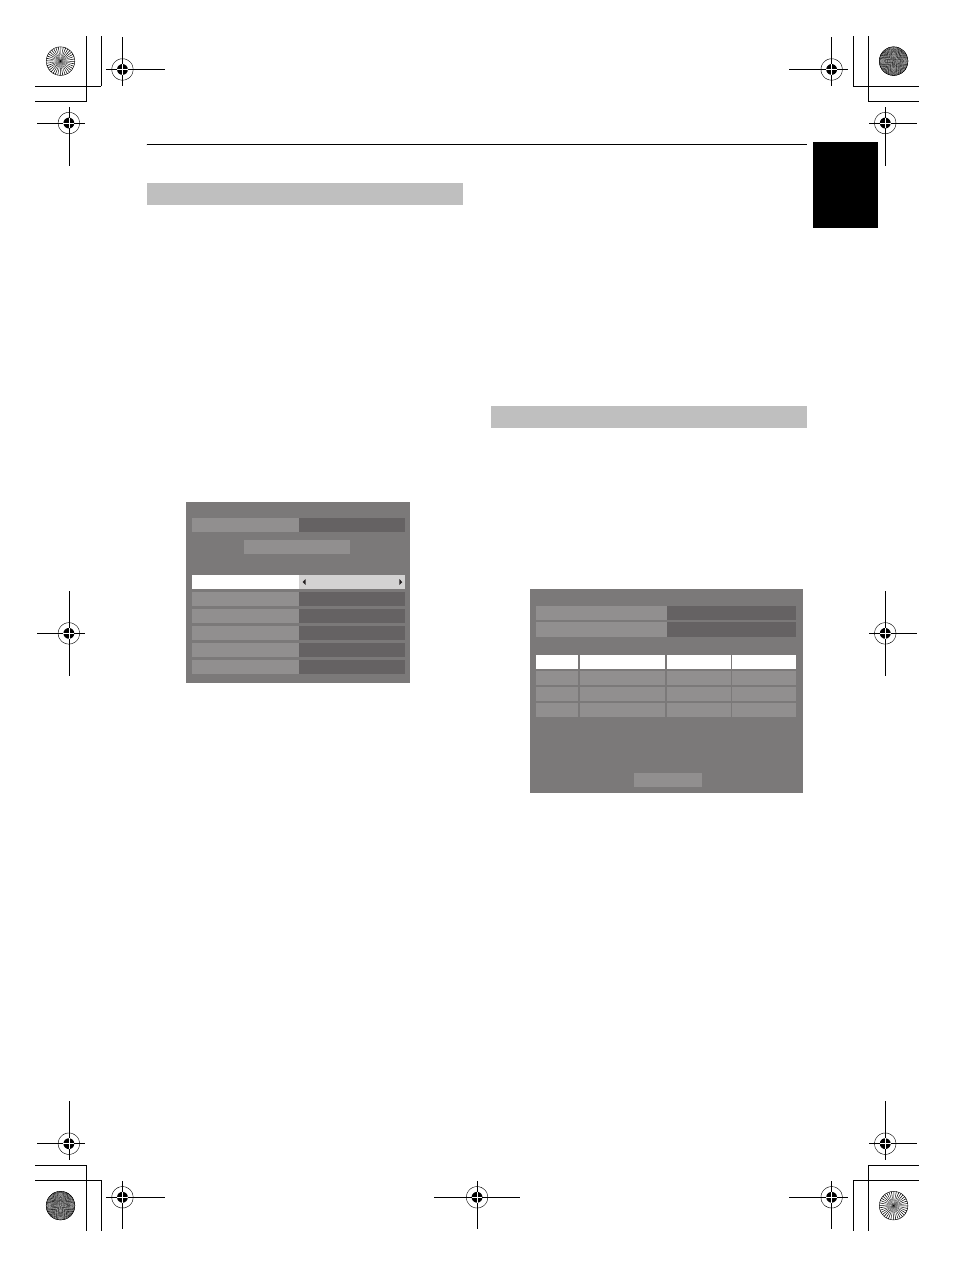
Ant/Cable/Satellite (if available)
Auto Tuning
DTV and ATV
Tuning Mode
DTV
Quick Scan
Scan Type
Auto
Start Frequency
Auto
End Frequency
Auto
Modulation
Auto
Symbol Rate
Auto
Network ID
Start Scan
Satellite Settings
Satellite
No.
Dish
LNB
ASTRA 19.2˚E
Satellite Settings
1
4
3
2
1
1
Transponder : 1/83 (10743 MHz)
Dish Type : Movable
Lower LOF (MHz) : 9600
Upper LOF (MHz) : 10600
Switch Type
None
LNB Power
On
Done
00GB03Tune.fm Page 17 Tuesday, July 20, 2010 8:43 PM