The video adjust menu, The video adjust menu 14, Chapter 14 – Pioneer LX01 User Manual
Page 149
The Video Adjust menu
14
149
En
Chapter 14
The Video Adjust menu
Using the Video Adjust menu you can set up the picture
quality for the built-in tuner and external input, for disc
playback, and for recording.
Setting the picture quality for TV and
external input
Picture Creation lets you choose a set of picture quality
settings for the built-in TV tuner
1
and for the external
input. There are several preset settings that suit various
sources, or you can create up to three of your own sets.
Choosing a preset
1
With the recorder stopped, press to display
the Home Menu.
2
Select ‘Video Adjust’.
3
Select a preset.
• Use the
INPUT button (LCD page 2) to switch between
the built-in TV tuner and the external input.
• Use the
CH +/– buttons (LCD page 2) to change the
channel of the built-in TV tuner.
There are six presets available:
•
Tuner – suitable for general TV broadcasts
•
VCR – suitable for video cassettes
•
DTV/LDP – suitable for digital broadcasts and
Laserdiscs
•
Memory1 – user preset 1
•
Memory2 – user preset 2
•
Memory3 – user preset 3
You can press
DISPLAY to see the individual settings for
the current preset (
Tuner, VCR or DTV/LDP).
Creating your own set
There are three user presets in which you can save your
own set of picture quality settings.
1
Follow Choosing a preset above and select one of
the user presets (Memory 1, 2 or 3).
2
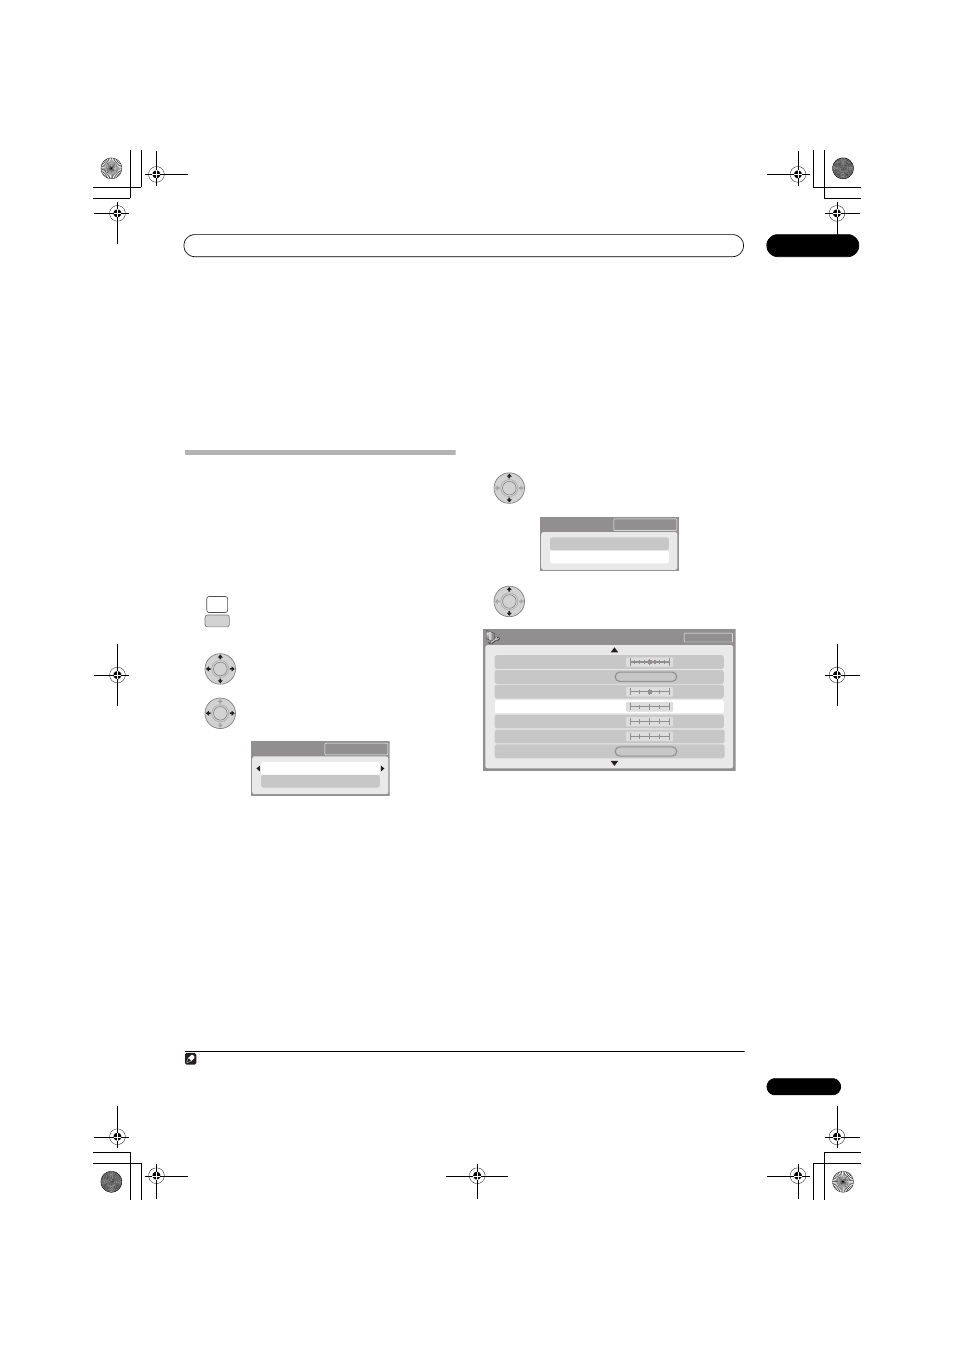
Select ‘Detailed Settings’.
3
Select the setting you want to adjust.
You can adjust the following settings:
•
Prog. Motion – Adjusts the motion and still picture
quality when video output is set to progressive.
•
PureCinema – This setting optimizes the picture for
film material when the video output is set to
progressive. Usually set to
Auto; but try switching to
Off if the picture appears unnatural.
•
3-D Y/C – Adjusts the brightness/colour separation.
•
YNR – Adjusts the amount of noise reduction (NR)
applied to the Y (brightness) component.
•
CNR – Adjusts the amount of noise reduction (NR)
applied to the C (colour) component.
•
Detail – Adjusts how sharp edges appear.
•
White AGC – Turn on for automatic white level
adjustment.
•
White Level – Adjusts the intensity of white.
•
Black Level – Adjusts the intensity of black.
Note
1 When an HDMI component is not connected, the settings for the digital tuner cannot be changed.
HOME
MENU
SETUP
ENTER
ENTER
Detailed Settings
Pr 1
Tuner
ENTER
Detailed Settings
Pr 1
Memory1
ENTER
Memory1
3-D Y/C
Motion
Still
PureCinma
Prog. Motion
Auto
Motion
Still
Pr 1
Detail
CNR
YNR
White AGC
Off
Max
Off
Off
Max
Max
Off
02SDVRLX70D_EN.book 149 ページ 2008年10月9日 木曜日 午後4時38分