Adjusting the equaliser curves 107, Adjusting loudness, Audio adjustments – Pioneer AVIC-F310BT User Manual
Page 107: Adjusting the equaliser curves
Vocal
Vocal is a curve in which the midrange, which is the
human vocal range, is boosted.
Flat
Flat is a flat curve in which nothing is boosted.
Custom
Custom is an adjusted equaliser curve that you cre-
ate. A separate custom curve can be created for each
source.
1
Display the
“Audio Menu” screen.
= For details, refer to Displaying the
“Audio Menu” screen on the previous
page.
2
Turn MULTI-CONTROL to select
“Preset Equalizer”.
3
Press MULTI-CONTROL left or right to
select an equaliser curve.
Adjusting the equaliser curves
You can adjust the currently selected equaliser
curve setting as desired. Adjustments can be
made with a 3-band parametric equaliser.
! Band:
You can select the equaliser band.
! Frequency:
You can select which frequency to set as
the centre frequency.
! Level:
You can select the decibel (dB) level of the
selected EQ.
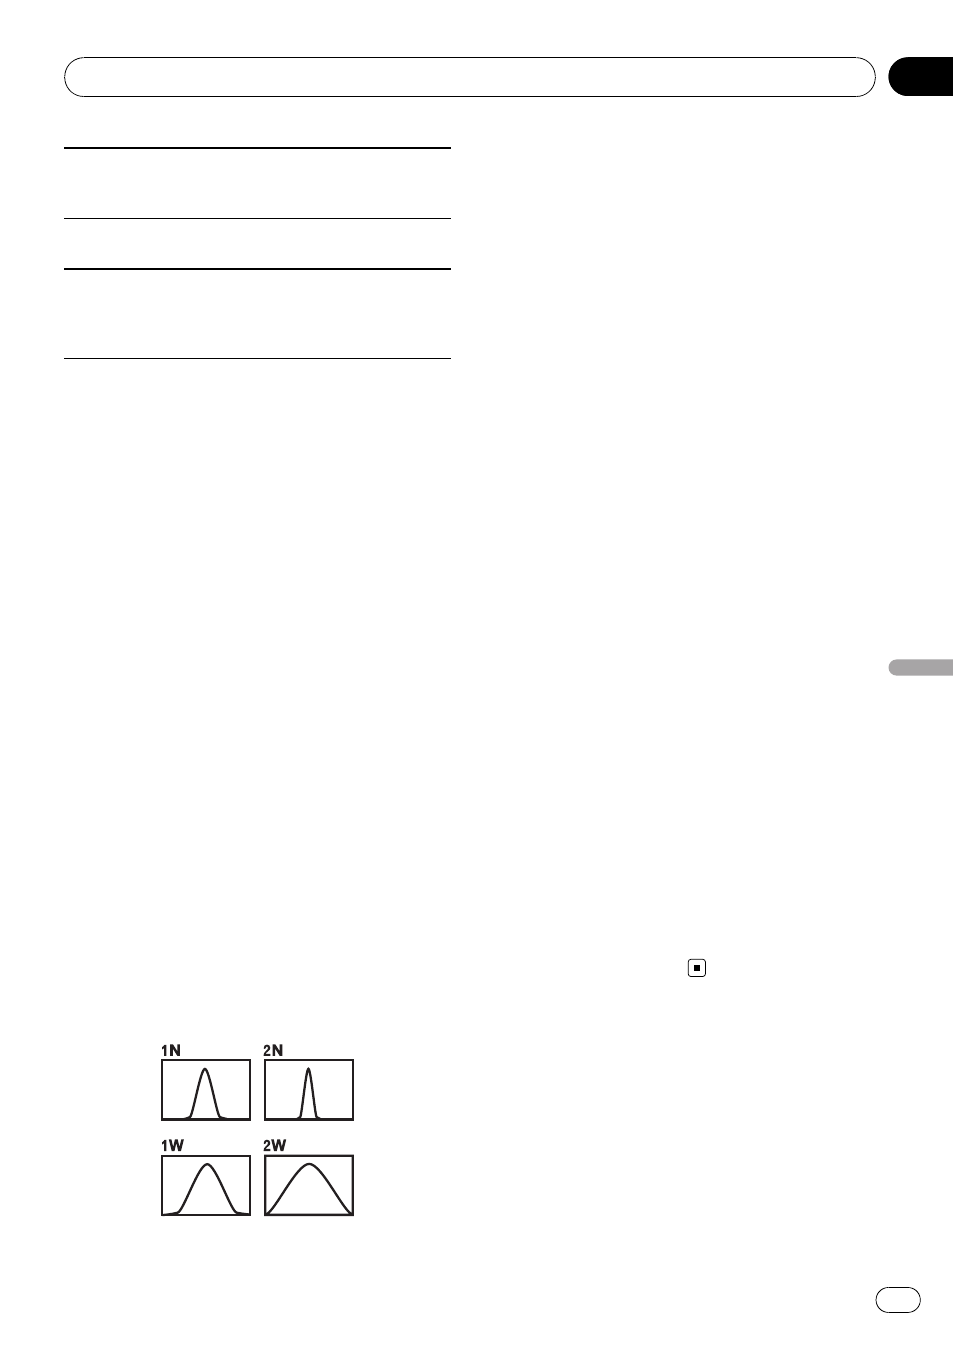
! Q:
You can select the details of the curve char-
acteristics. (The following figure shows the
characteristic image.)
1
Display the
“Audio Menu” screen.
= For details, refer to Displaying the
“Audio Menu” screen on the previous
page.
2
Turn MULTI-CONTROL to select
“P.EQ Setting1”.
3
Press MULTI-CONTROL left or right to
select the equaliser band to adjust.
Each time
MULTI-CONTROL is pressed left or
right, level is selected in the following order:
Low
— Mid — High
4
Press MULTI-CONTROL up or down to
adjust the level of the equaliser band.
Each time
MULTI-CONTROL is pressed up or
down, the level of the equalisation band in-
creases or decreases.
“+6” to “-6” is displayed
as the level is increased or decreased.
5
Turn MULTI-CONTROL to select
“P.EQ Setting2”.
6
Press MULTI-CONTROL left or right to
select the desired frequency.
Press
MULTI-CONTROL left or right until the
desired frequency appears in the display.
Low: 40 Hz
— 80 Hz — 100 Hz — 160 Hz
Mid: 200 Hz
— 500 Hz — 1 kHz — 2 kHz
High: 3 kHz
— 8 kHz — 10 kHz — 12 kHz
7
Press MULTI-CONTROL up or down to
select the desired Q factor.
Press
MULTI-CONTROL up or down until the
desired Q factor appears in the display.
2W
— 1W — 1N — 2N
Adjusting loudness
Loudness compensates for deficiencies in the
low- and high-sound ranges at low volume.
1
Display the
“Audio Menu” screen.
= For details, refer to Displaying the
“Audio Menu” screen on the previous
page.
Audio adjustments
Engb
107
Chapter
24
Audio
adjustments