Changing the time and date, Setting time and date [time & date – Olympus LS-10 User Manual
Page 13
13
Get
ti
ng
S
ta
rte
d
1
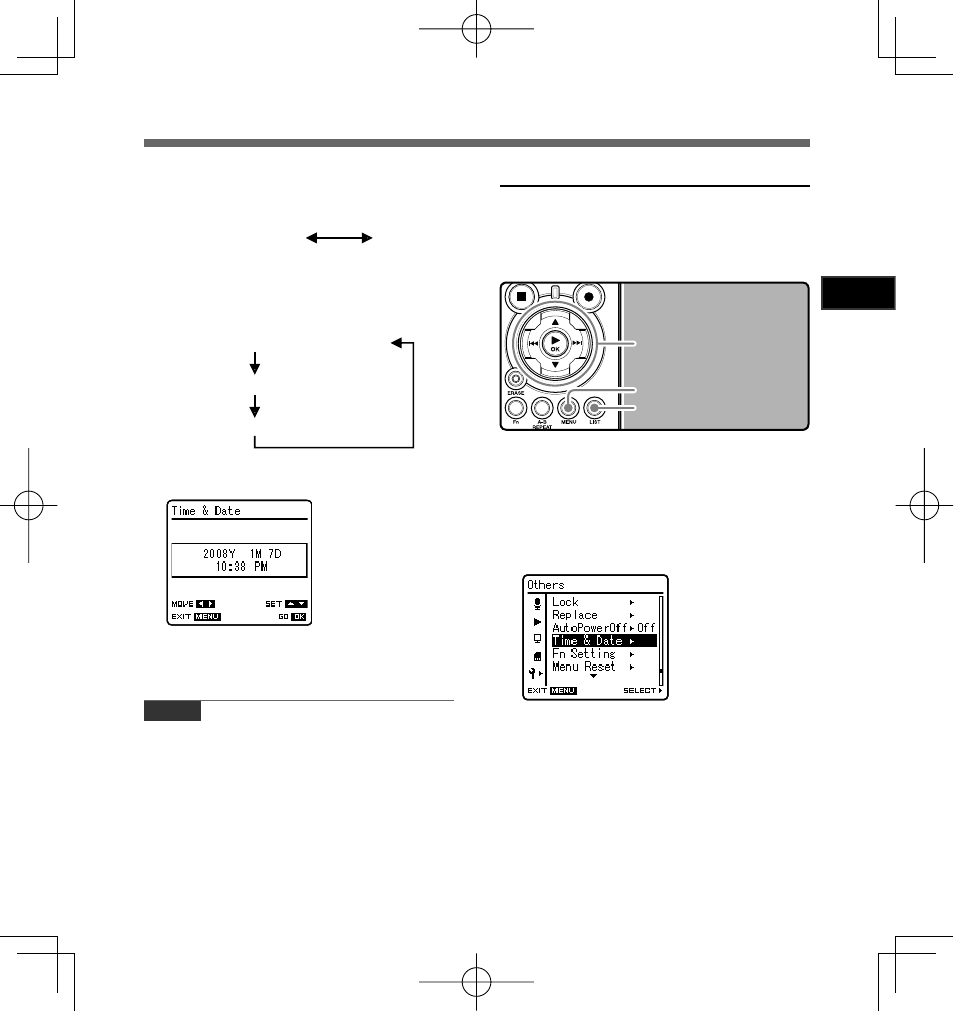
Setting Time and Date [Time & Date]
2 3 button
9 0 button
`/OK button
LIST button
MENU button
[Time & Date] will
appear on the display
1
While the recorder is during stop
mode, press the
MENU button.
• The menu will appear on the display. You
can also change to [Others] screen by
using the settings tab (
☞ P.34).
2
Press the
2 or 3 button to select
[
Time & Date].
3
Press the
`/OK or 9 button.
• [hour] will flash on the display, indicat-
ing the start of the Time and Date setup
process.
The following steps are the same as Step 1
through Step 3 of “Setting Time and Date
[Time & Date]” (
☞ P.12).
4
Press the
MENU button to close the
menu screen.
• You can select between 12 and 24 hour
display by pressing the LIST button while
setting the hour and minute.
Example: 10:38 P.M
10:38 PM
(Initial setting)
22:38
• You can select the order of the [year],
[month], [day] by pressing the LIST button
while setting them.
Example: January 7, 2008
1
M
7
D
2008
Y
(Initial setting)
7
D
1
M
2008
Y
2008
Y
1
M
7
D
3
Press the
`/OK button to complete
the setup screen.
• The clock will start from the set date and
time. Press the
`/OK button according to
the time signal.
Note
• If you press the
`/OK button during the setup
K
operation, the recorder will save the items that
were set to that point.
Changing the Time and Date
While the recorder is during stop mode, press and
hold the STOP
4 button to display the Time and
Date, Remaining Memory and File Format.
If the Time and Date is not correct, set it using the
procedure below.