Flash intensity control – Olympus E-450 User Manual
Page 69
Flash s
h
ooting
7
69
EN
2
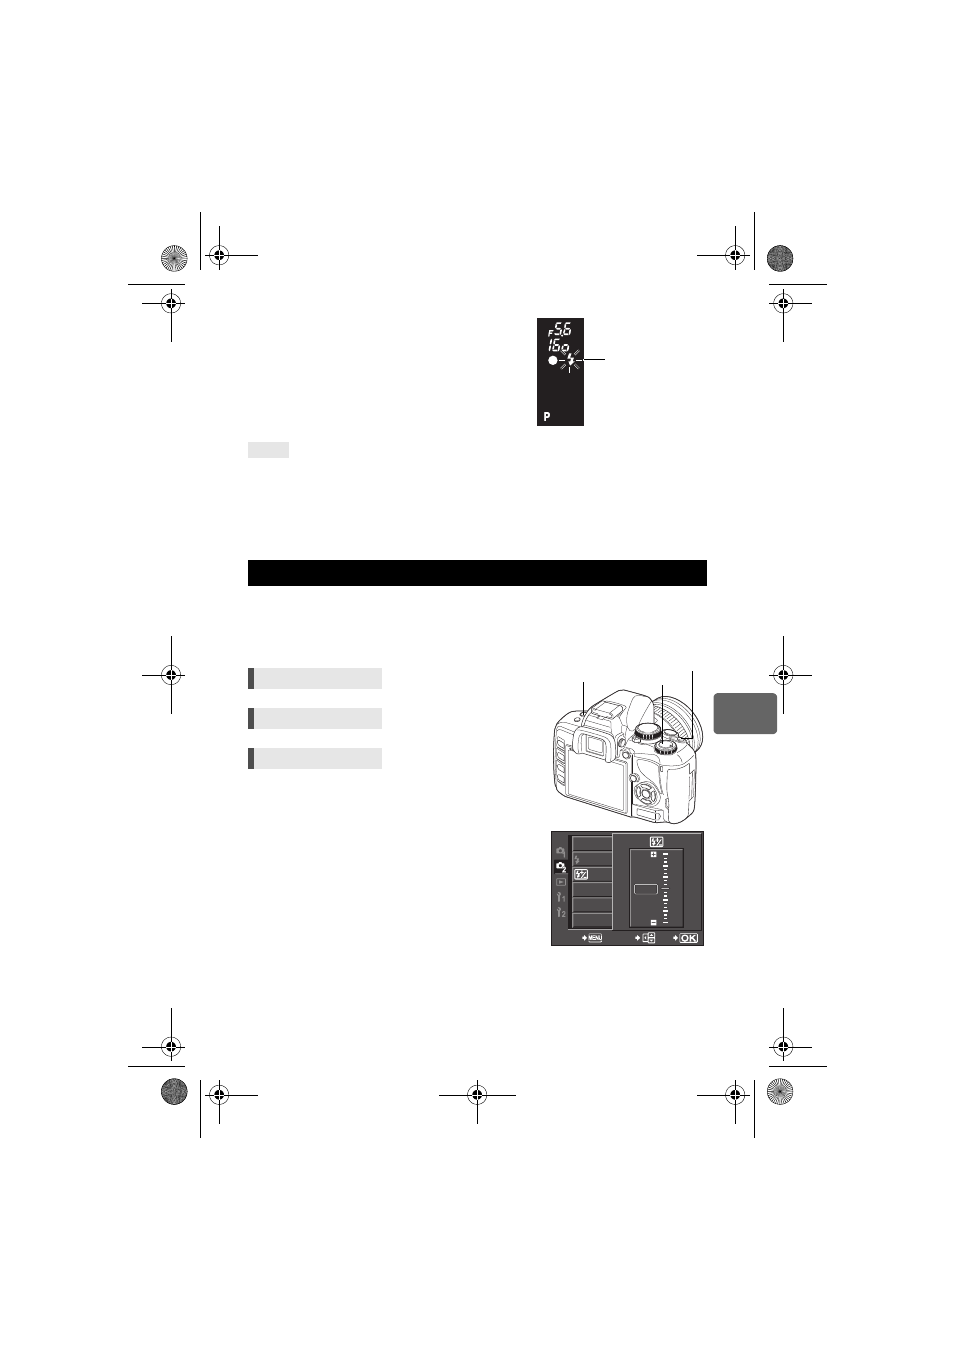
Press the shutter button halfway.
• The
# (flash stand-by) mark lights when the flash
is ready to fire. If the mark is blinking, the flash is
charging. Wait until charging is complete.
3
Press the shutter button all the way.
When you do not want the flash to pop up automatically:
j Set [AUTO POP UP] to [OFF]. g“AUTO POP UP” (P. 88)
x
Notes
• When [
#RC MODE] is set to [ON], the built-in flash will fire only to communicate with the
external flash so it will not function as a flash.
g“Shooting with the Olympus wireless RC
flash system” (P. 71)
The flash intensity can be adjusted from +3 to –3.
In some situations (e.g., when shooting small subjects, distant backgrounds, etc.), you may get
better results by adjusting the amount of light emitted by the flash (“flash intensity”). It is useful
when you intend to increase the contrast (distinction between light and dark) of images to make
the images more vivid.
x
Notes
• This does not work during manual flash.
• This does not work when the flash control mode on the electronic flash is set to MANUAL.
• If flash intensity is adjusted on the electronic flash, it will be combined with the camera’s flash
intensity setting.
• When [w+F] is set to [ON], the flash intensity value will be added to the exposure
compensation value.
g“w+F” (P. 87)
TIPS
Flash intensity control
Direct button
# + Fj
Super control panel
i
p: [w]
Menu
MENU[X][w]
Viewfinder
Flash stand-by mark
S-AF
0.0
OFF
OFF
METERING
RC MODE
AF MODE
AF AREA
ANTI-SHOCK
CANCEL
SELECT
GO
0
0
0
+3
+2
+1
-1
-3
-2
F button
j
# button
E-450_MASTER.fm Seite 69 Donnerstag, 16. April 2009 10:40 10