Installing or replacing an internal rdx drive – Lenovo ThinkServer TS140 User Manual
Page 81
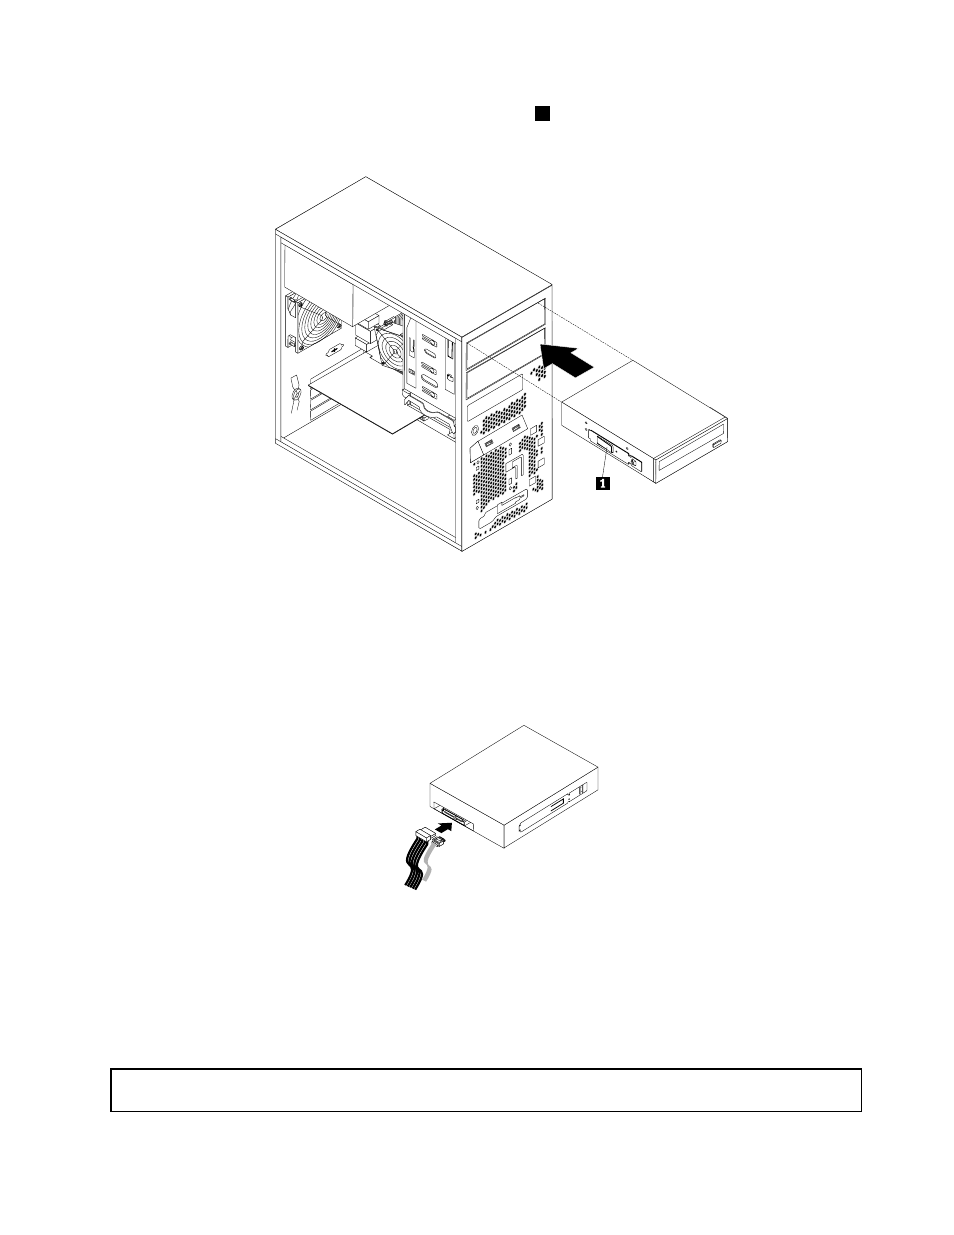
5. Slide the new optical drive with the optical drive retainer
1
installed into the drive bay from the front of
the server until the optical drive snaps into position.
Figure 51. Installing the optical drive
6. Reinstall the front bezel. See “Removing and reinstalling the front bezel” on page 40.
7. Connect one end of the signal cable to the optical drive and the other end to an available SATA
connector on the system board. See “Locating parts on the system board” on page 16. Then, locate an
available five-wire power connector and connect it to the SATA drive.
Figure 52. Connecting a SATA optical drive
What to do next:
• To work with another piece of hardware, go to the appropriate section.
• To complete the installation or replacement, go to “Completing the parts replacement” on page 84.
Installing or replacing an internal RDX drive
Attention: Do not open your server or attempt any repair before reading and understanding “Safety information”
on page iii and “Guidelines” on page 37.
.
Installing, removing, or replacing hardware
69